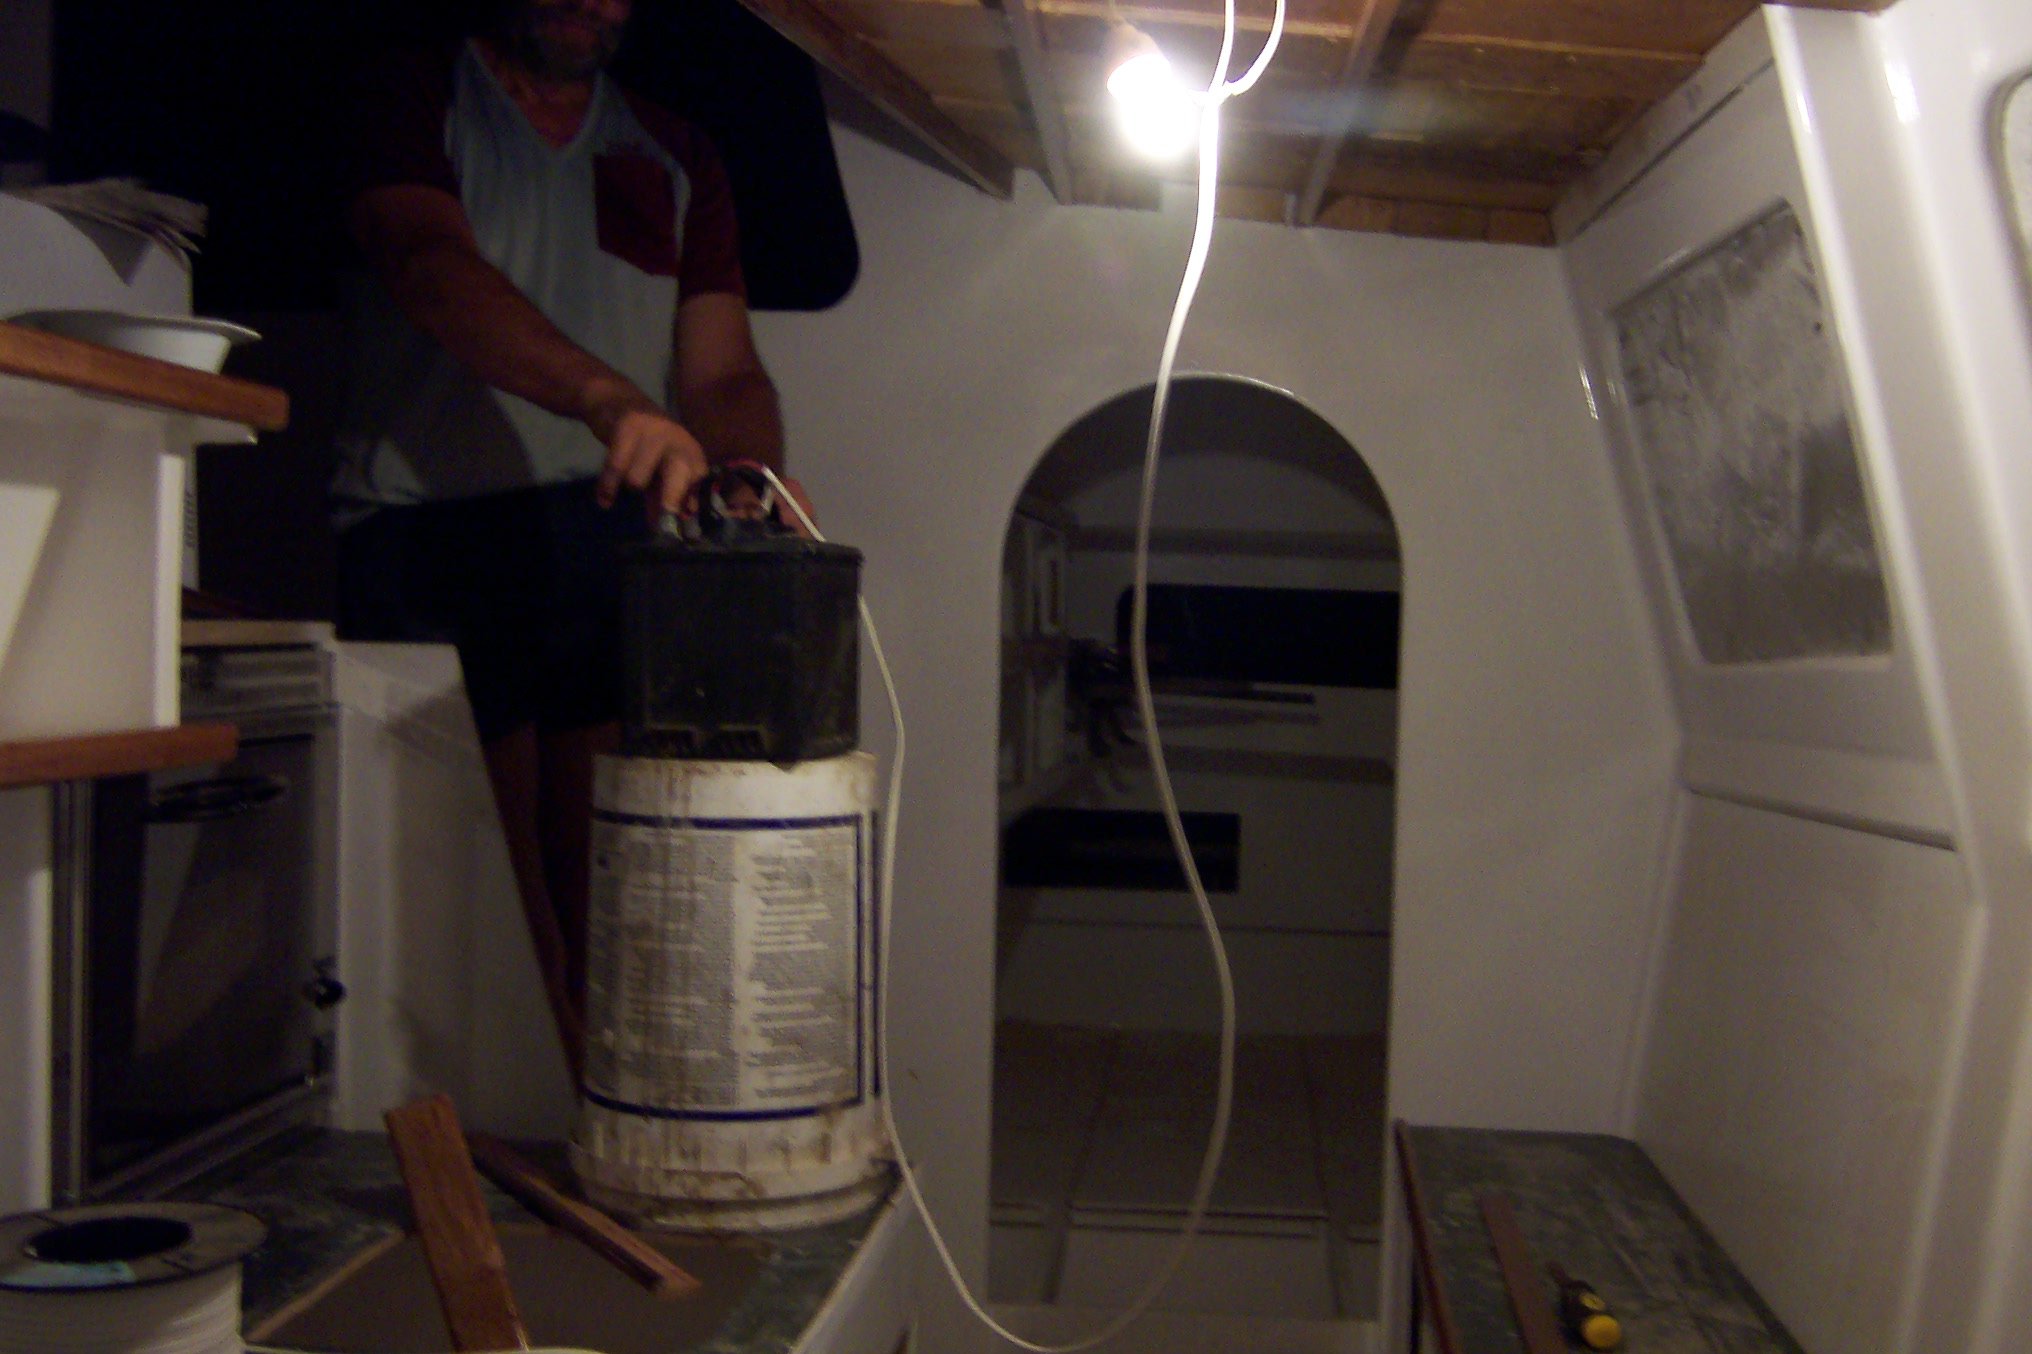
I had to go back and relearn high school physics so that I could work out what thickness of wiring i wanted in different locations to match the expected current draw, I was working on a 1percent voltage drop which necessitated some heavier wire than I probably needed. i took plenty of photos as I did not want to drill any holes through wires I had laid down, this did not unfortunately protect me from a moment of absentmindedness, once I had the wiring down I could put the last of the ply on the boat, shape the last corners and begin to glass the top decks and sides.
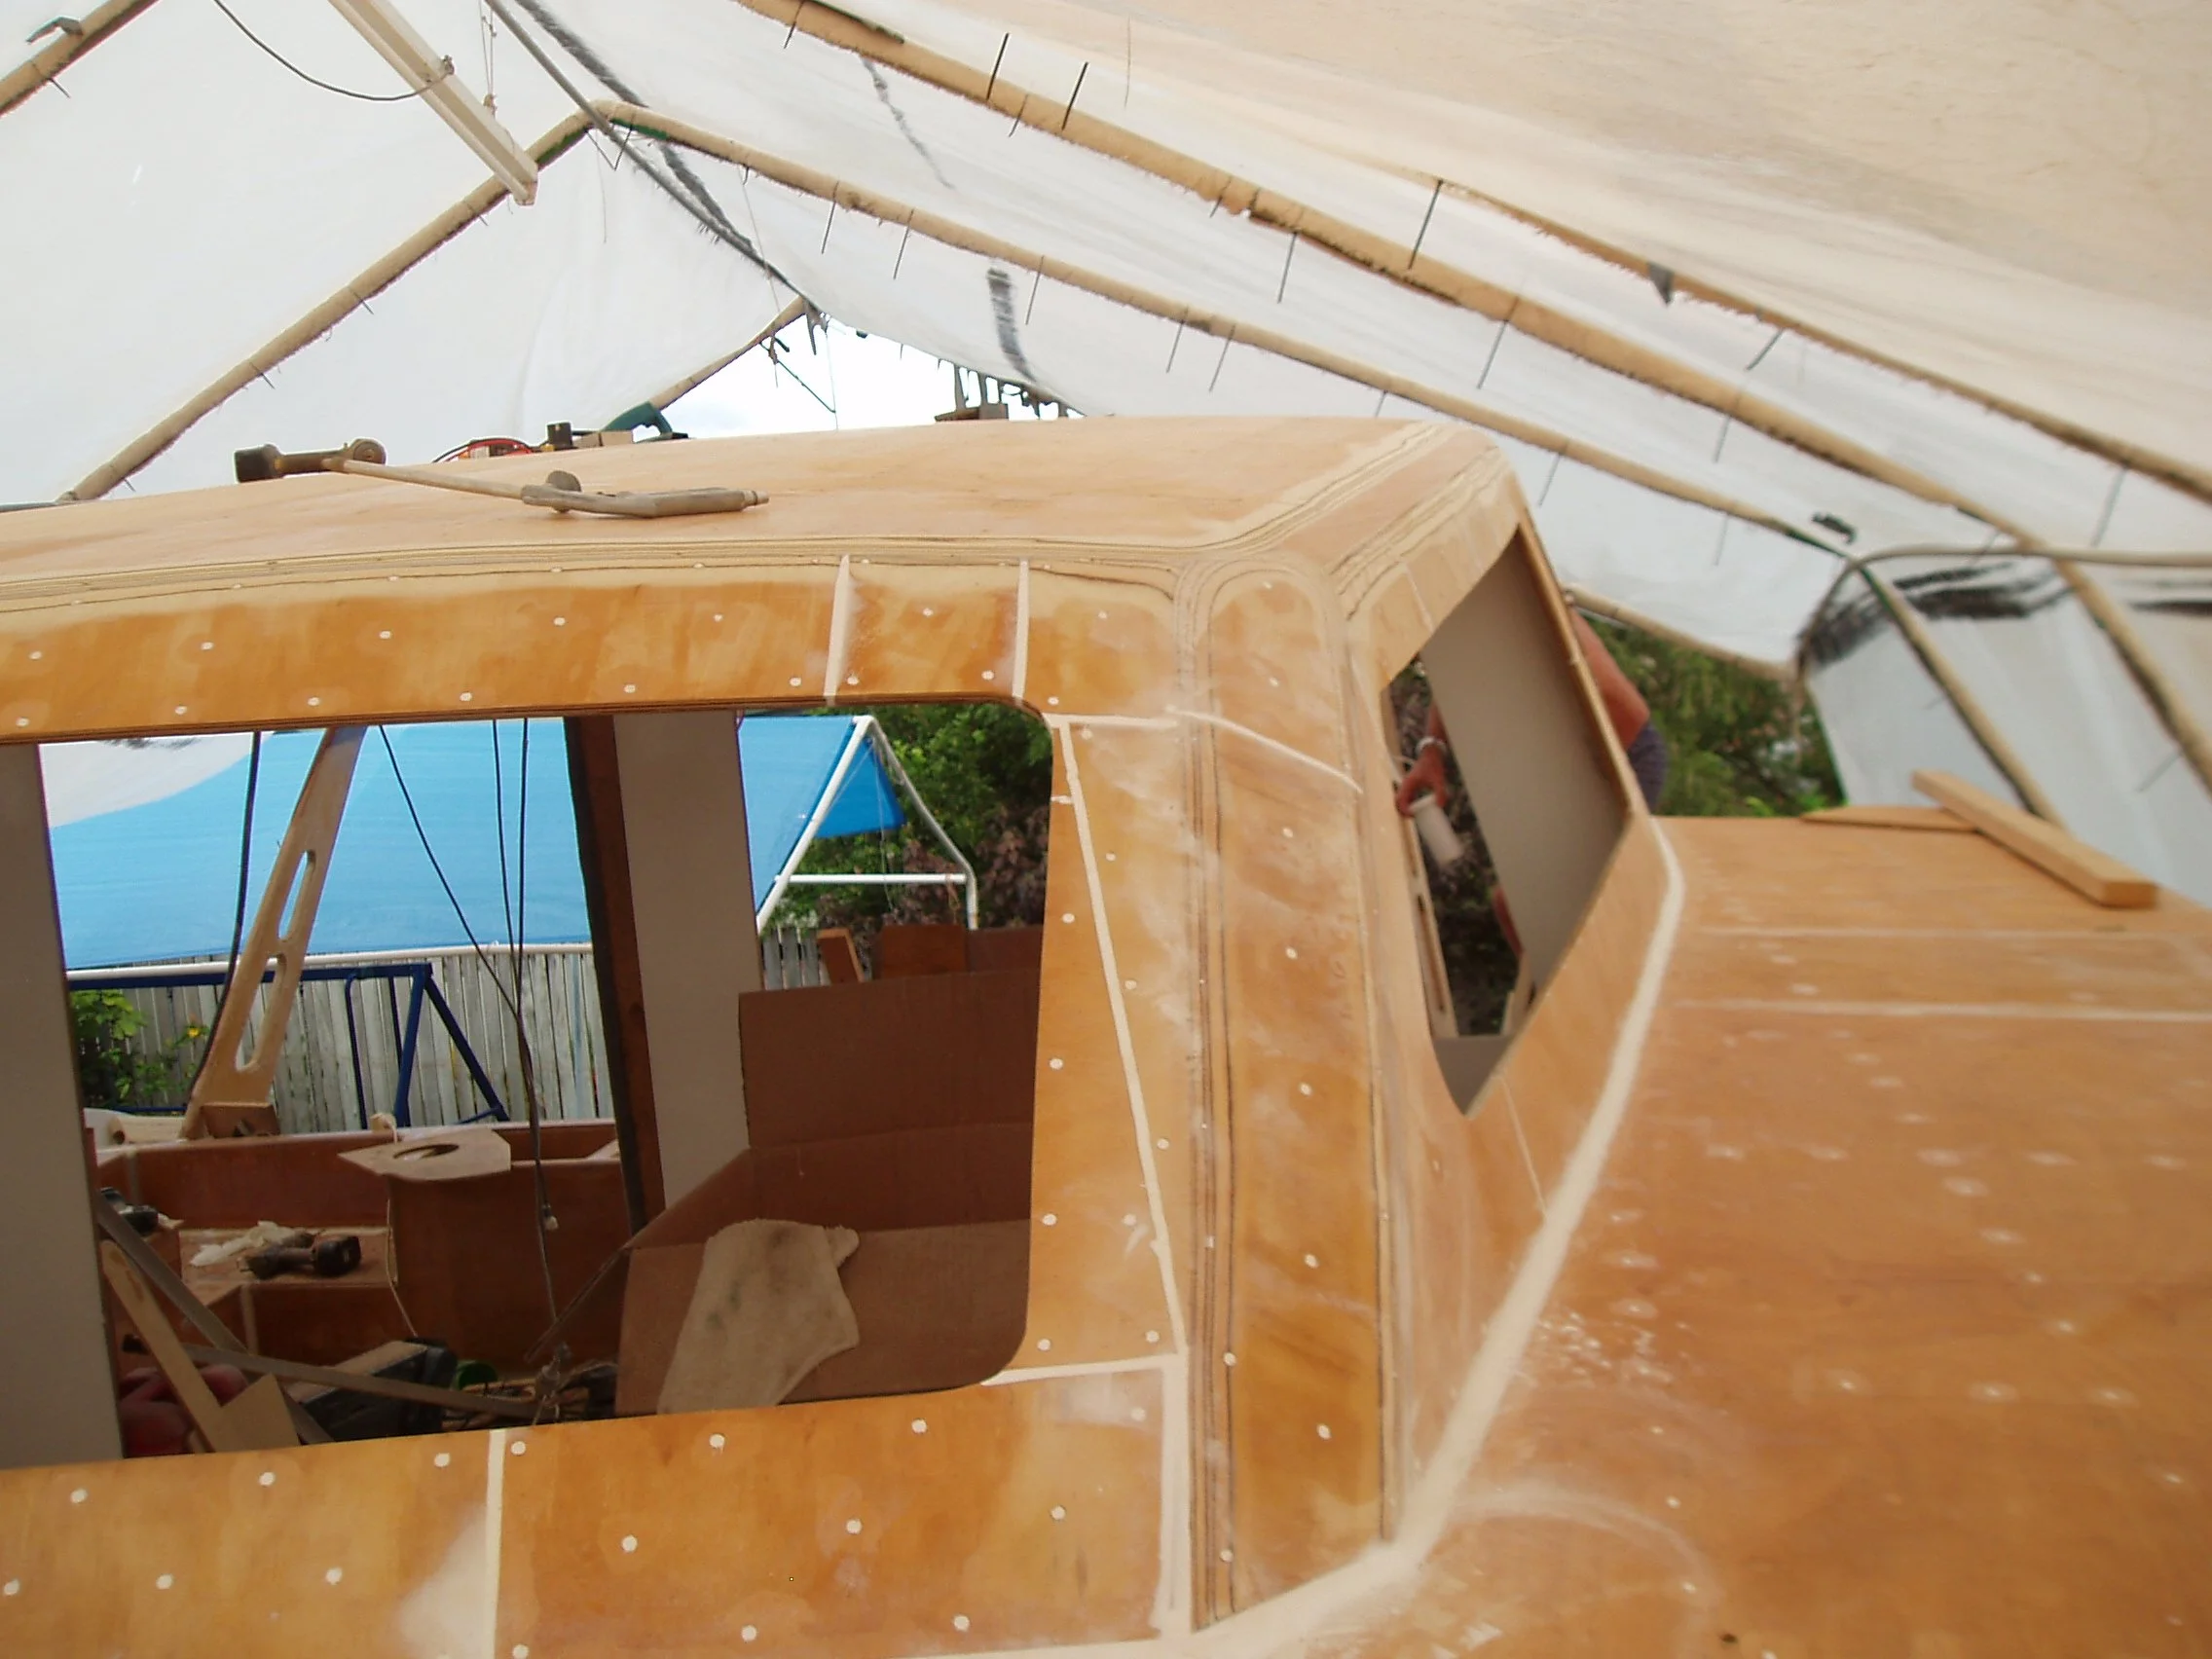
I made my own hatches for the boat as this was considerably cheaper than purchasing them, an enterprising easy owner should have made a mold as they would have had a captive market for hatches given the couple of hundred easys out there. Everywhere I could I added curves as in my mind this made the boat look much more like a production boat and not an amateur build
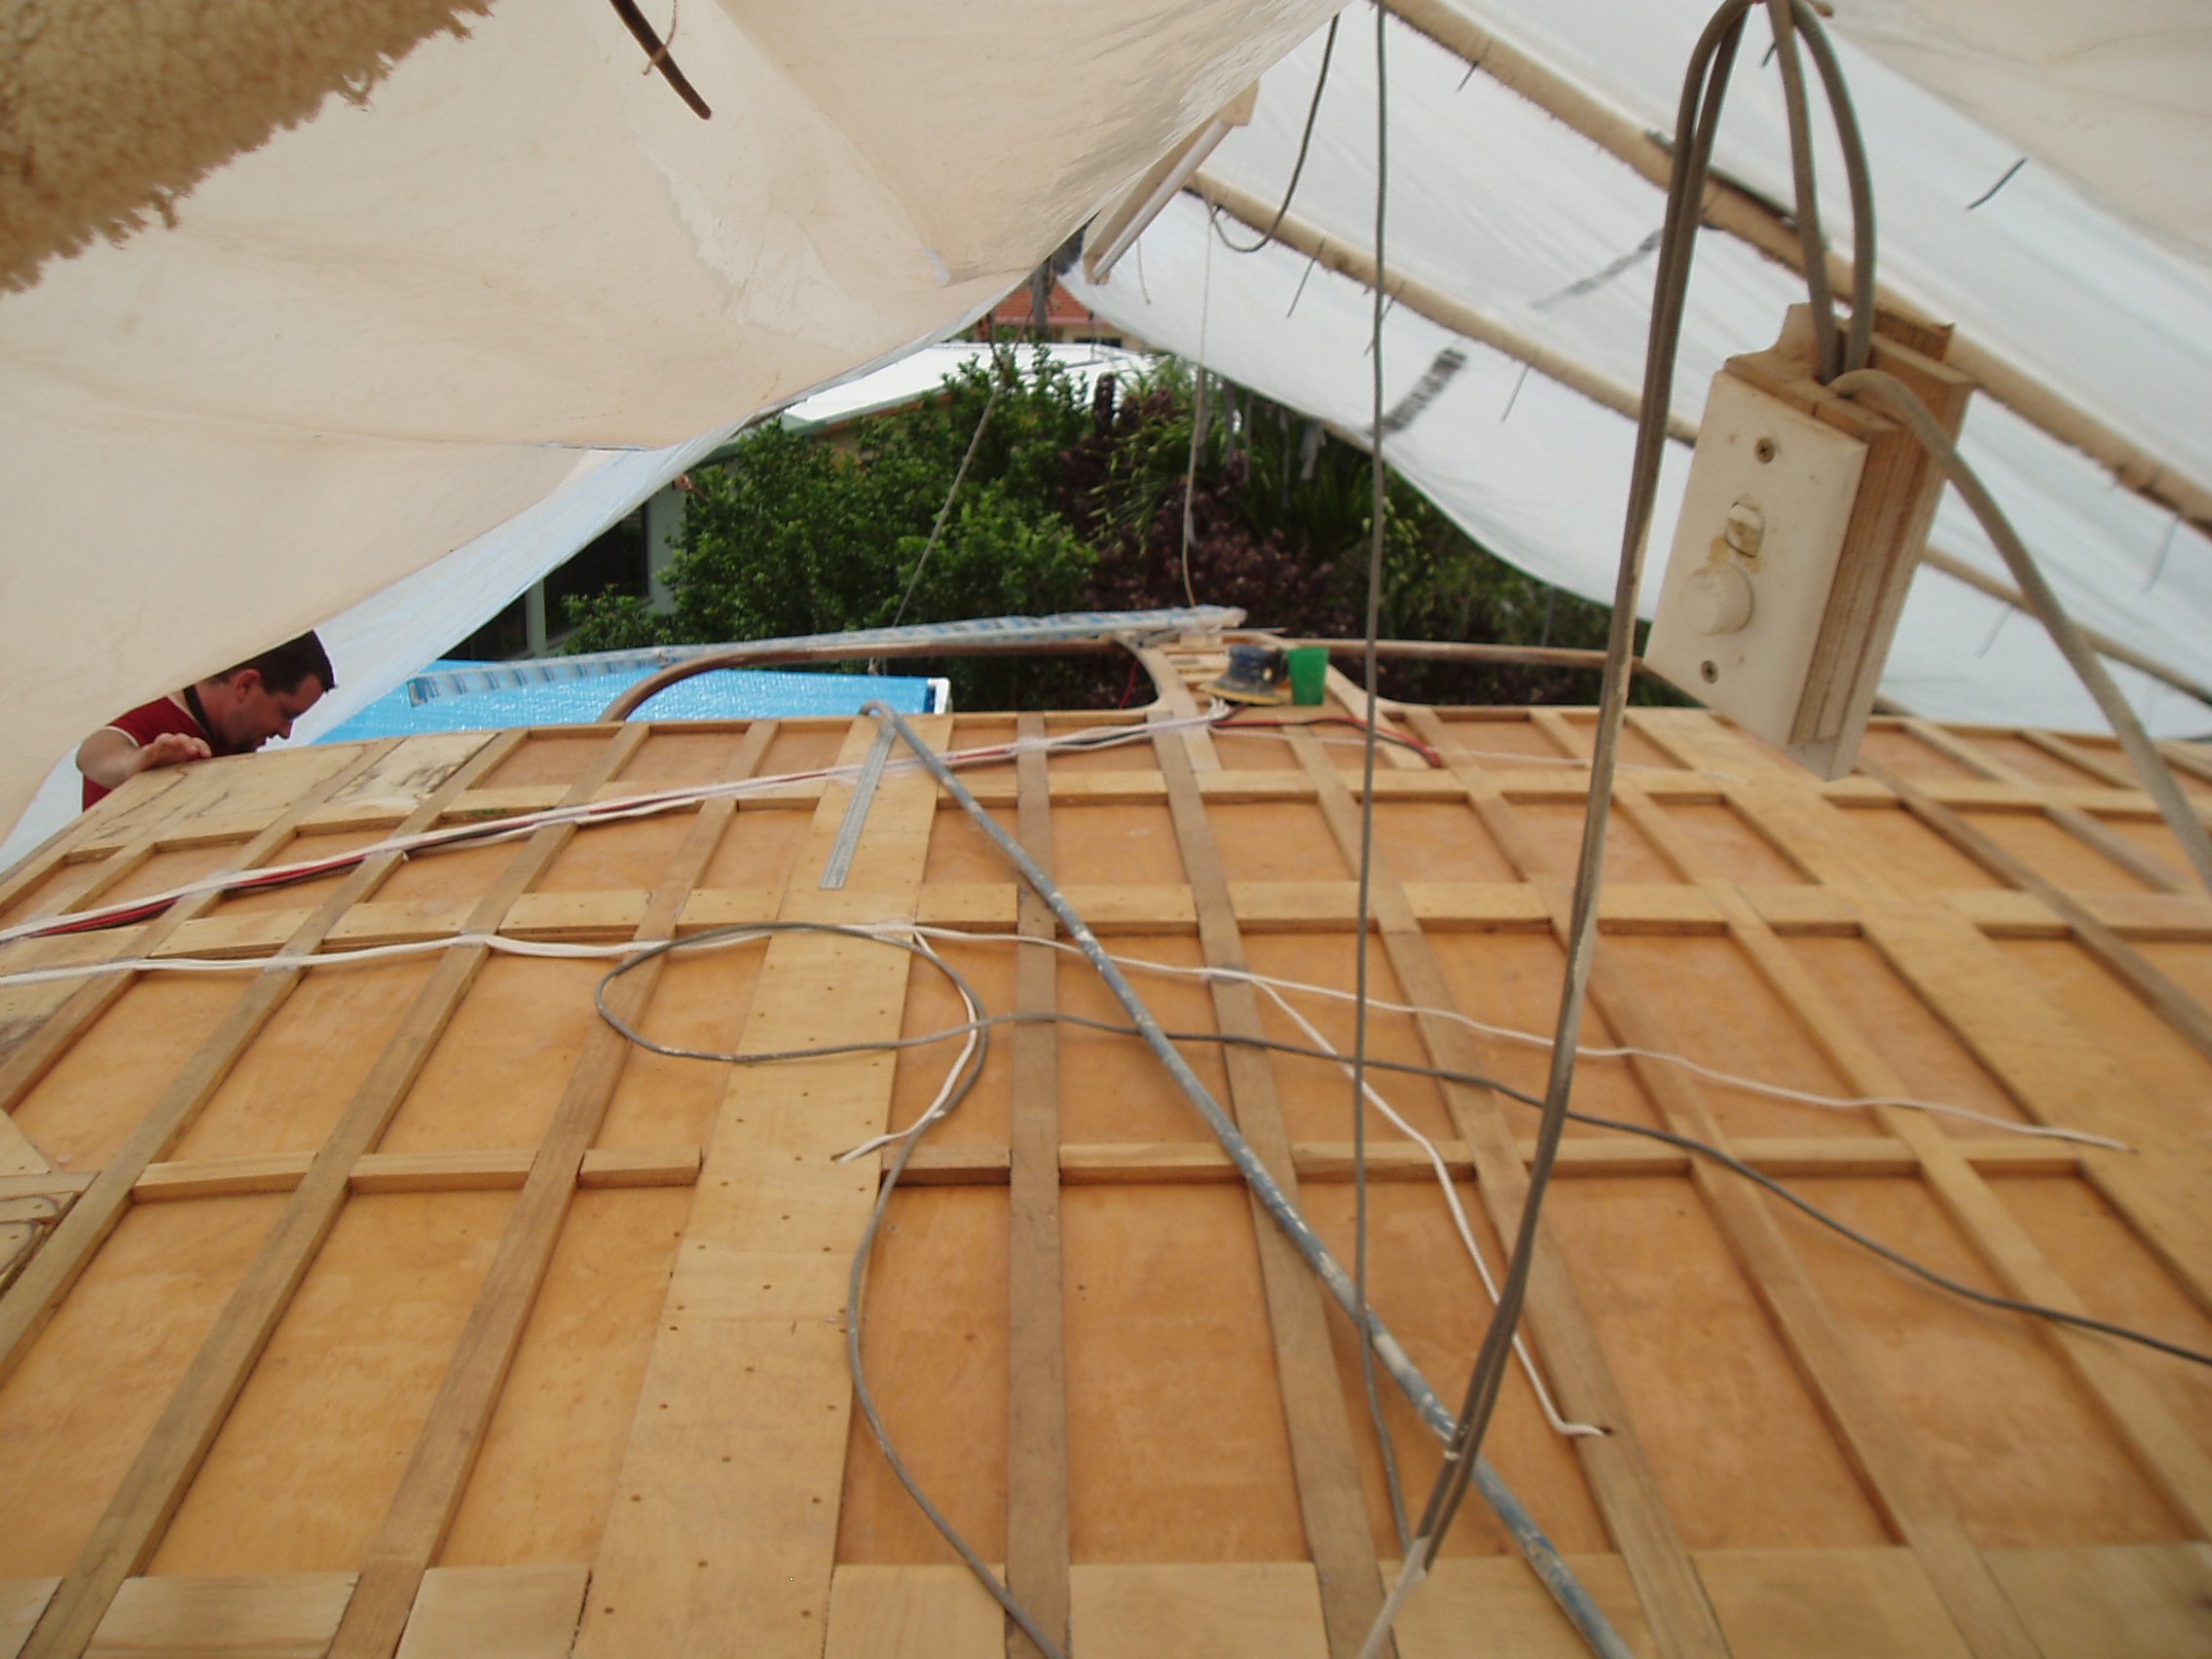
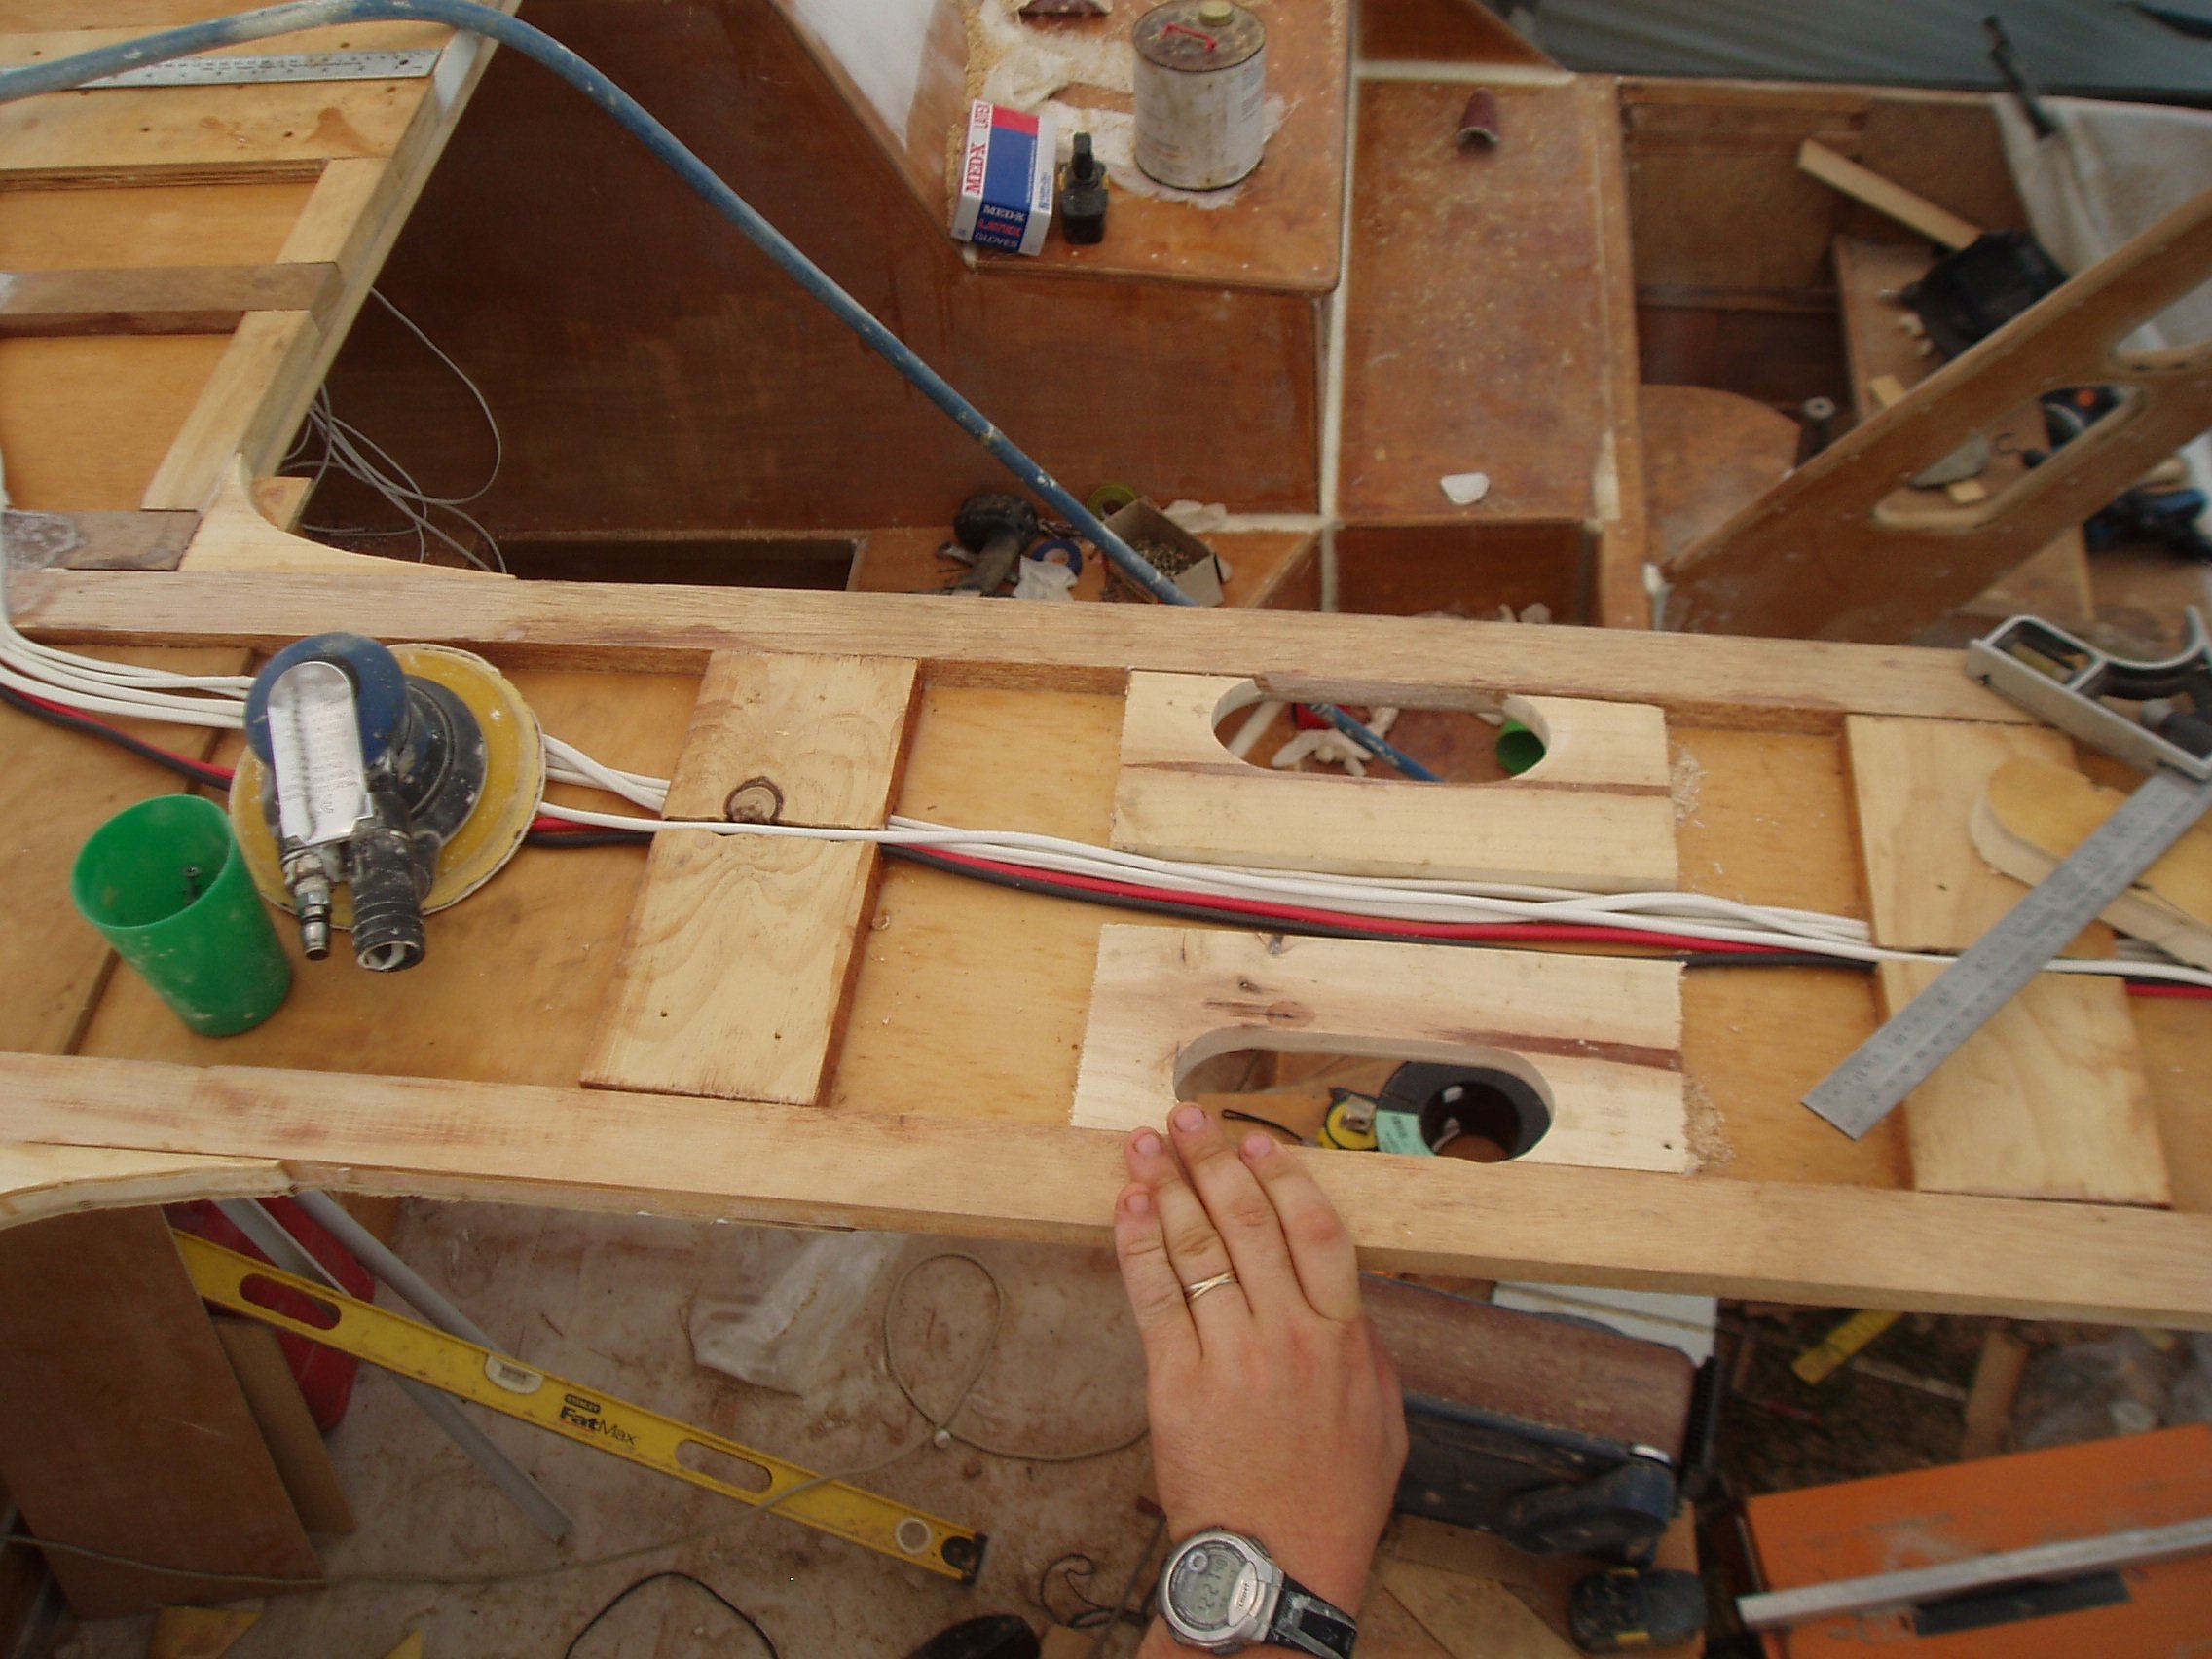


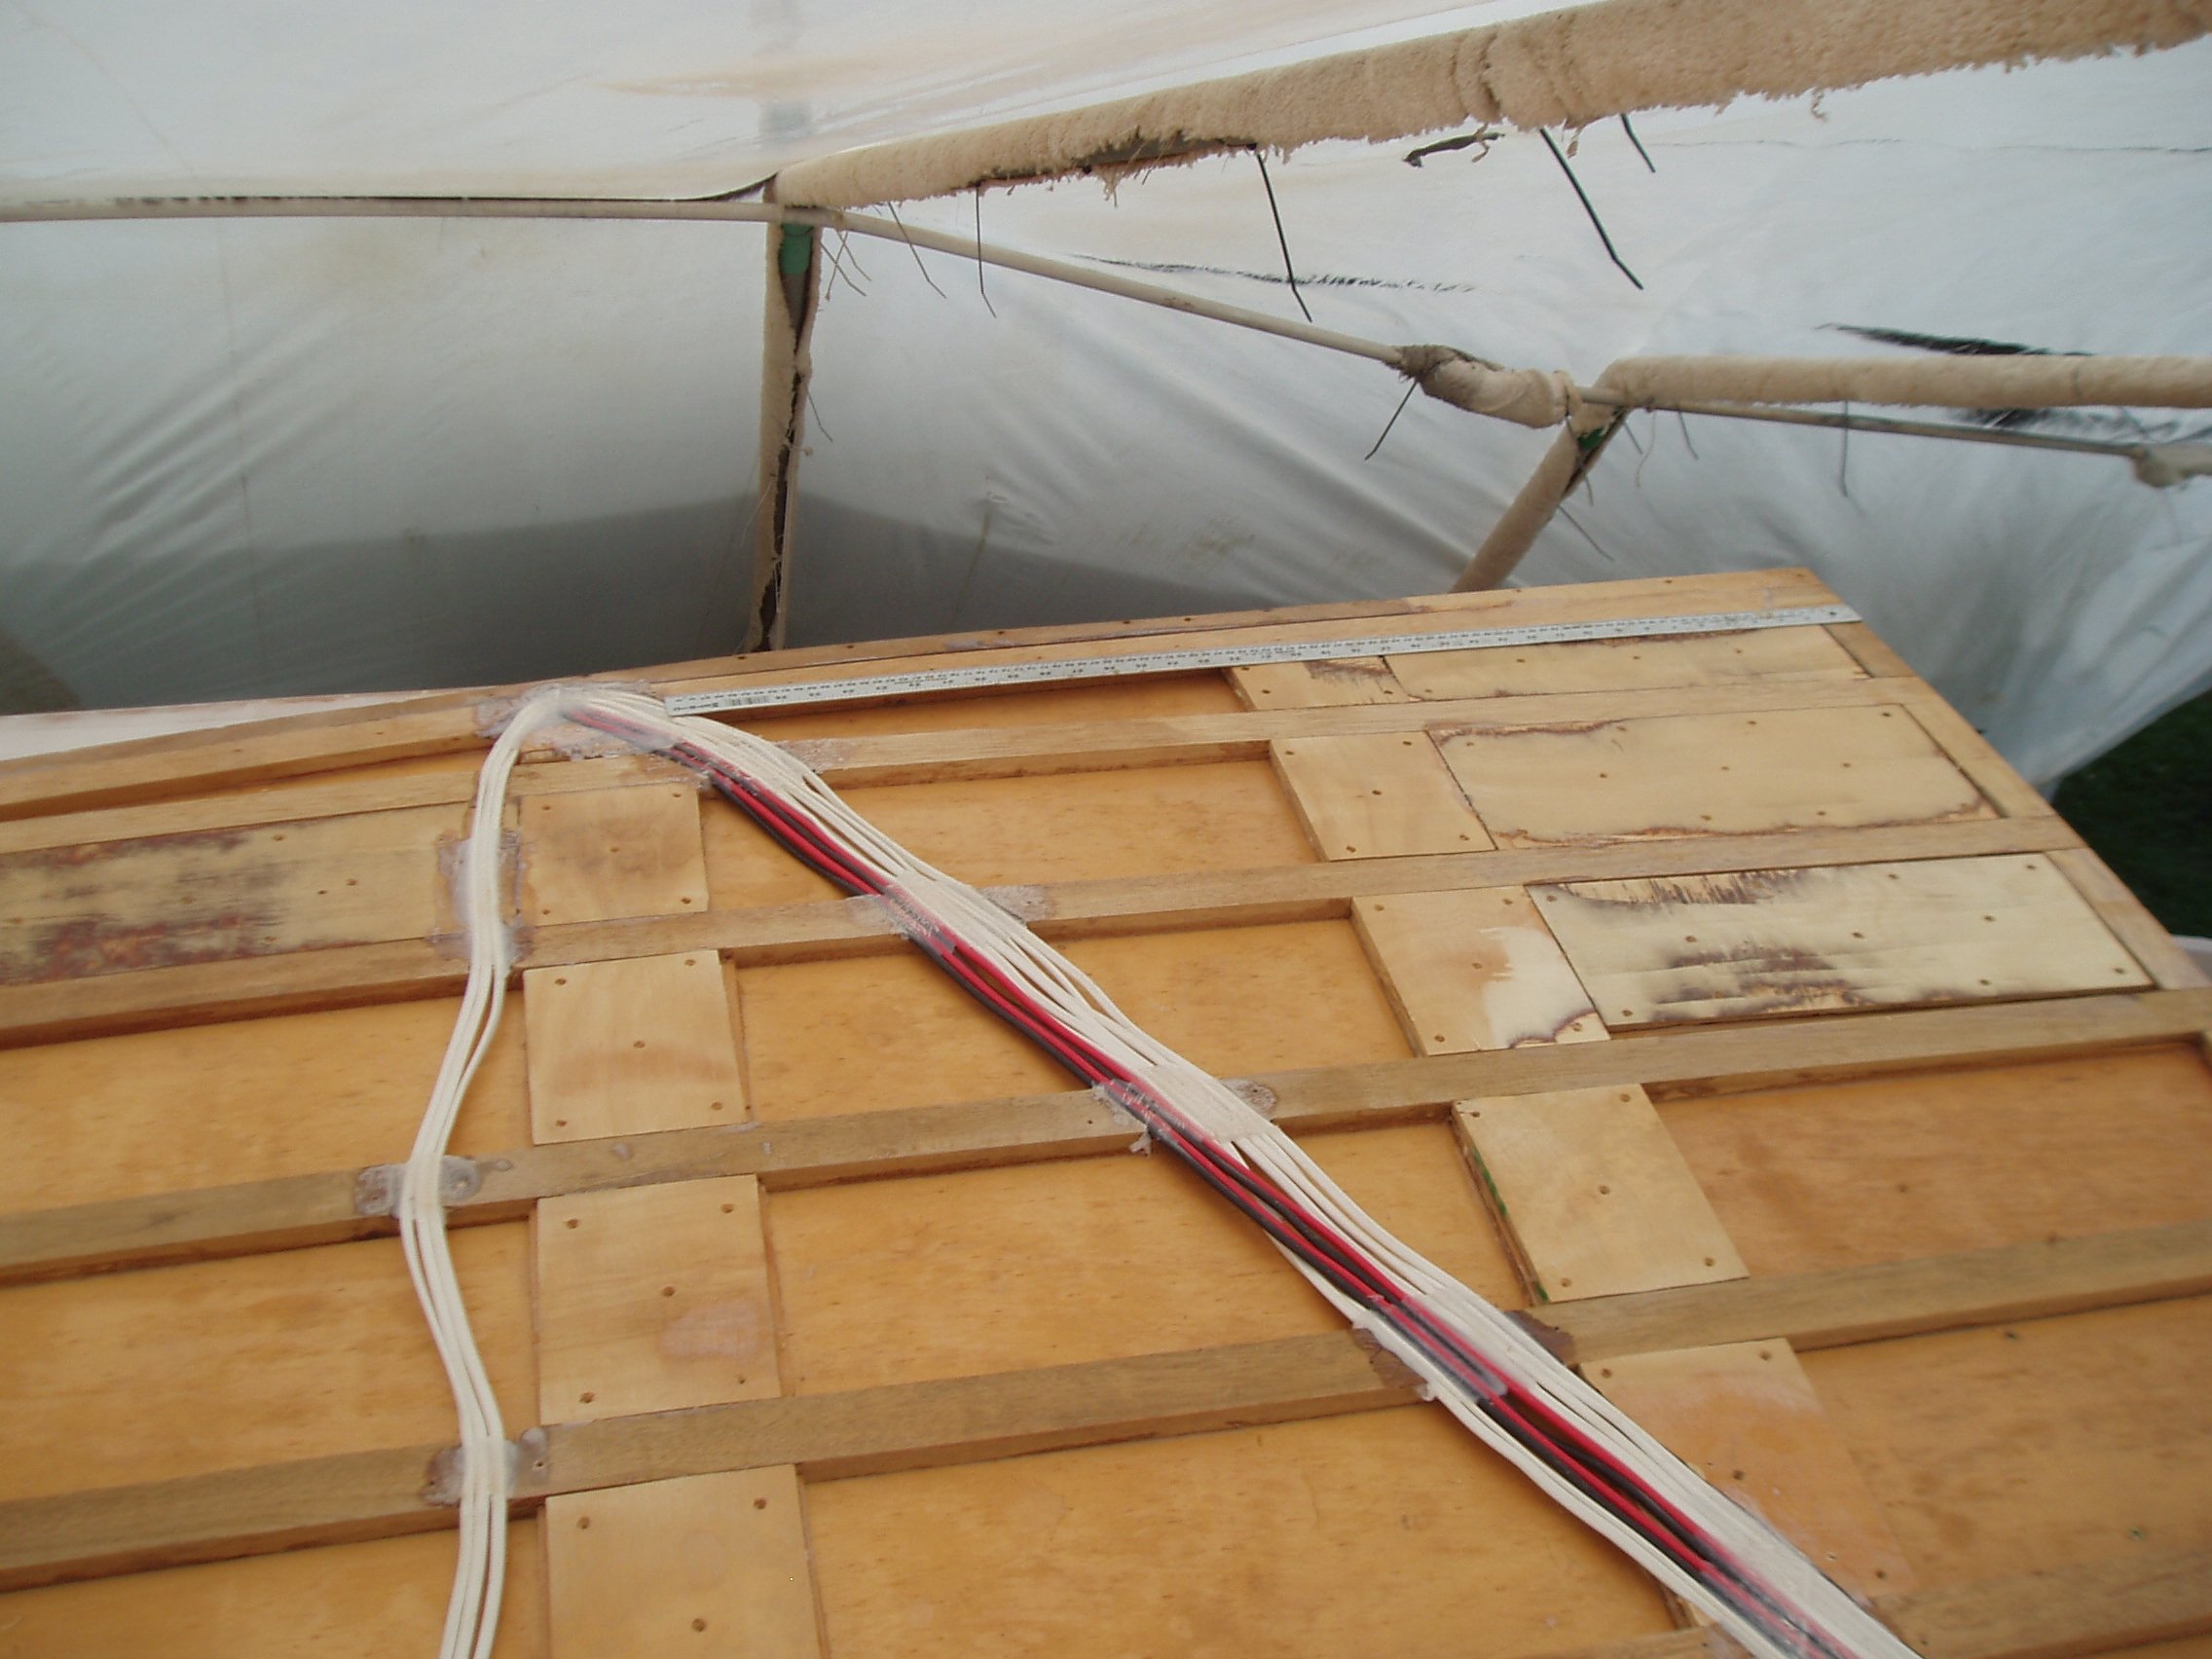
before you can put the last piece of ply on the roof you need to make sure you run all your wiring and know what thickness of wiring you need.

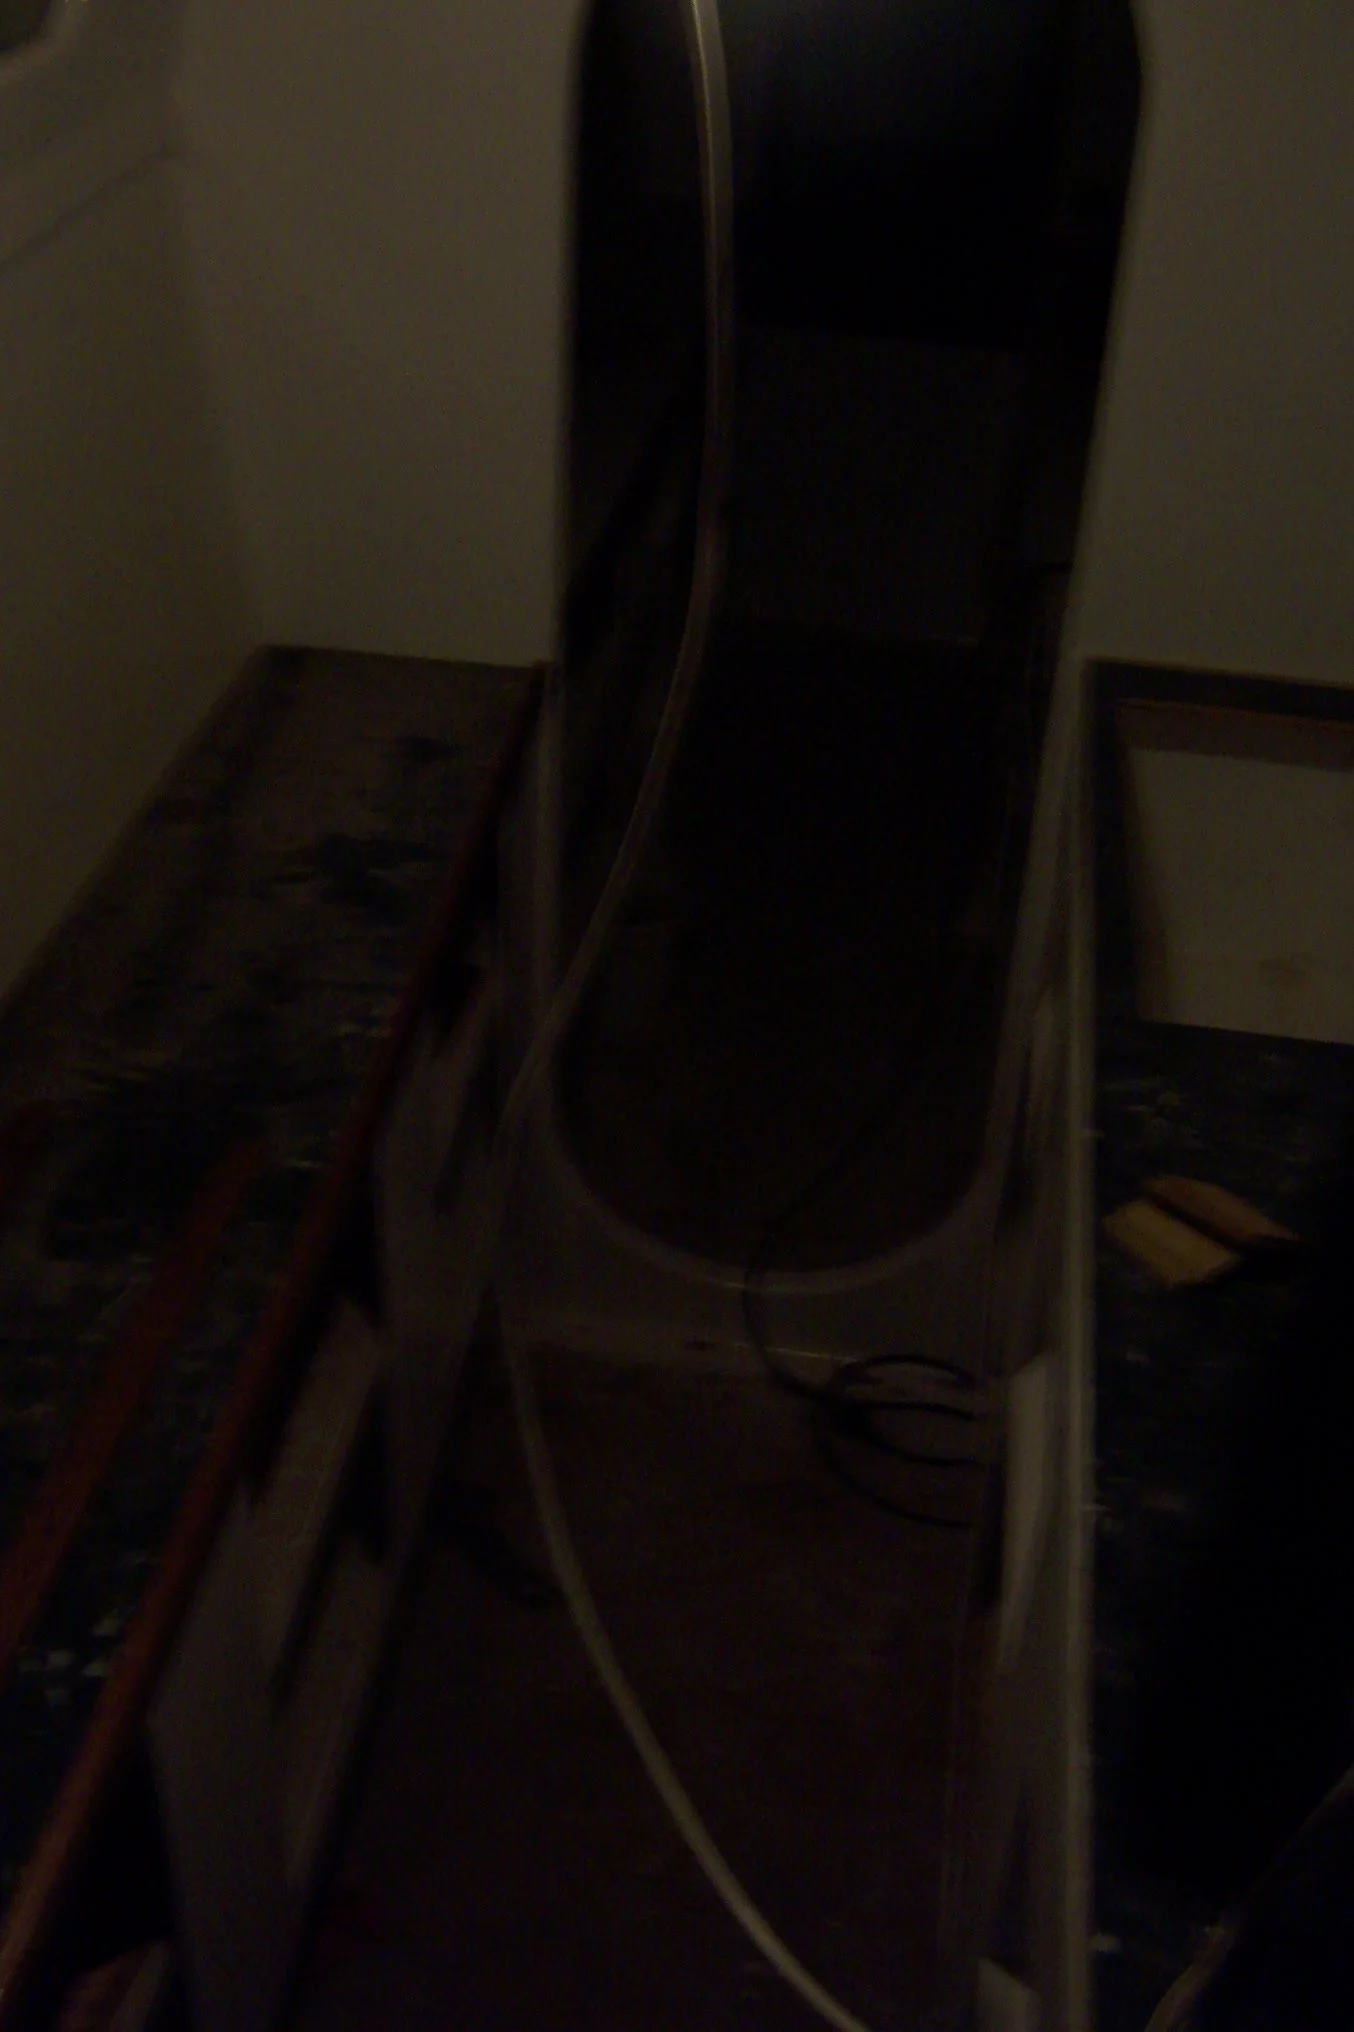
lots of pictures means that later on you can measure everything and know where it lies under the glass and ply.

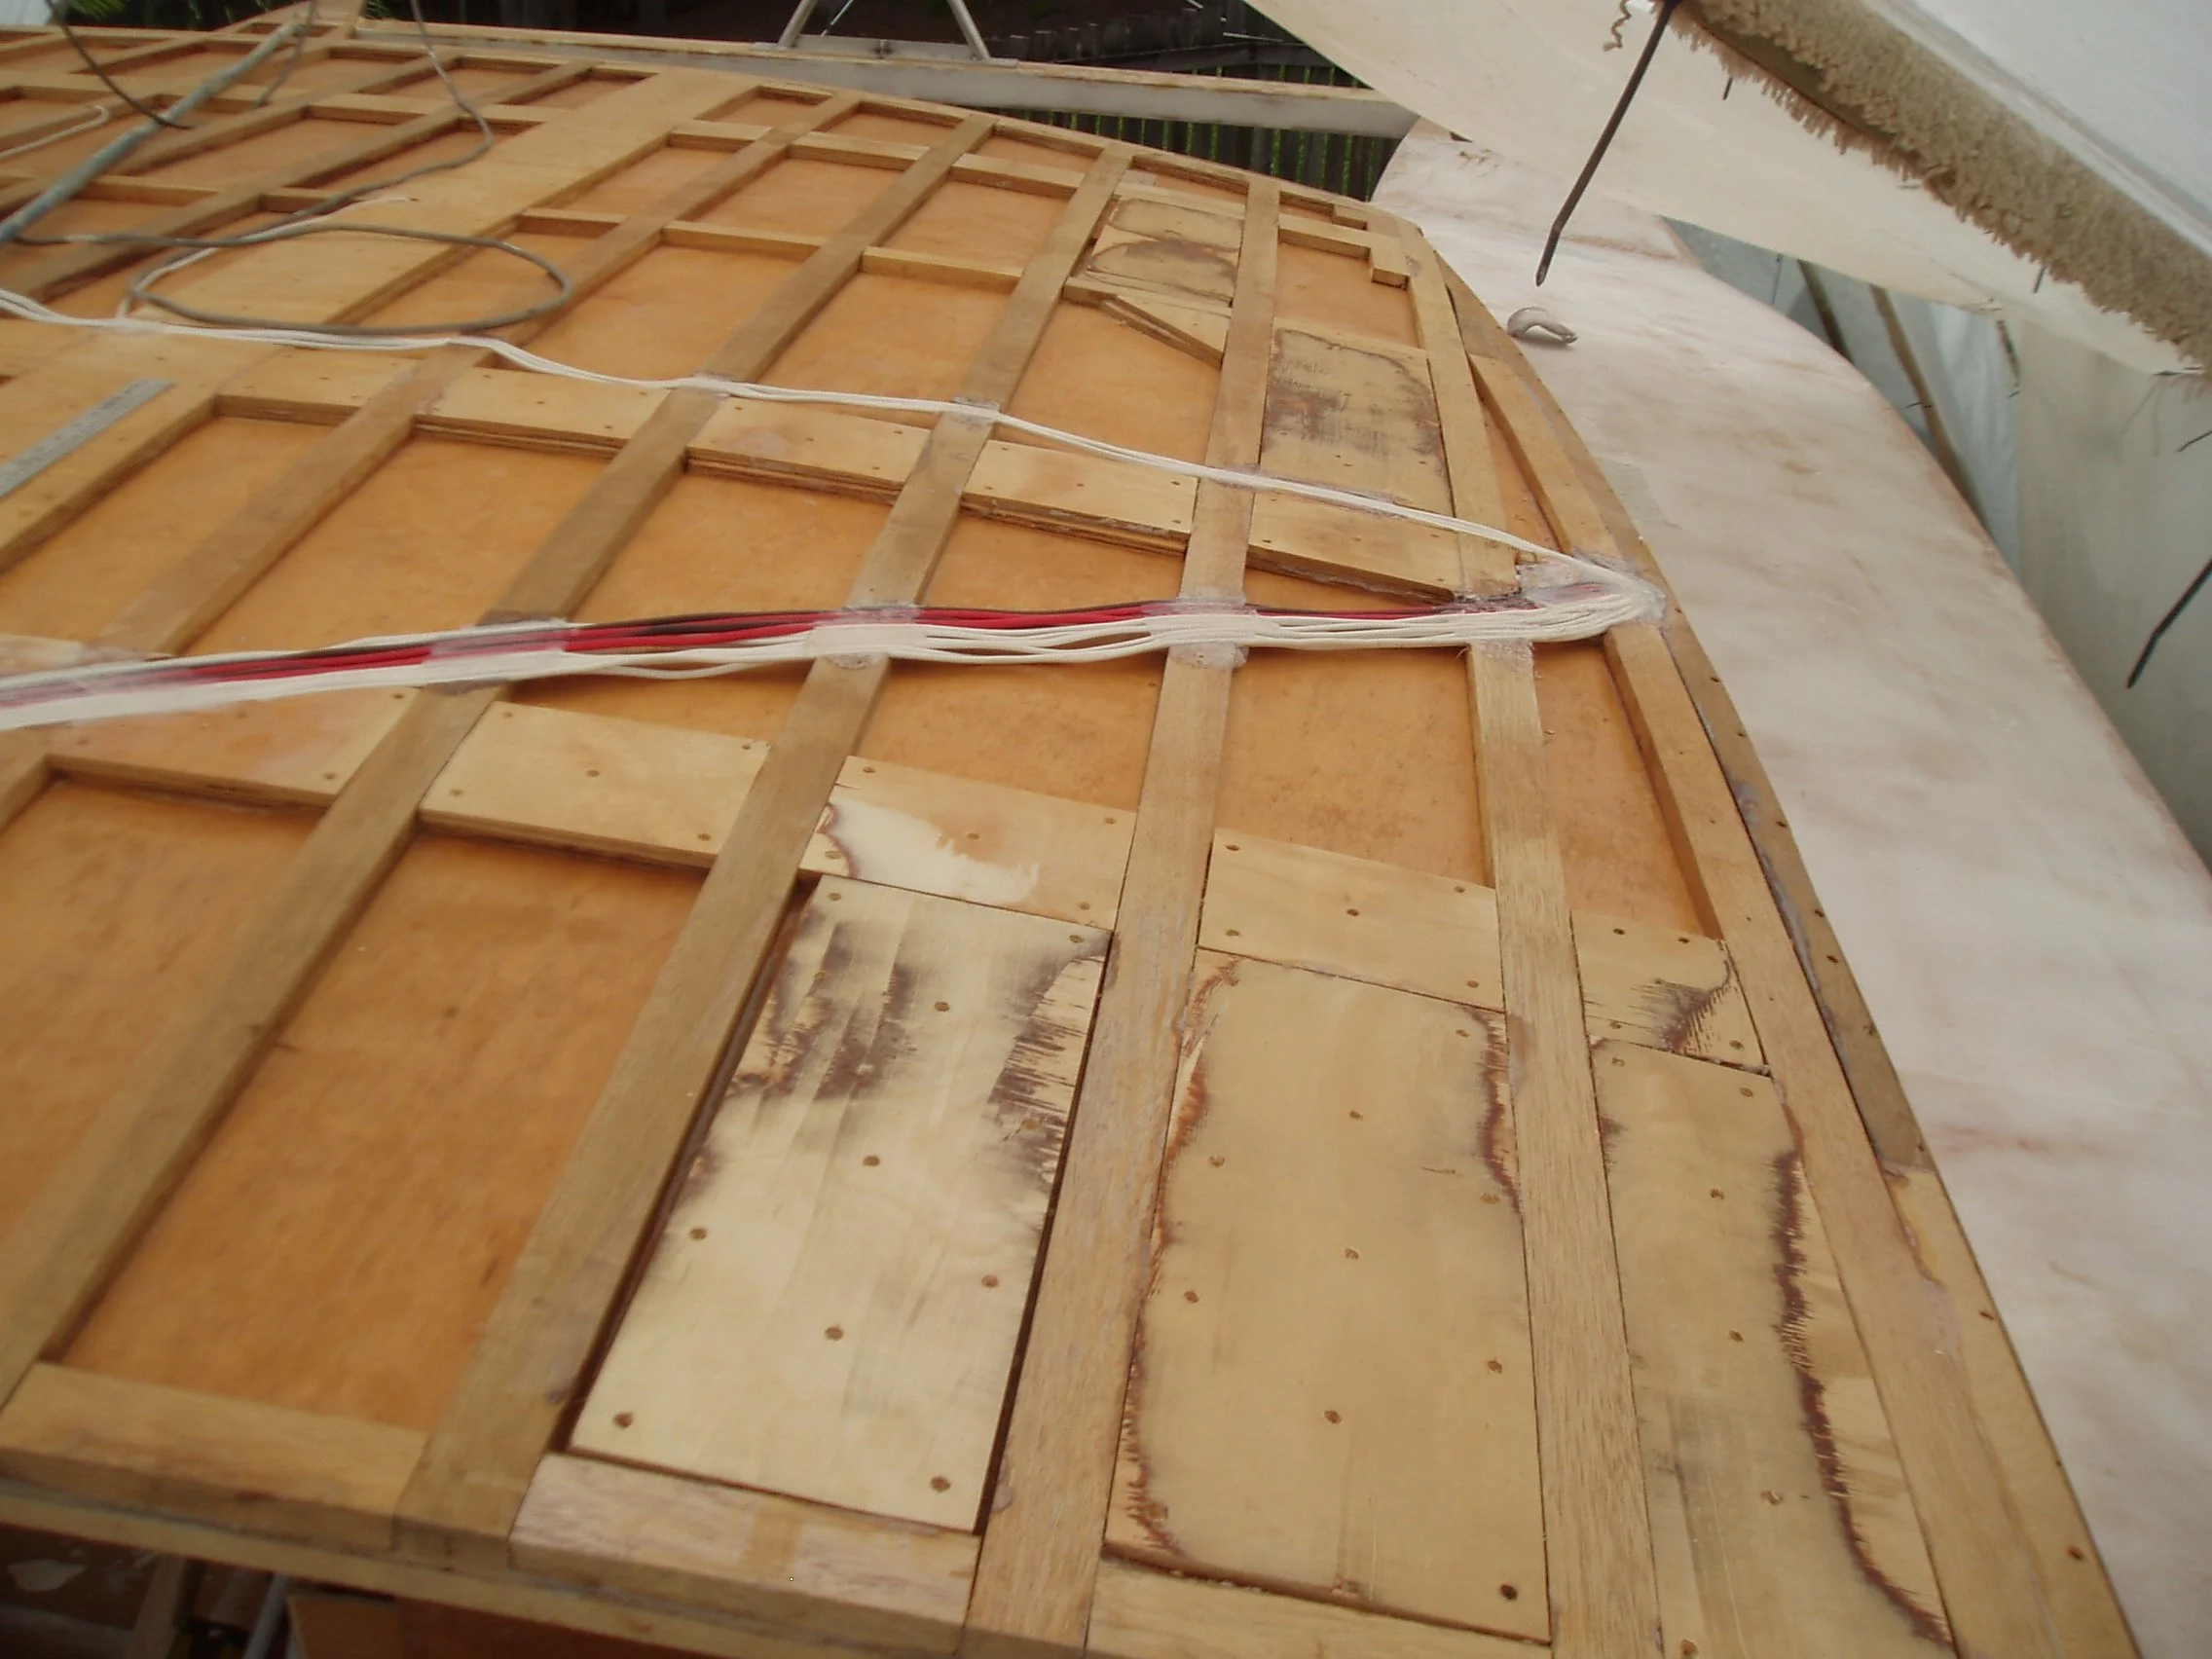
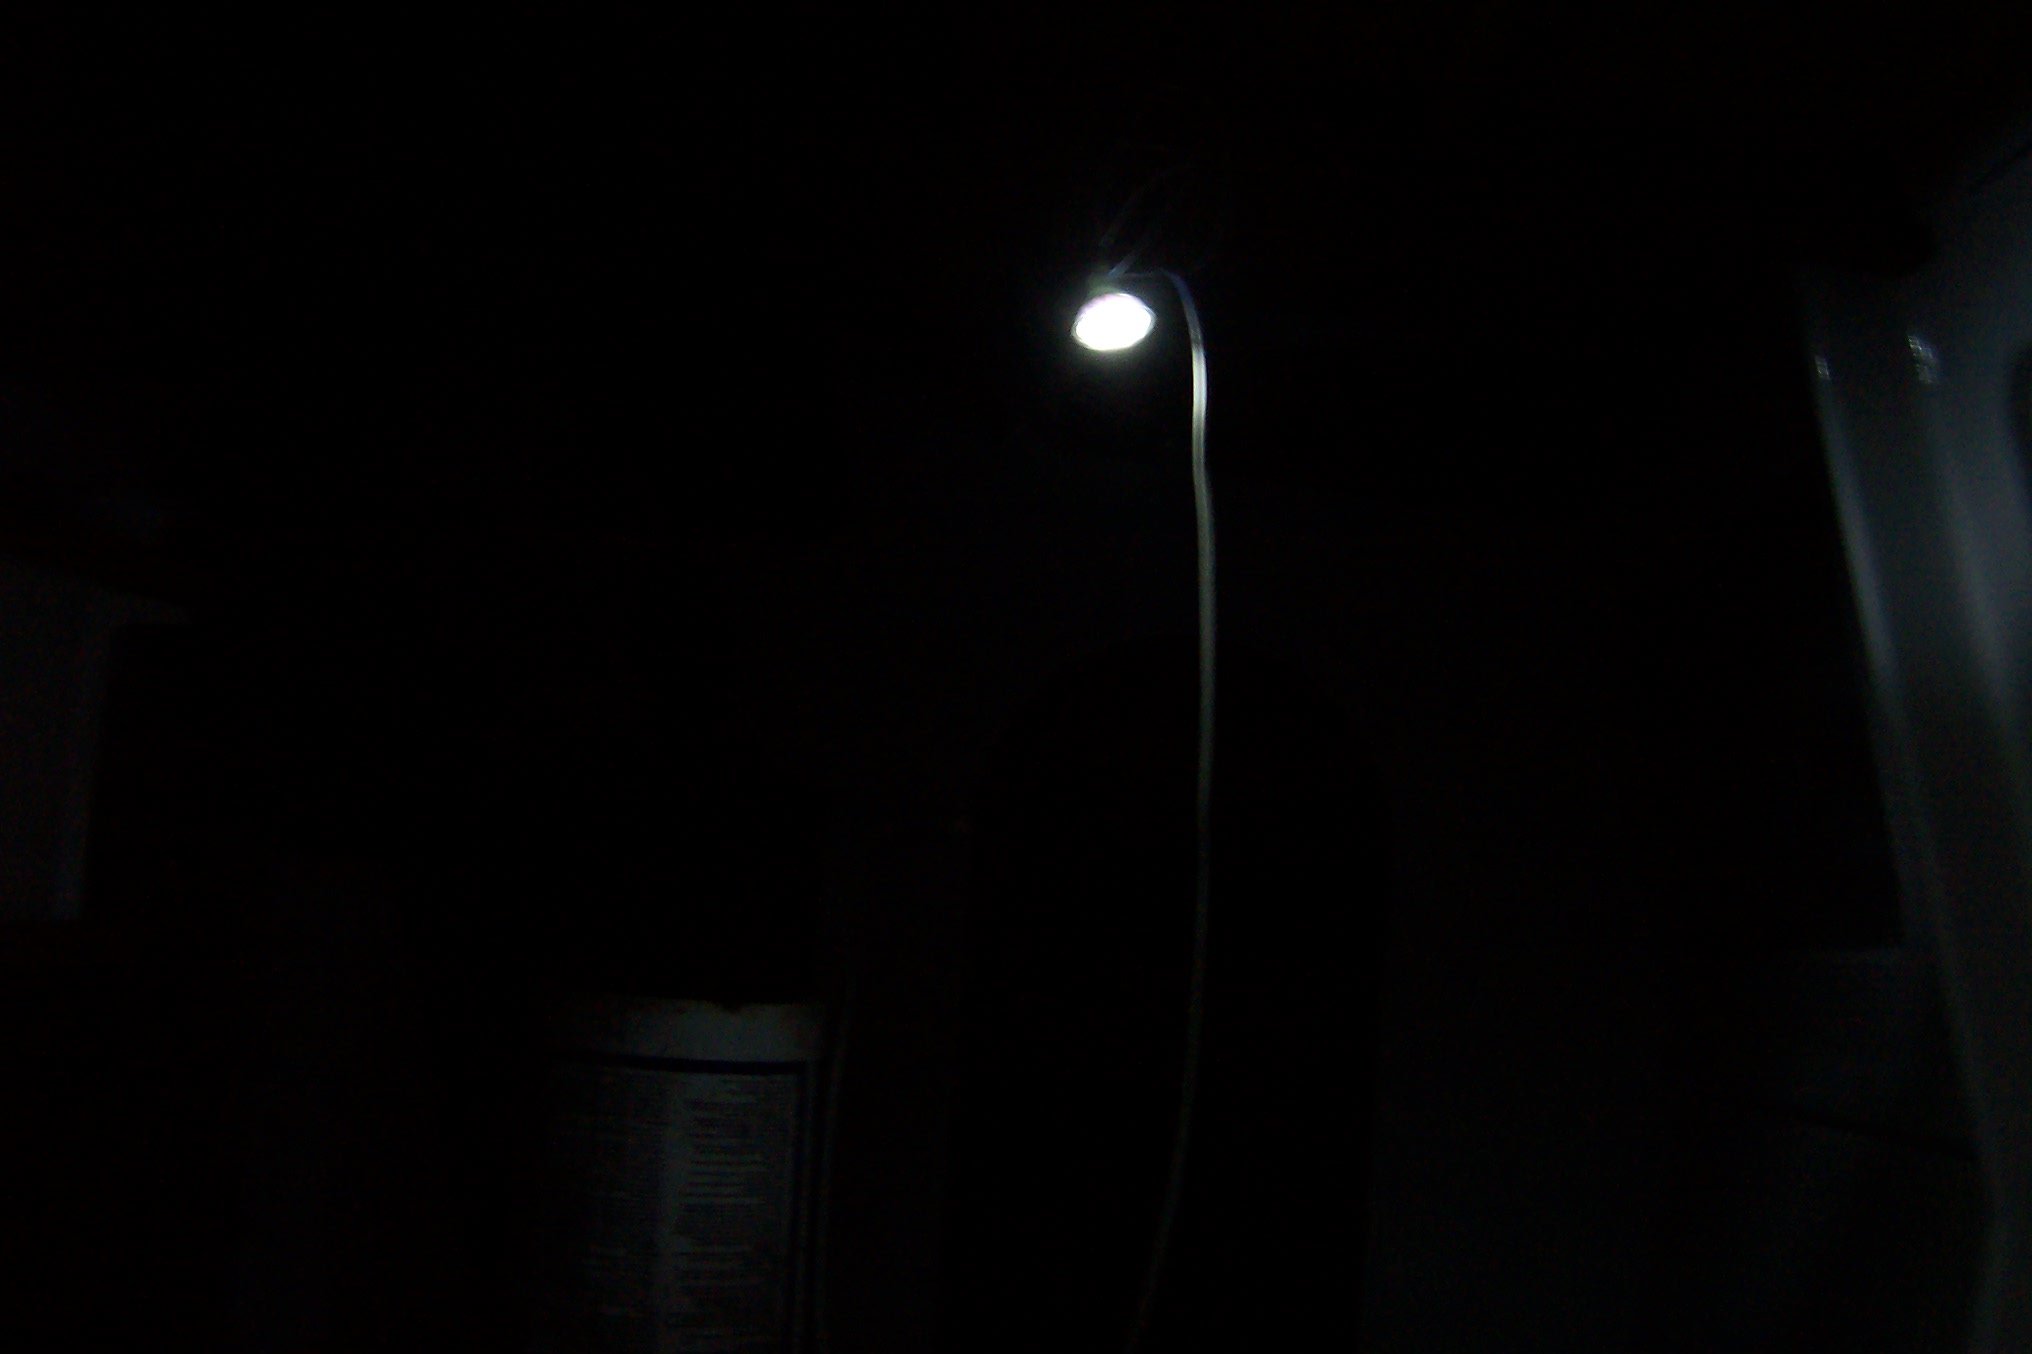
wiring running down to the targa for solar and light
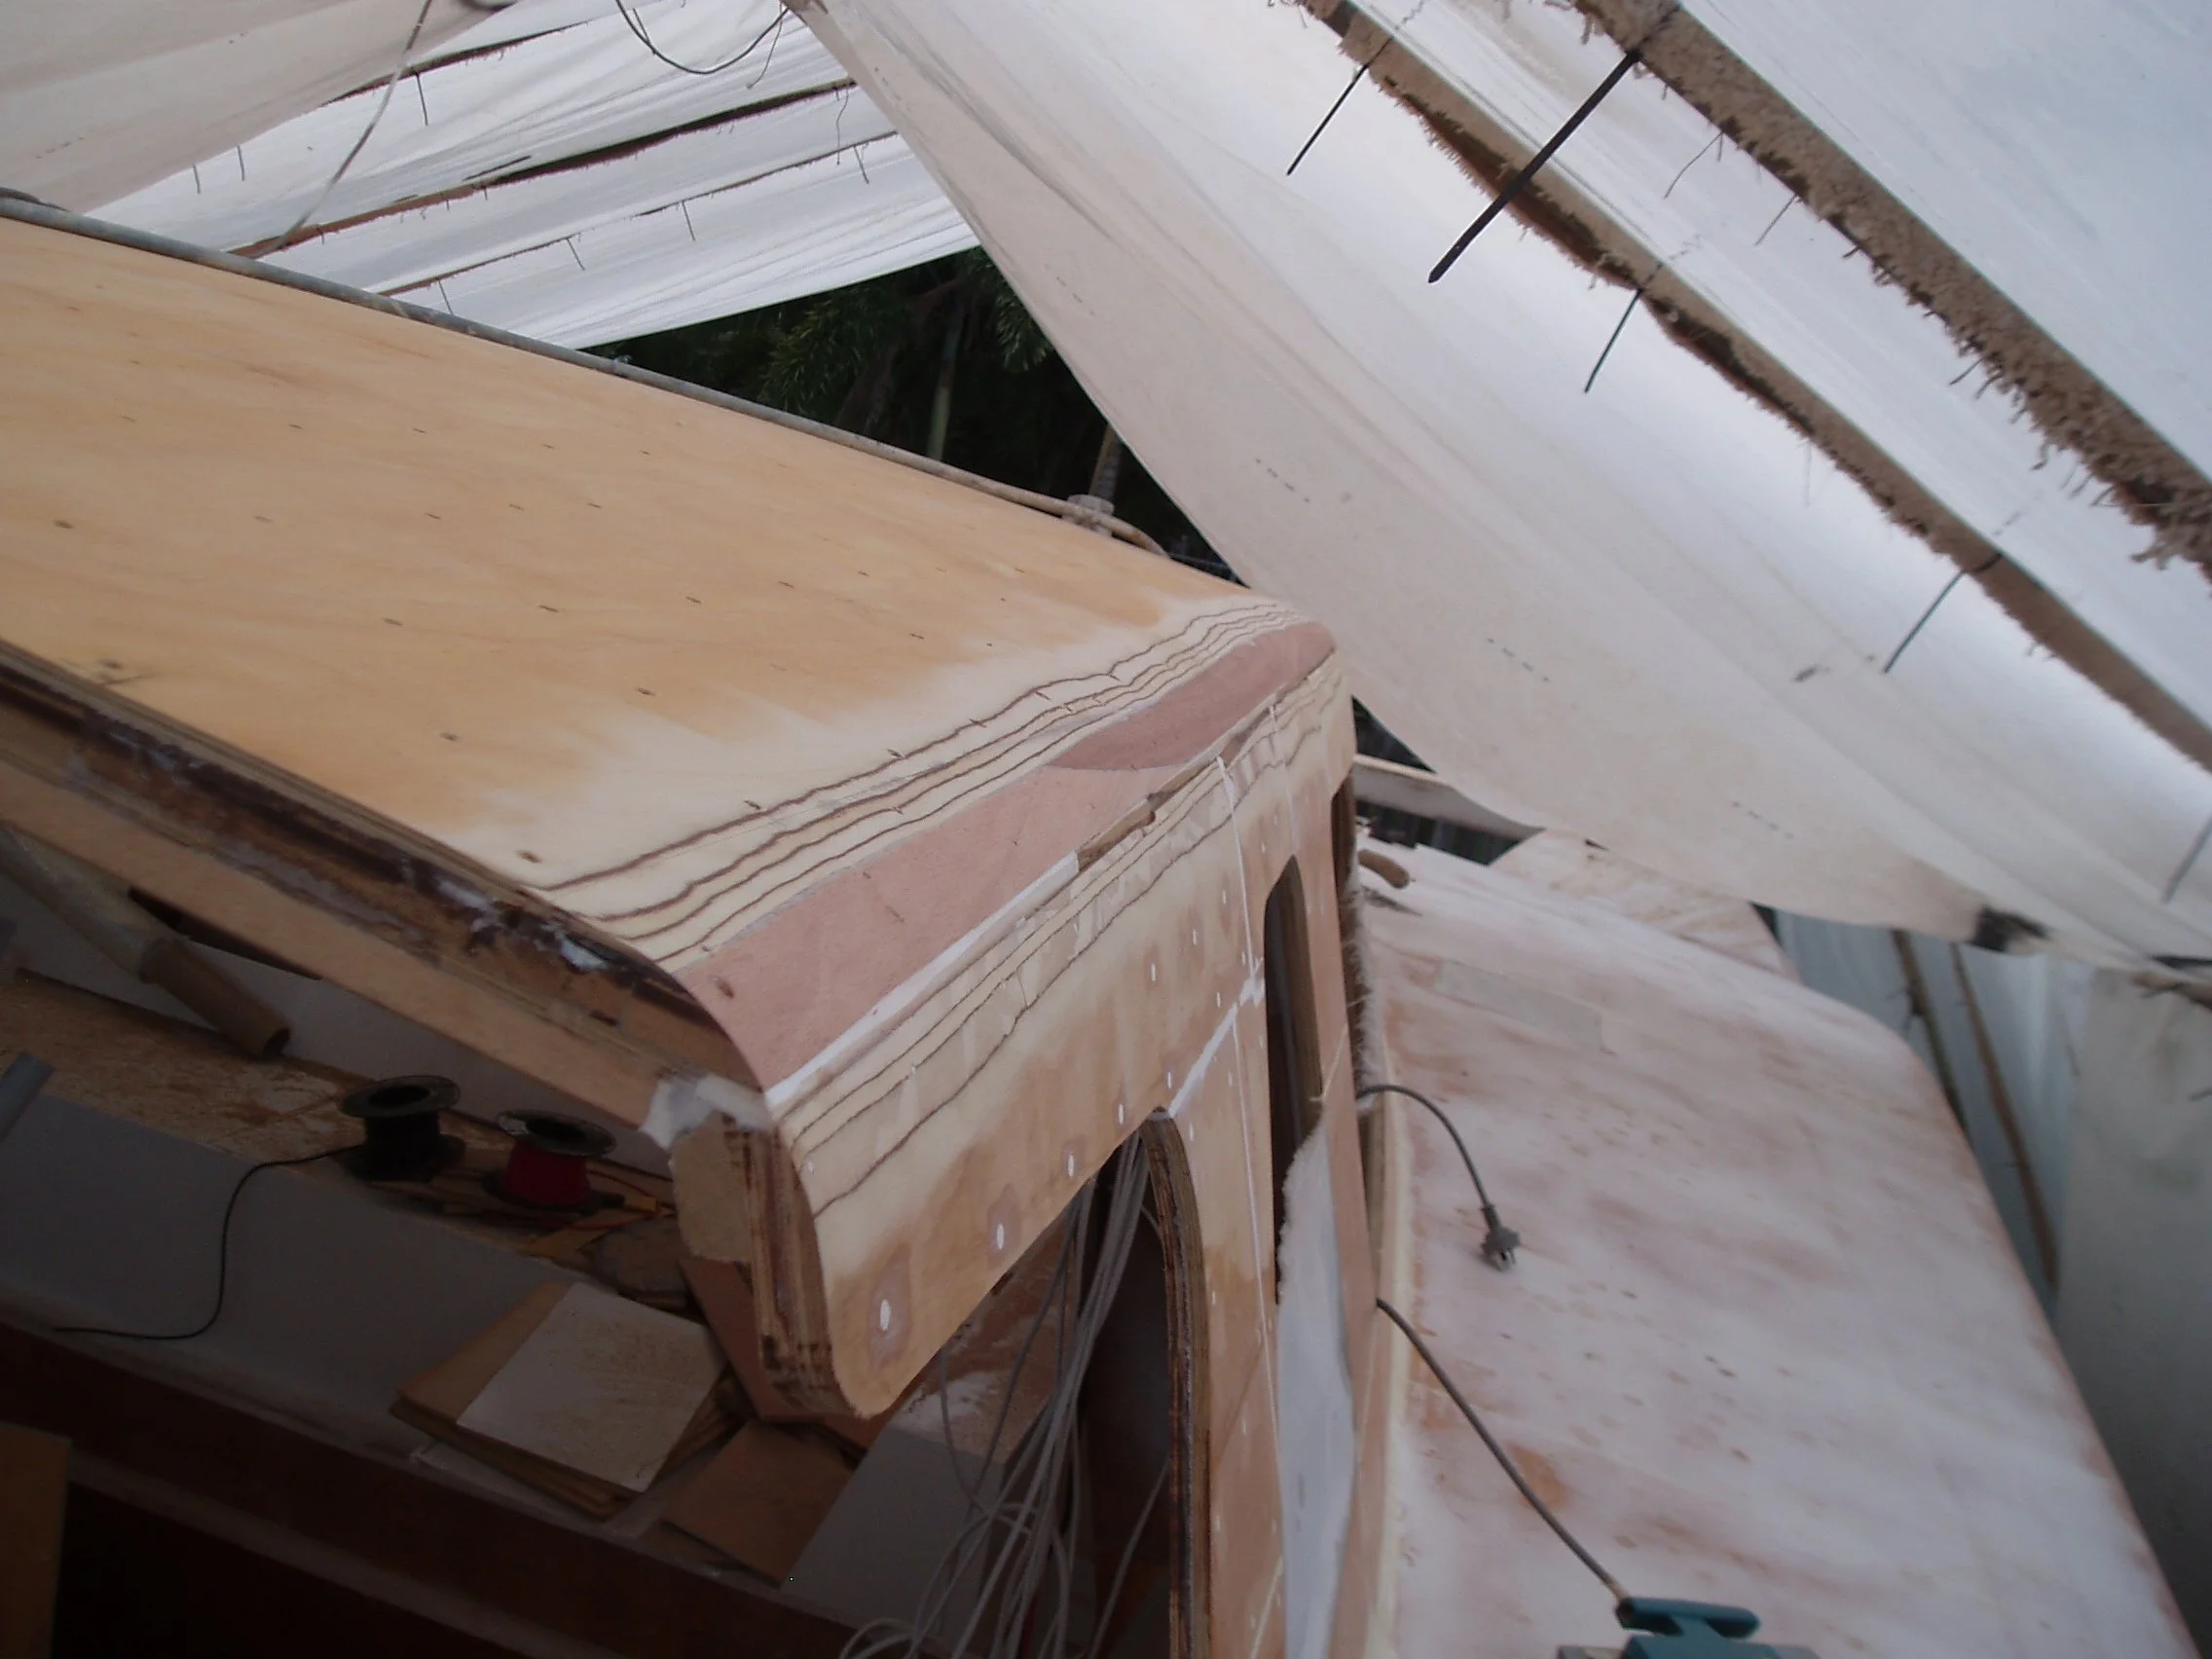
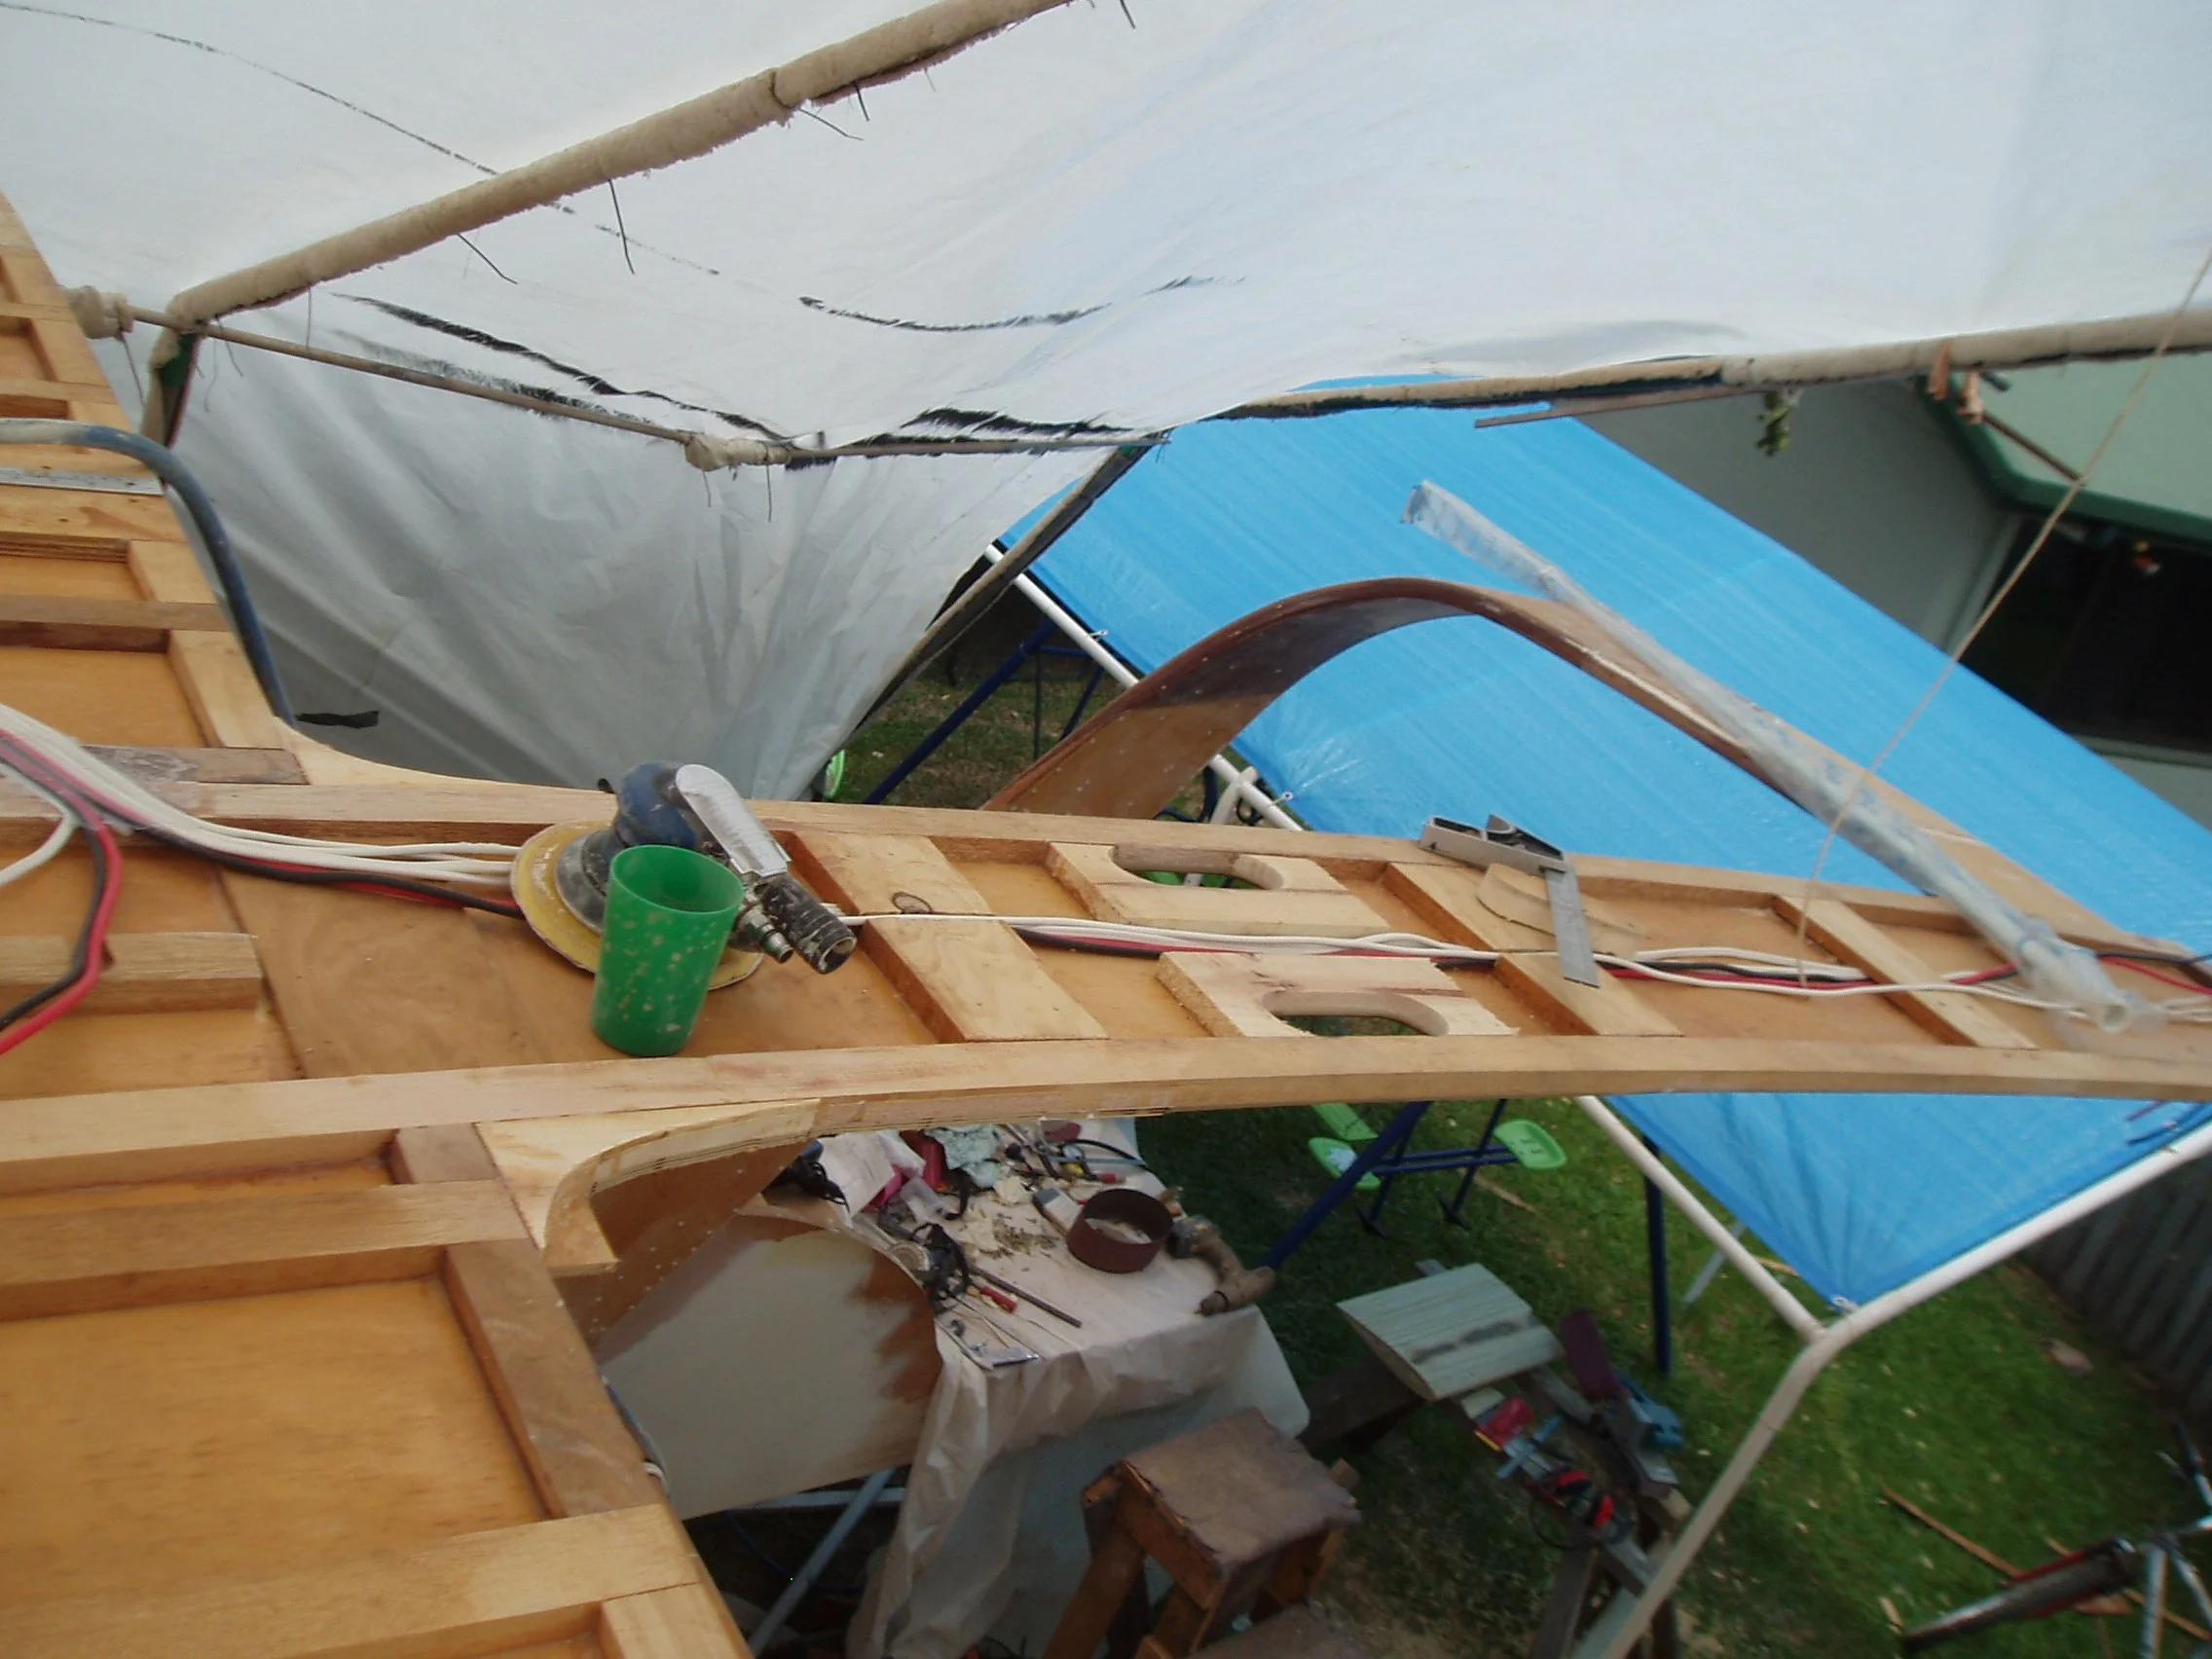
planed off excess timber to create a nice curve to glass up.
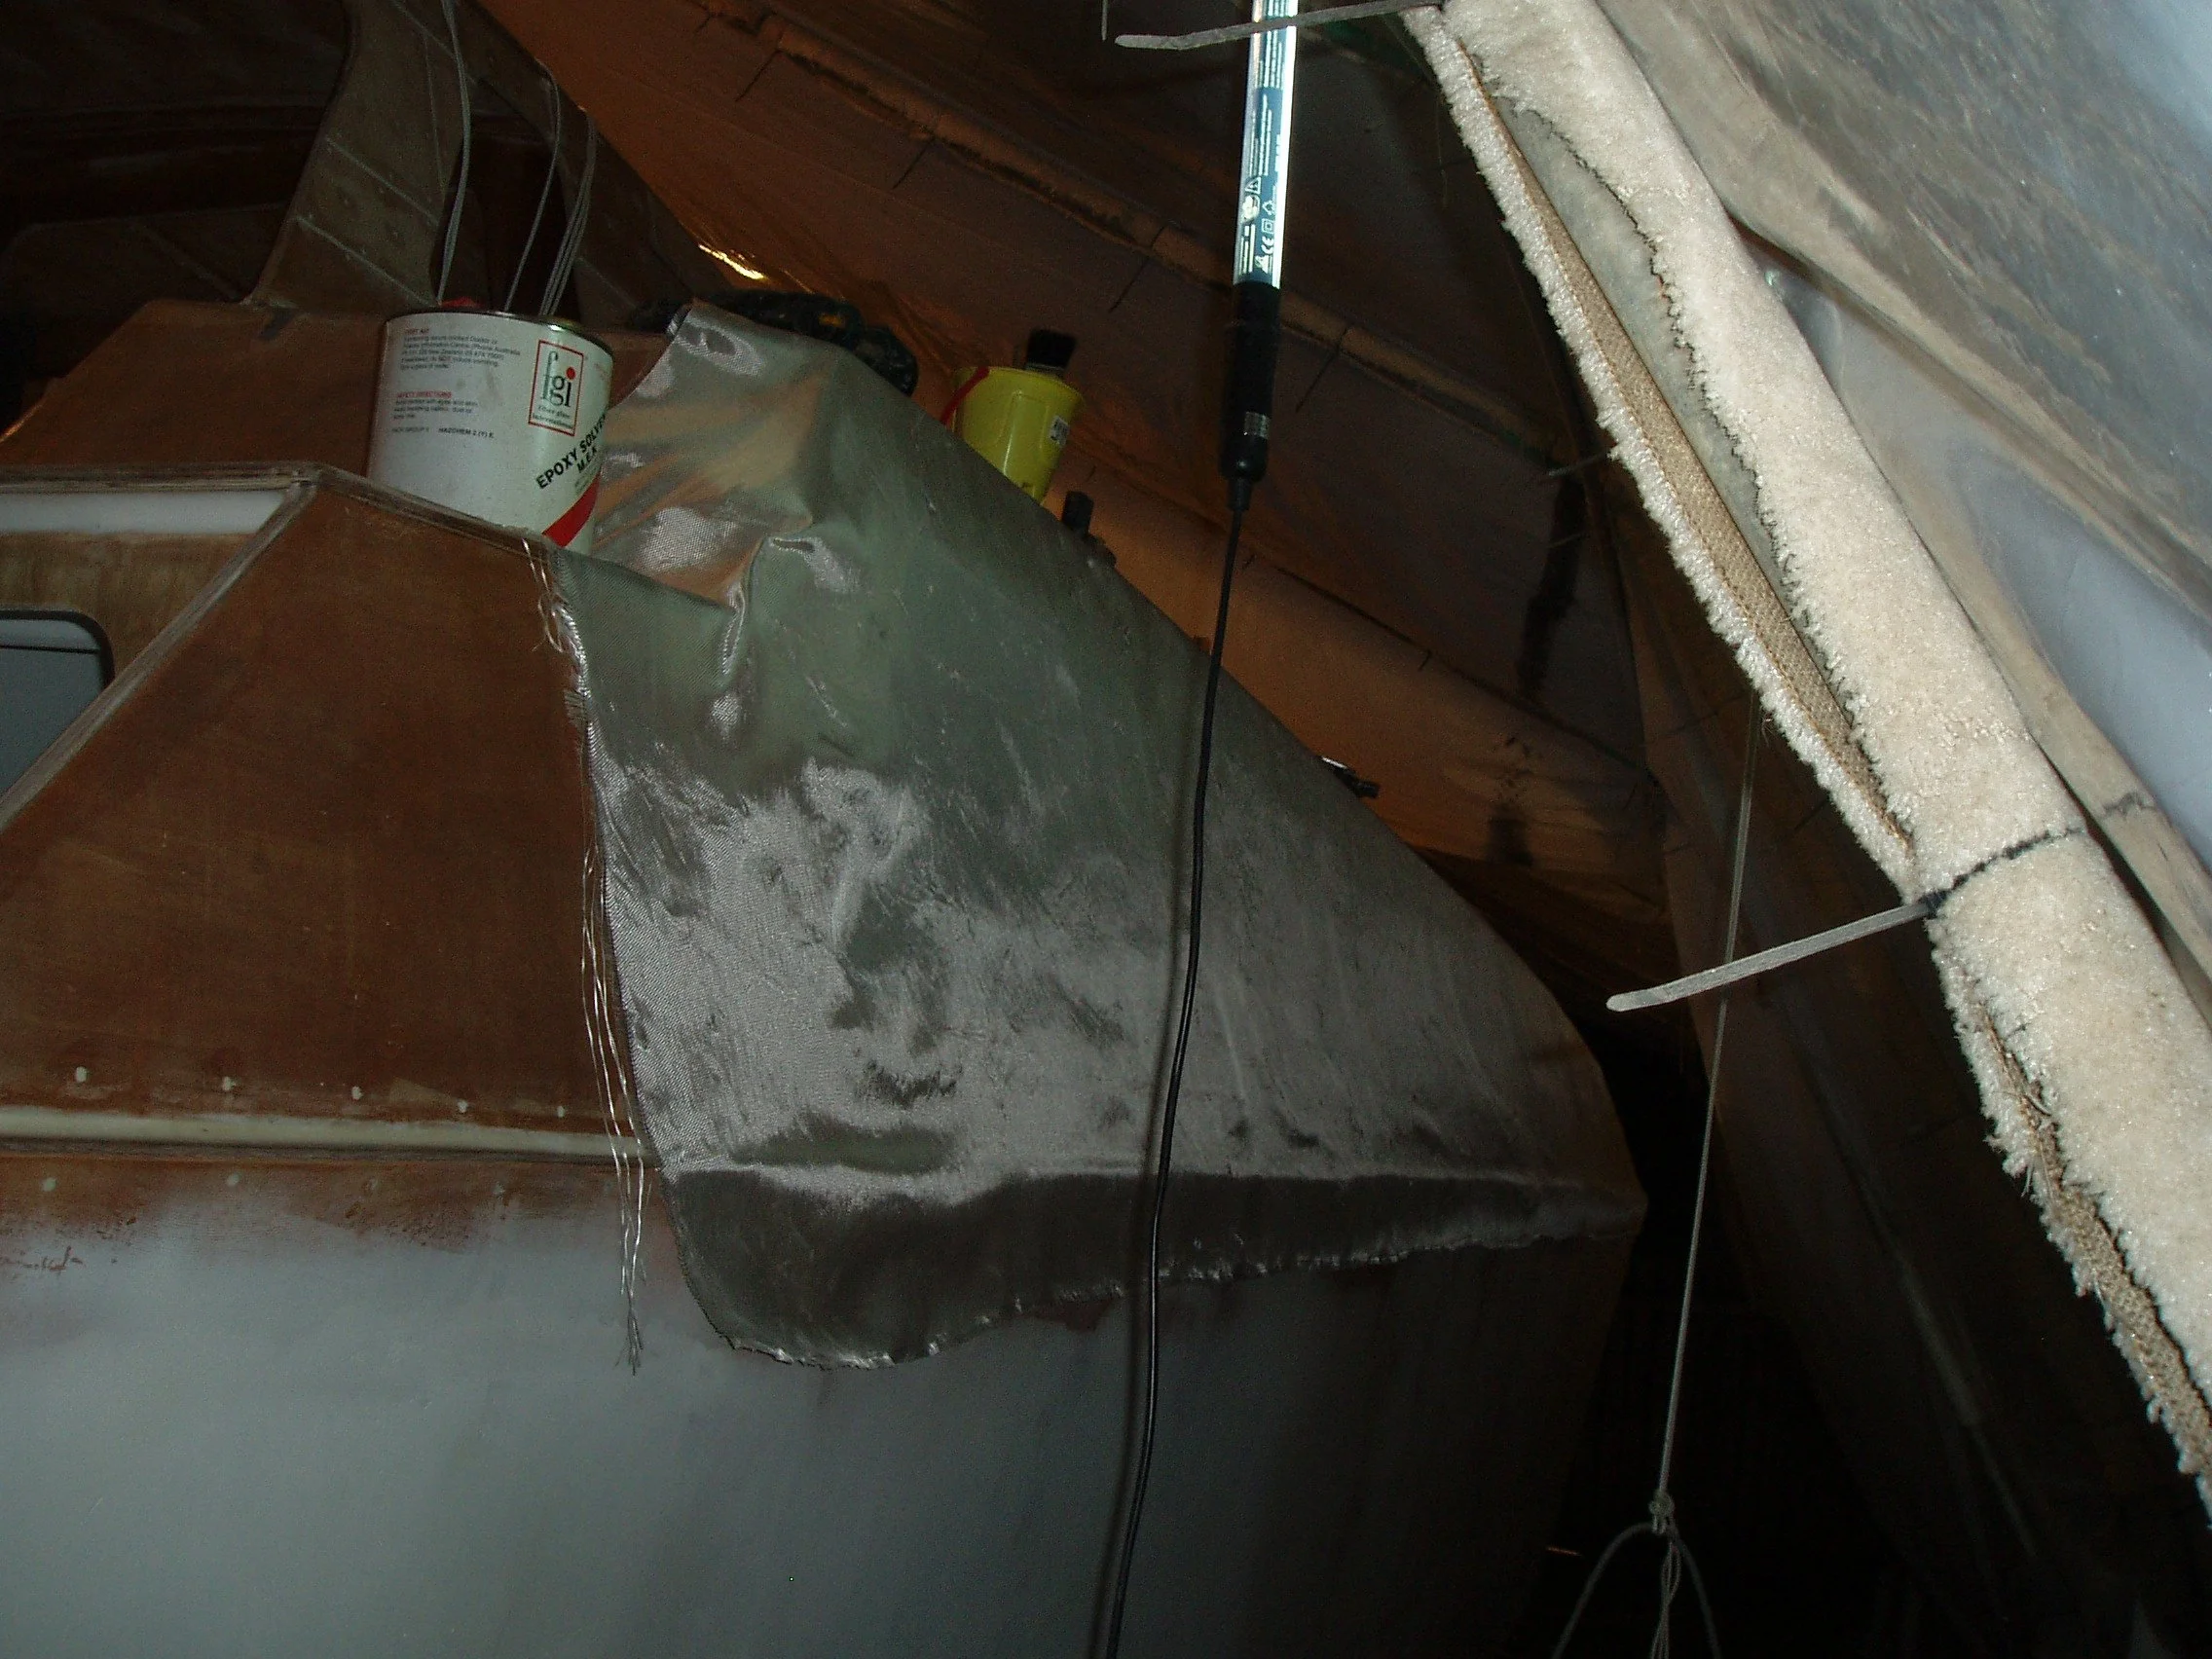
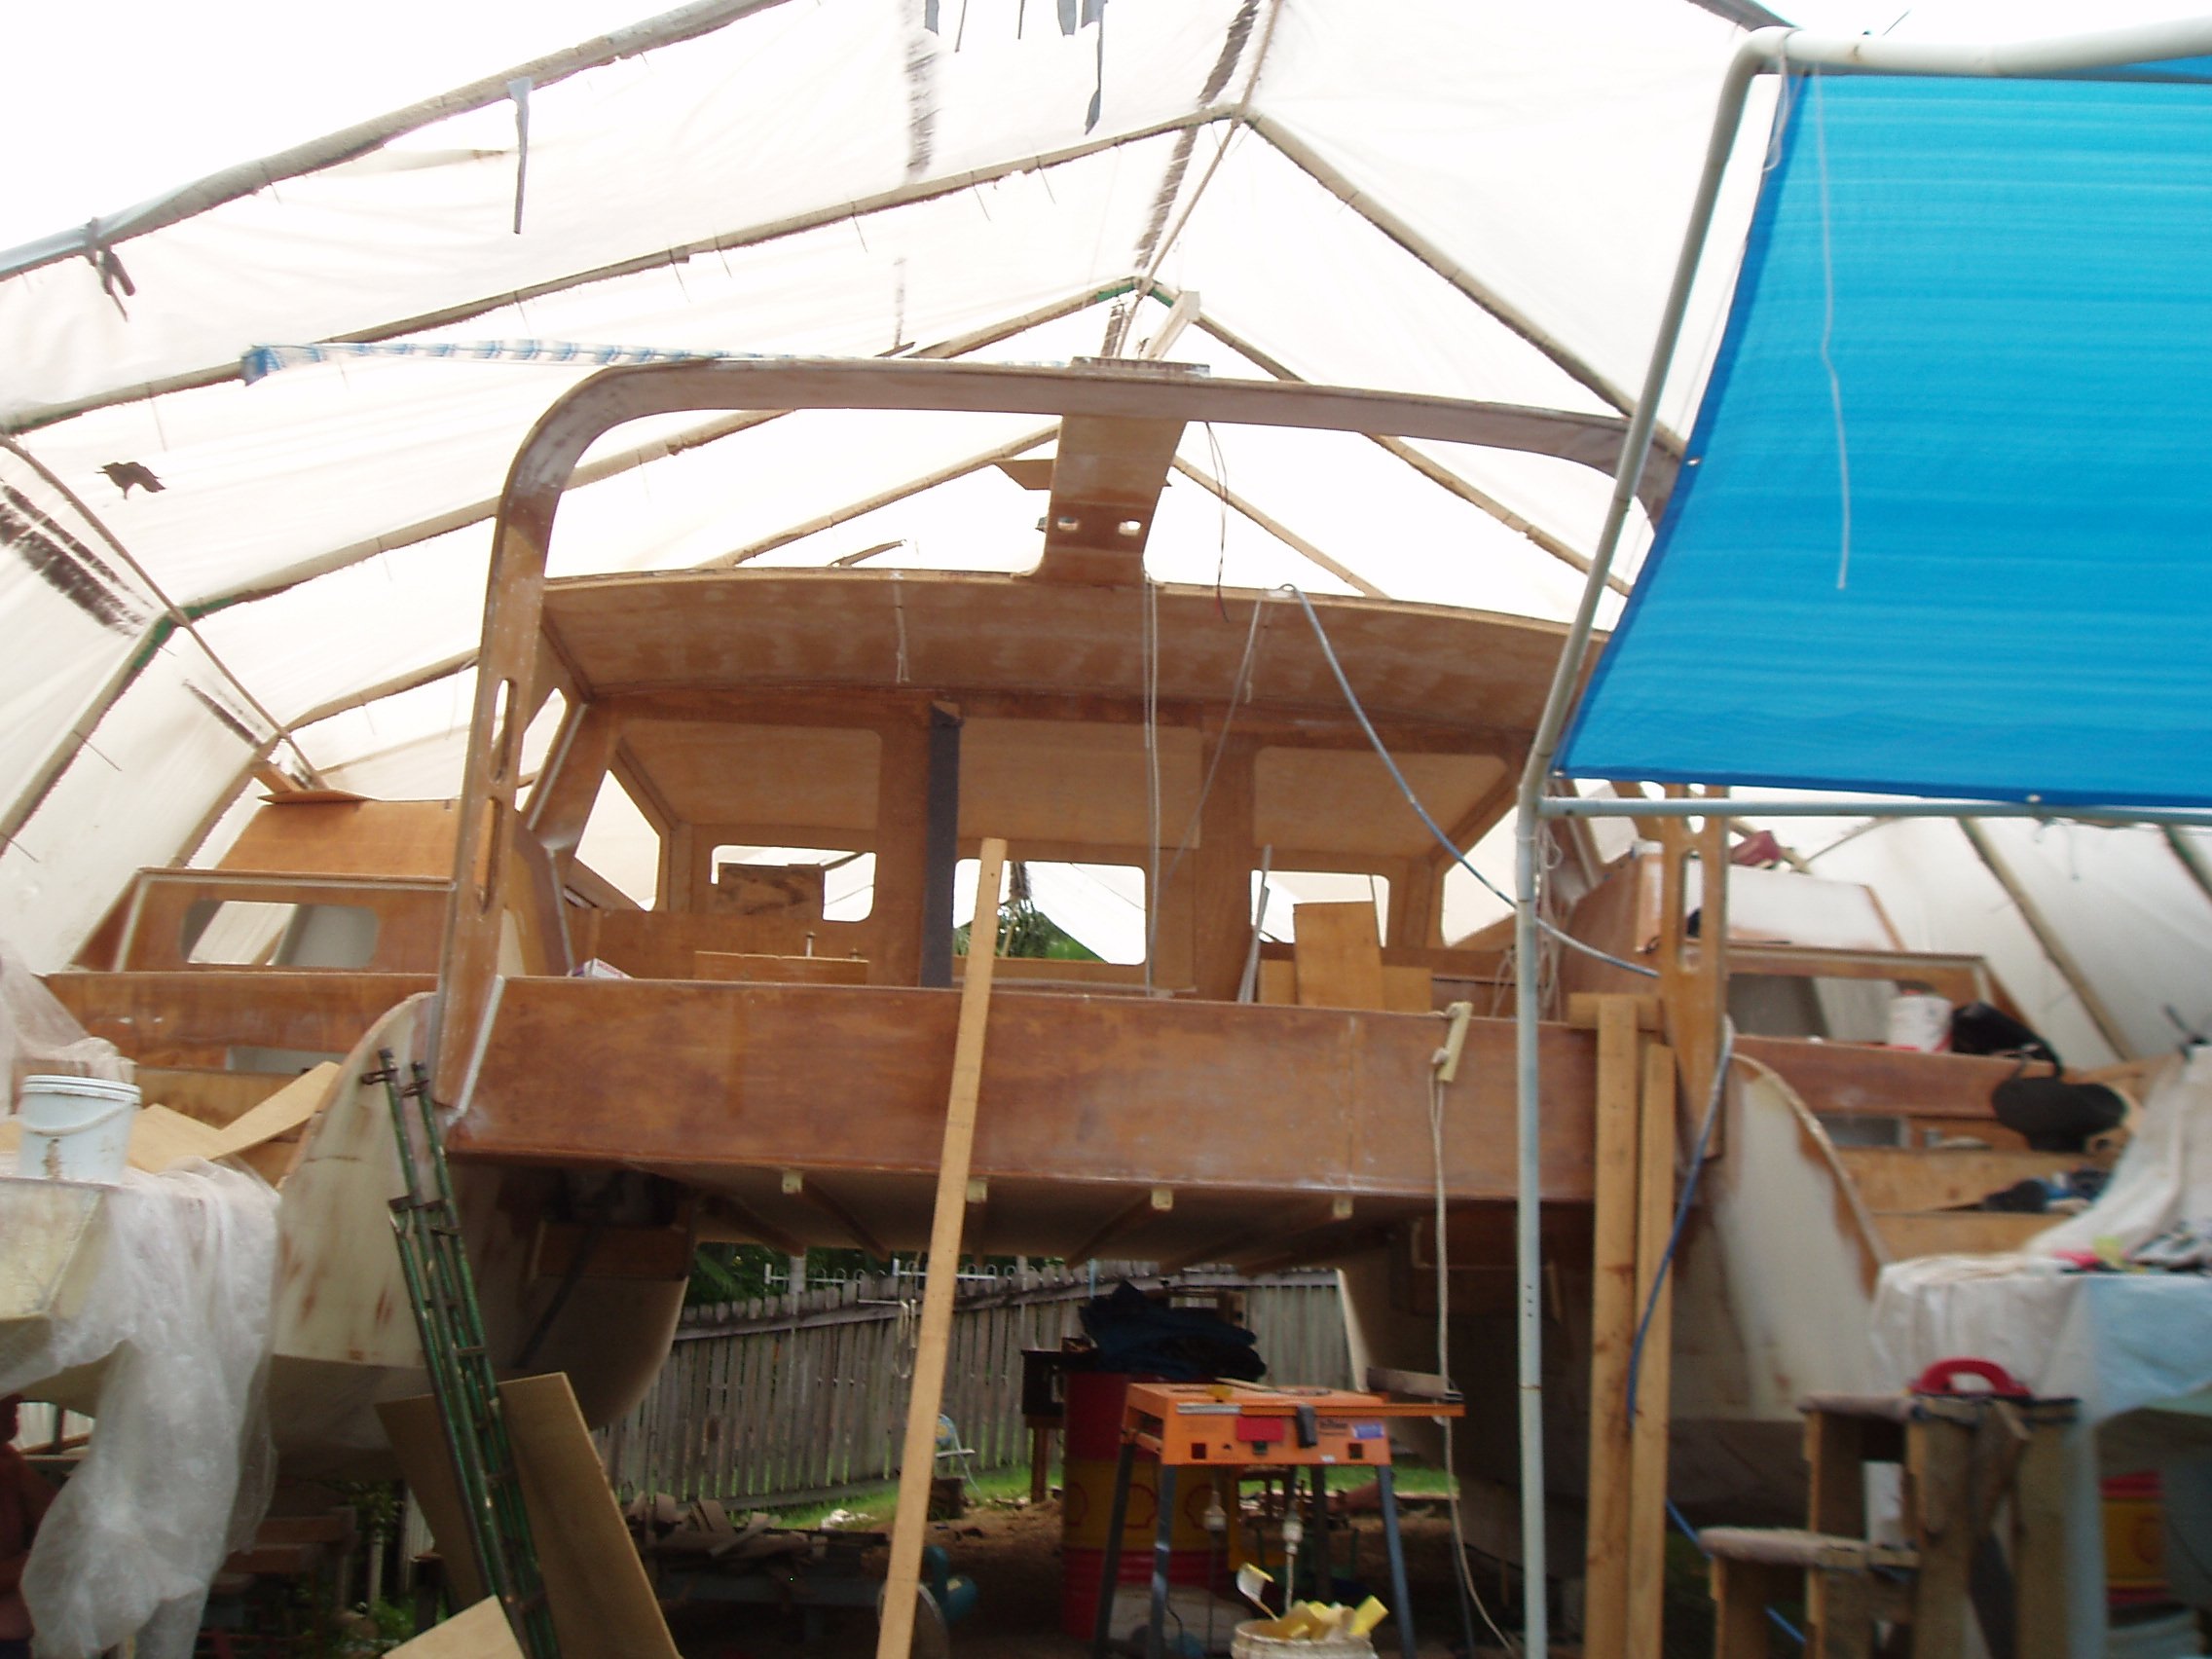
first glass for hull sides and topdecks being fitted
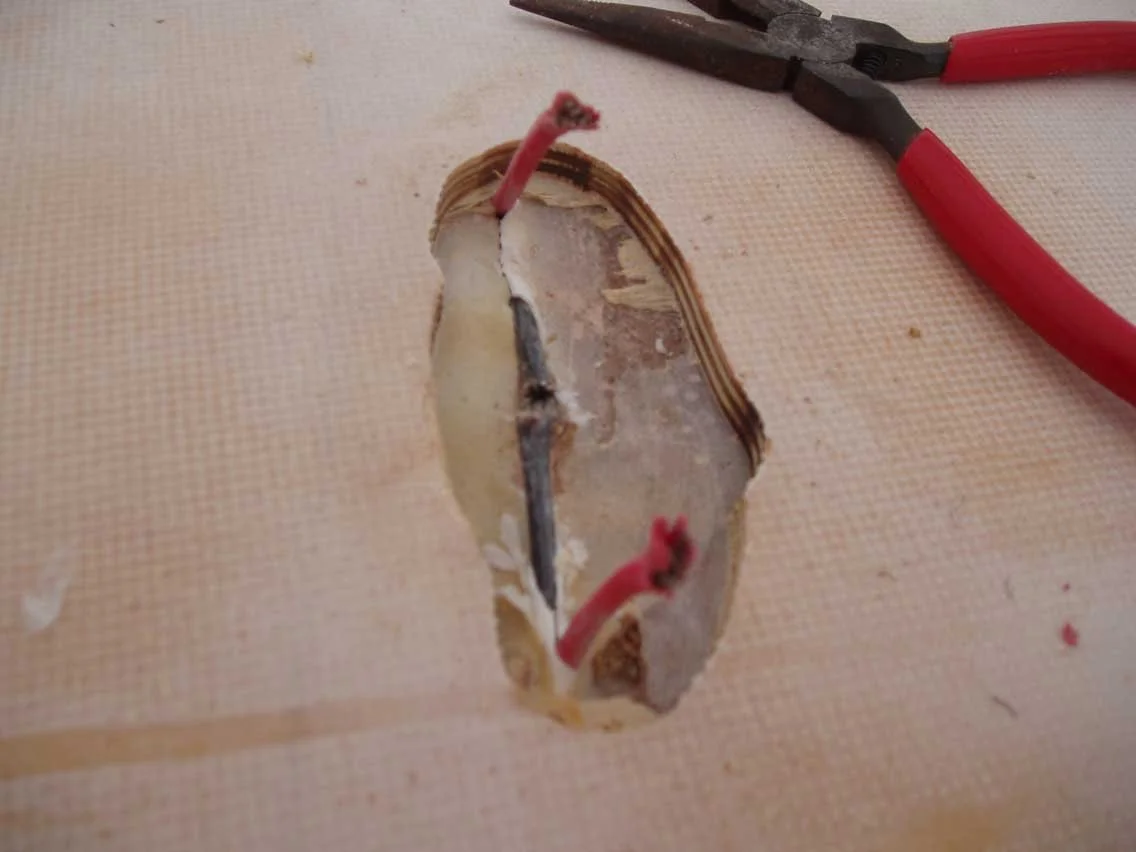
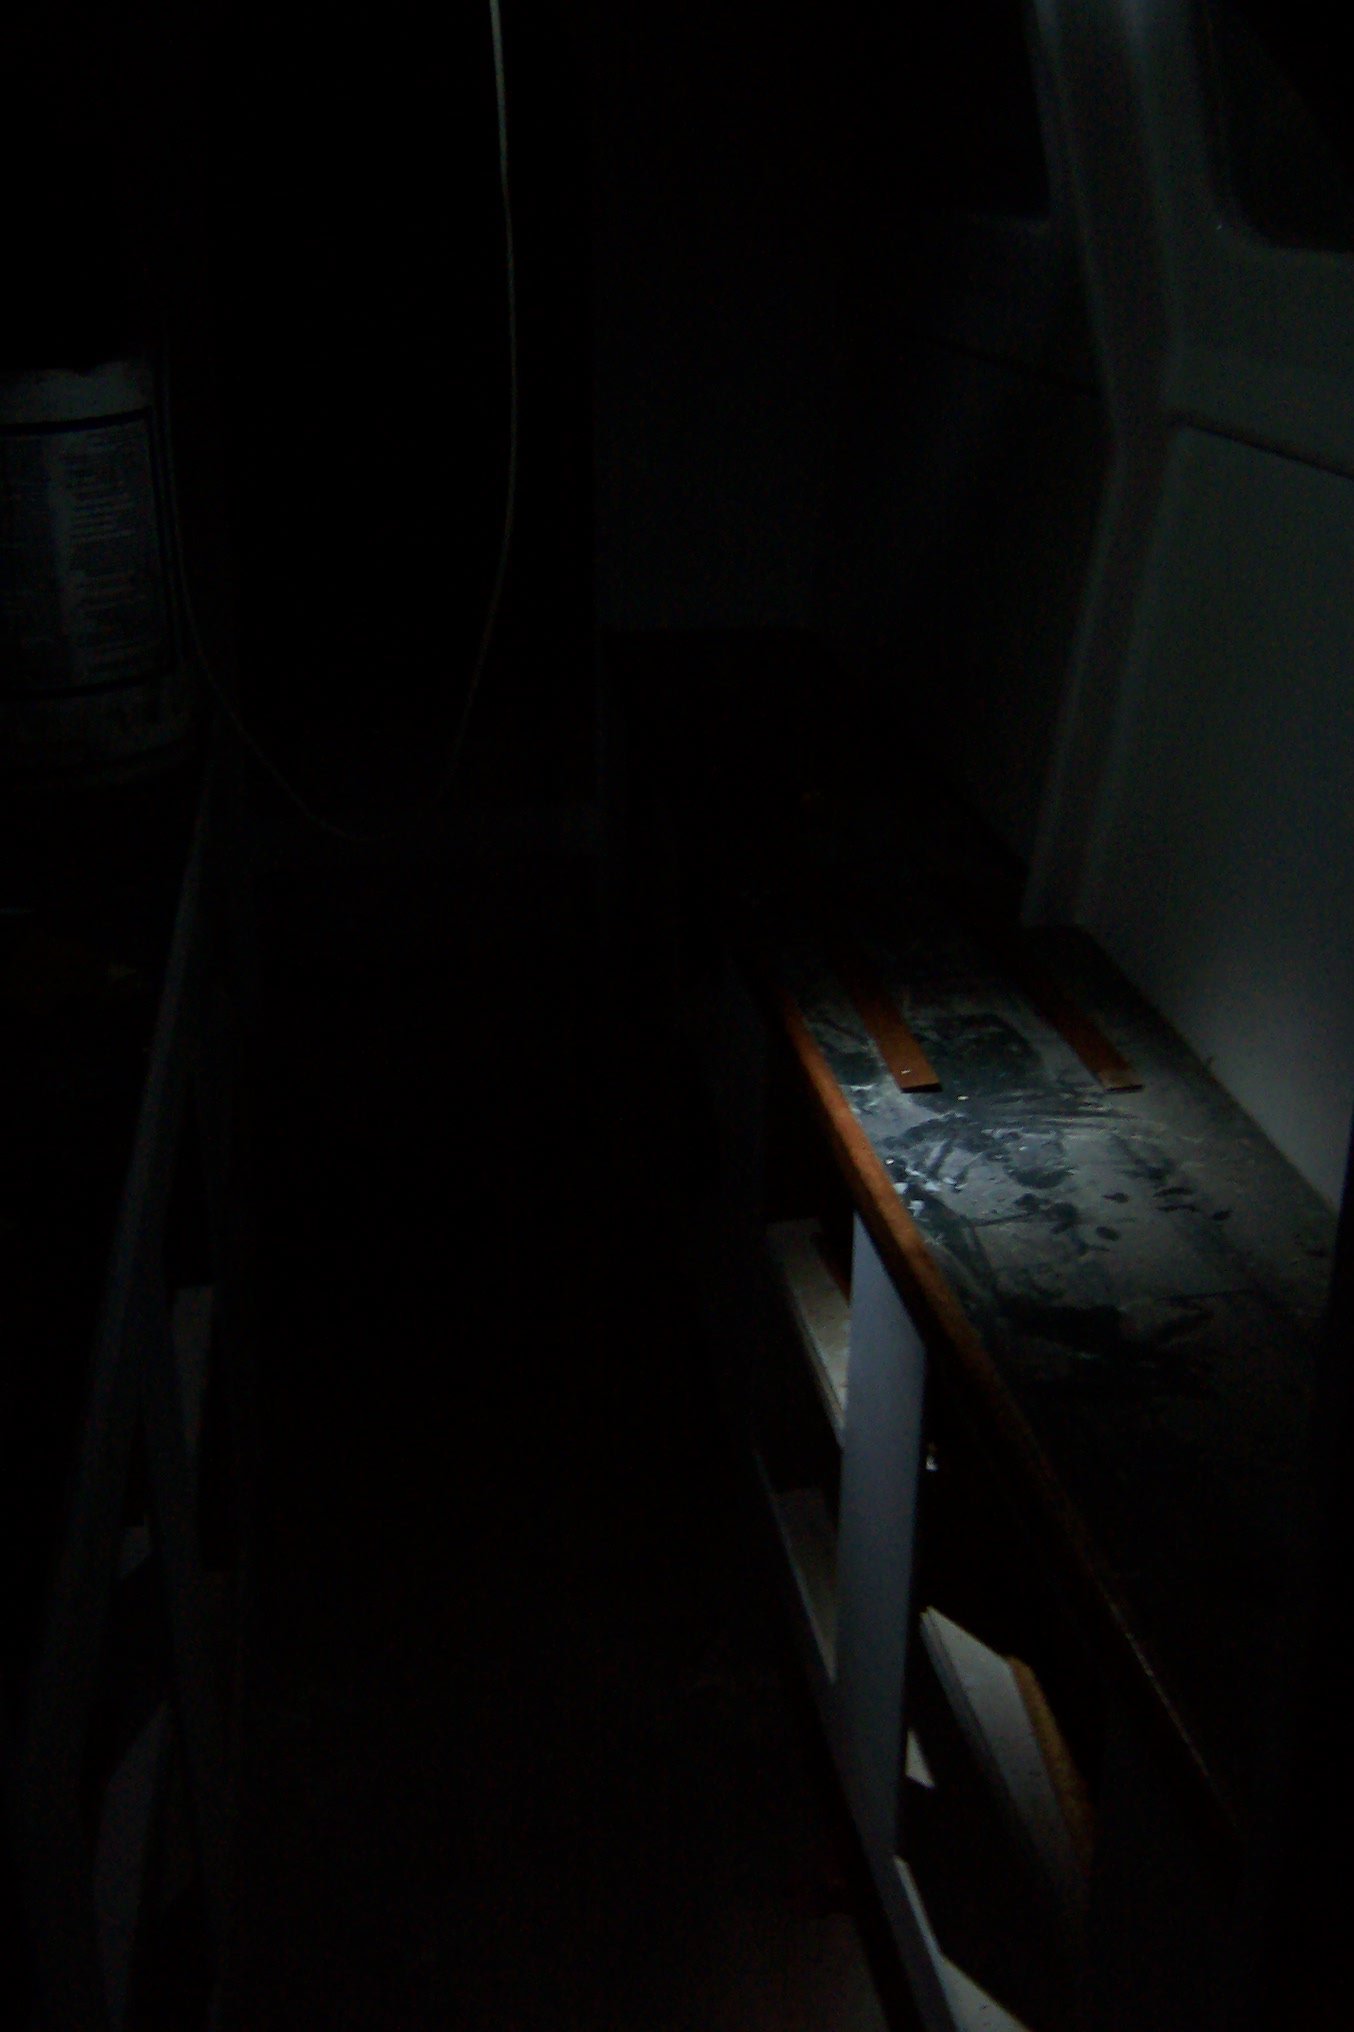
despite the aforementioned comment about knowing where things are you can still drill a hole without think it through
not a difficult repair though
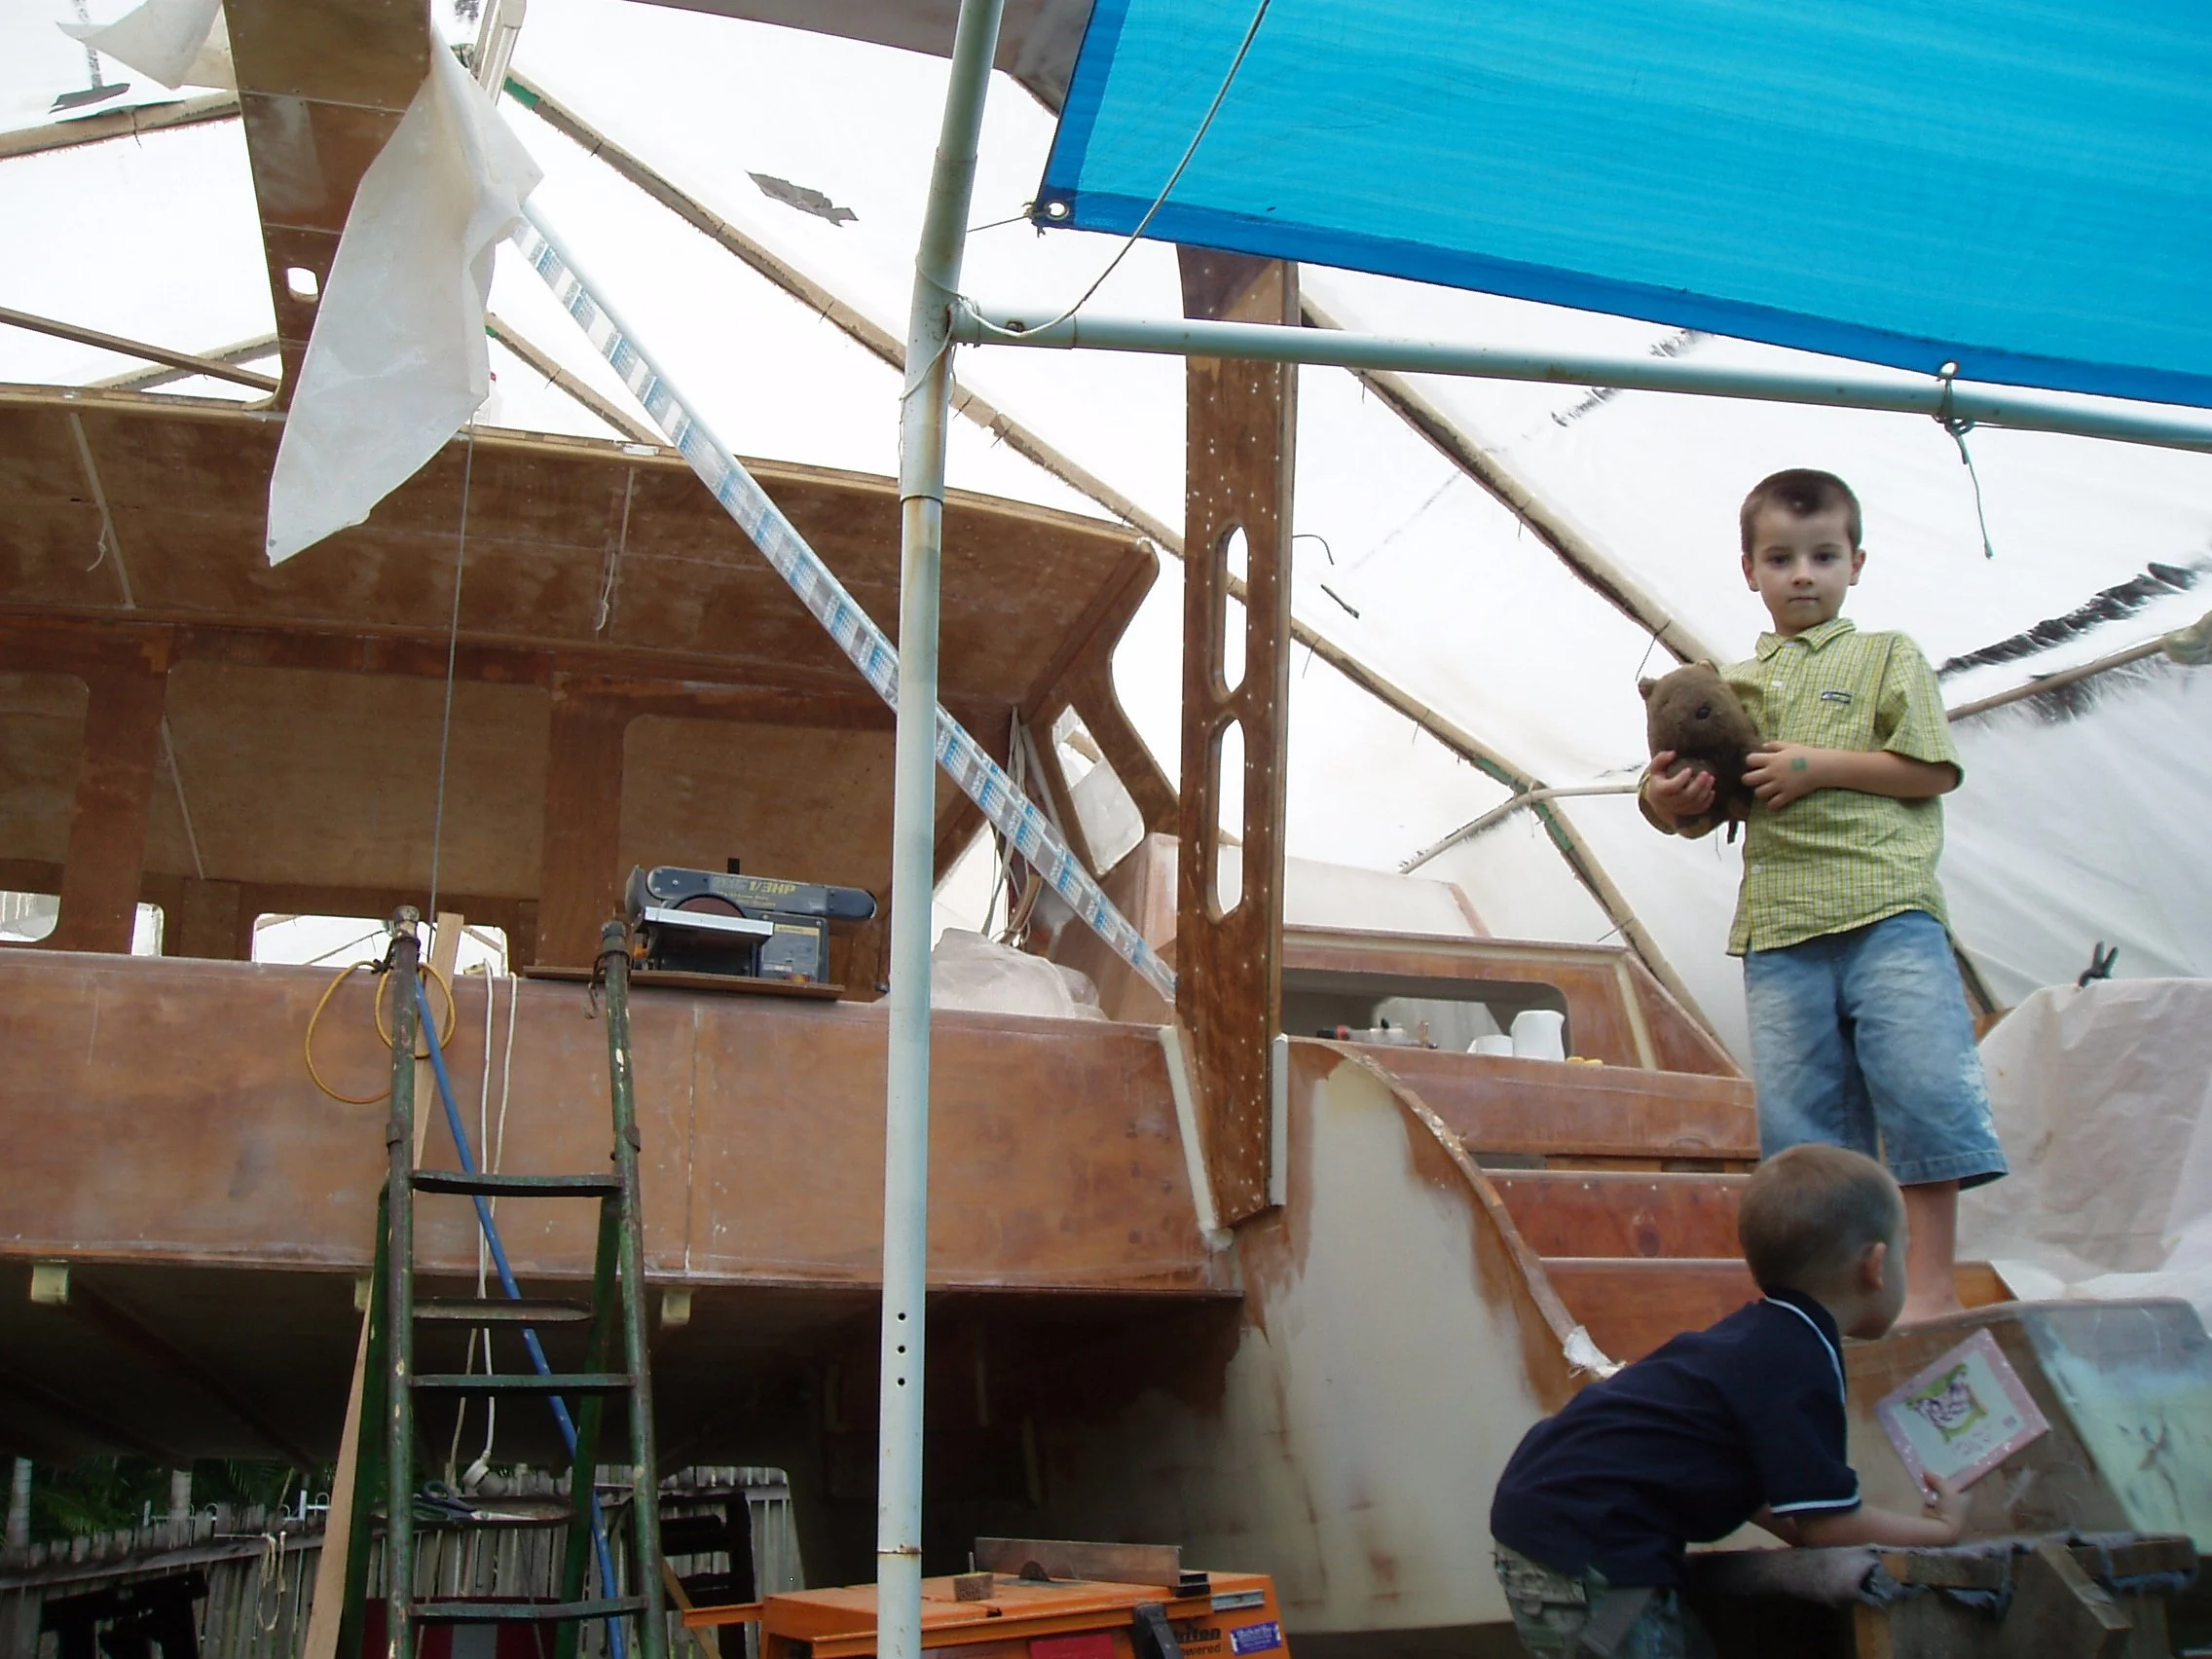
the kids loved the giant playground i was building them
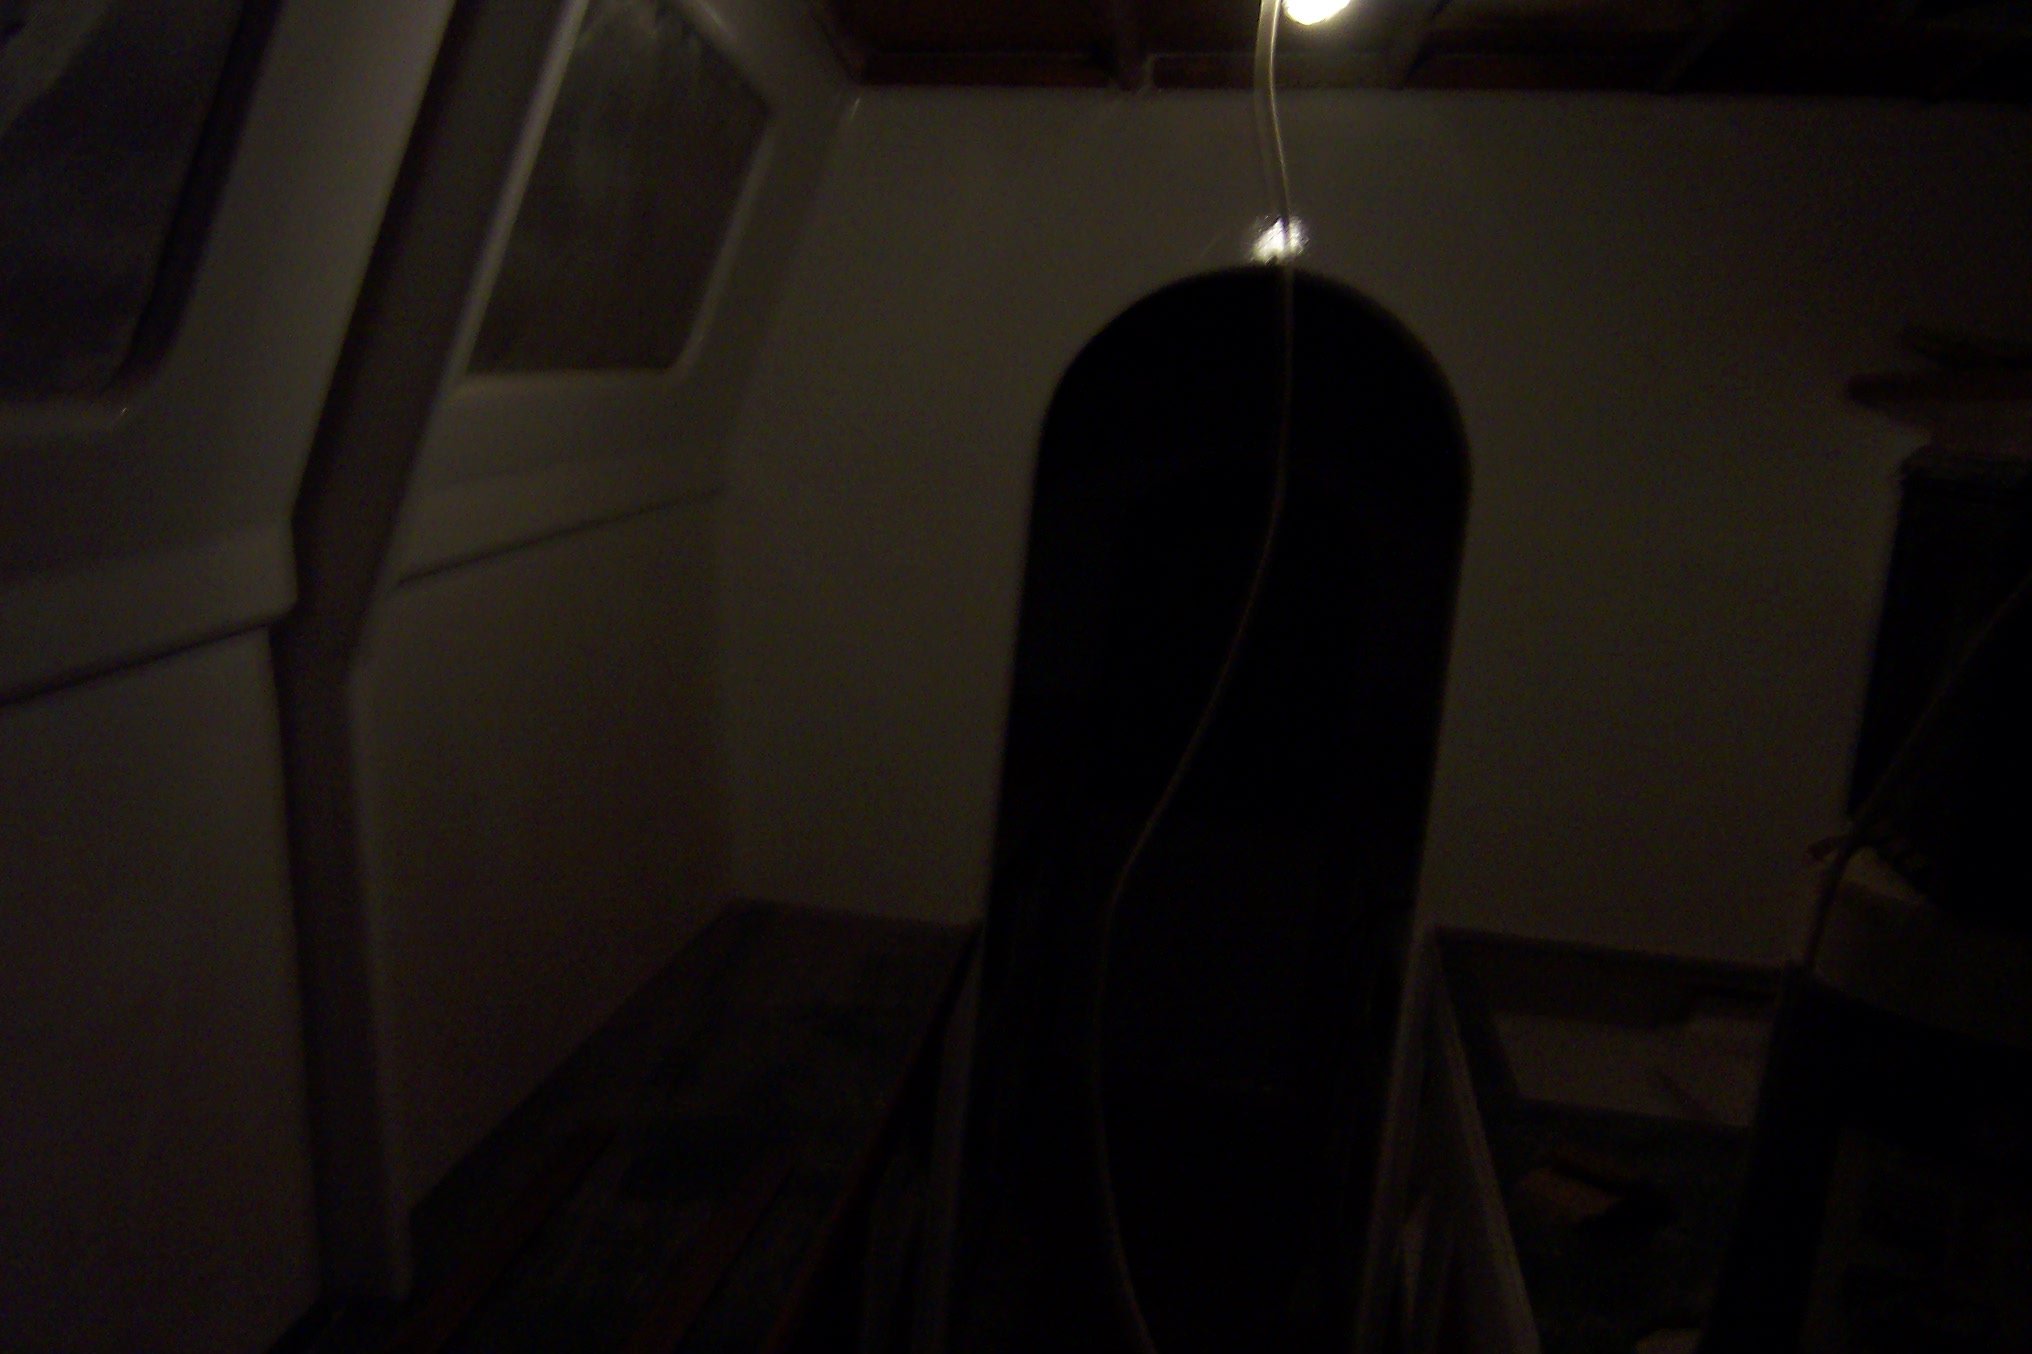
testing out different types of high efficiency bulbs

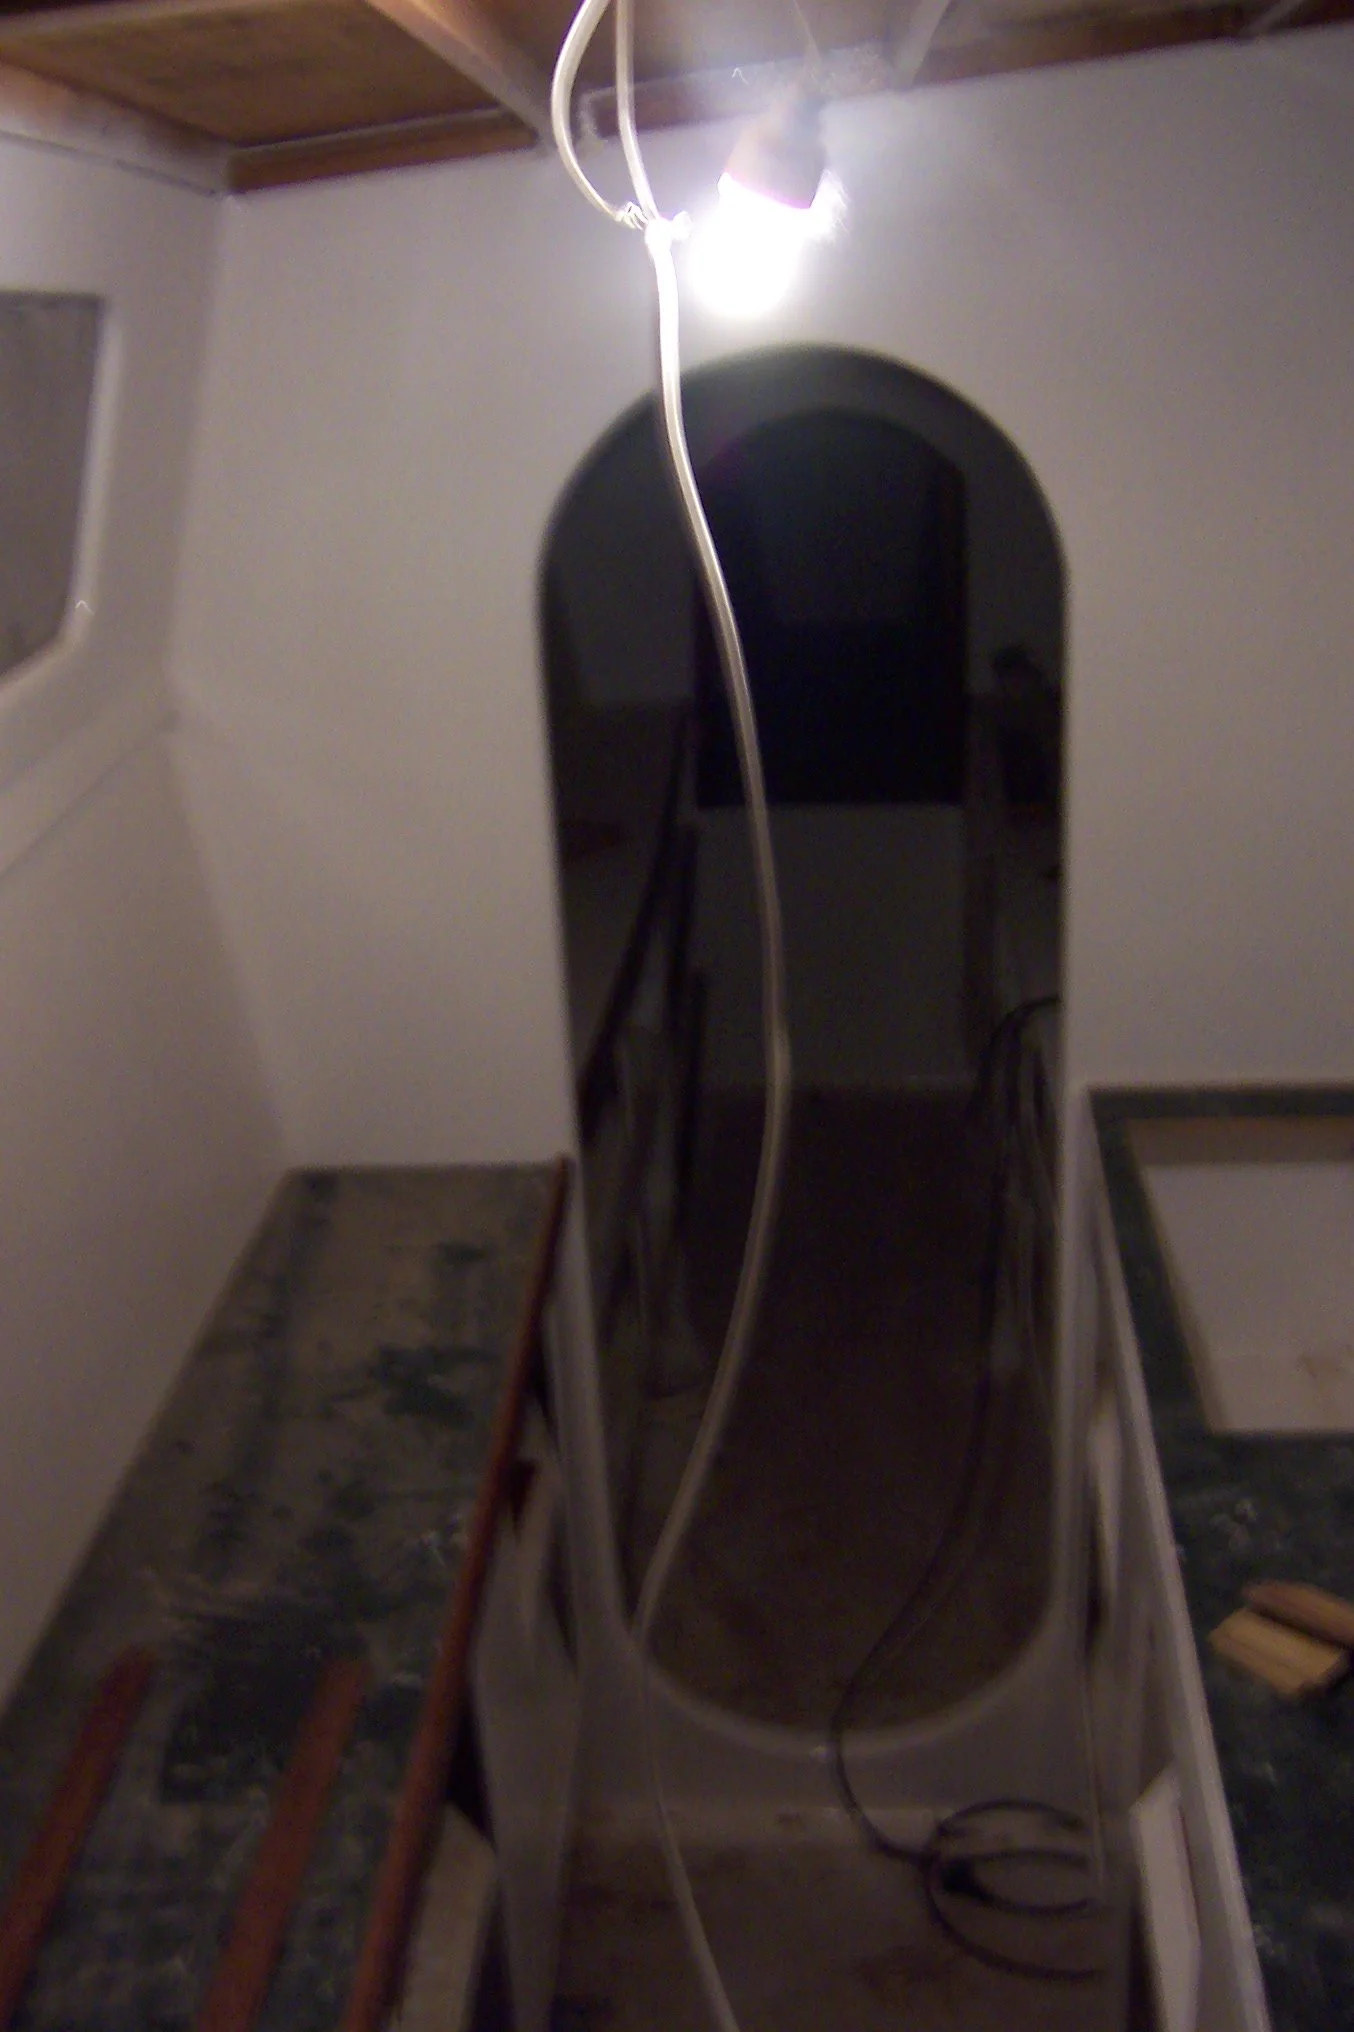

these were the best and were a cold cathode flourescent that consumed a massive 2 watts which was pretty good at the time.


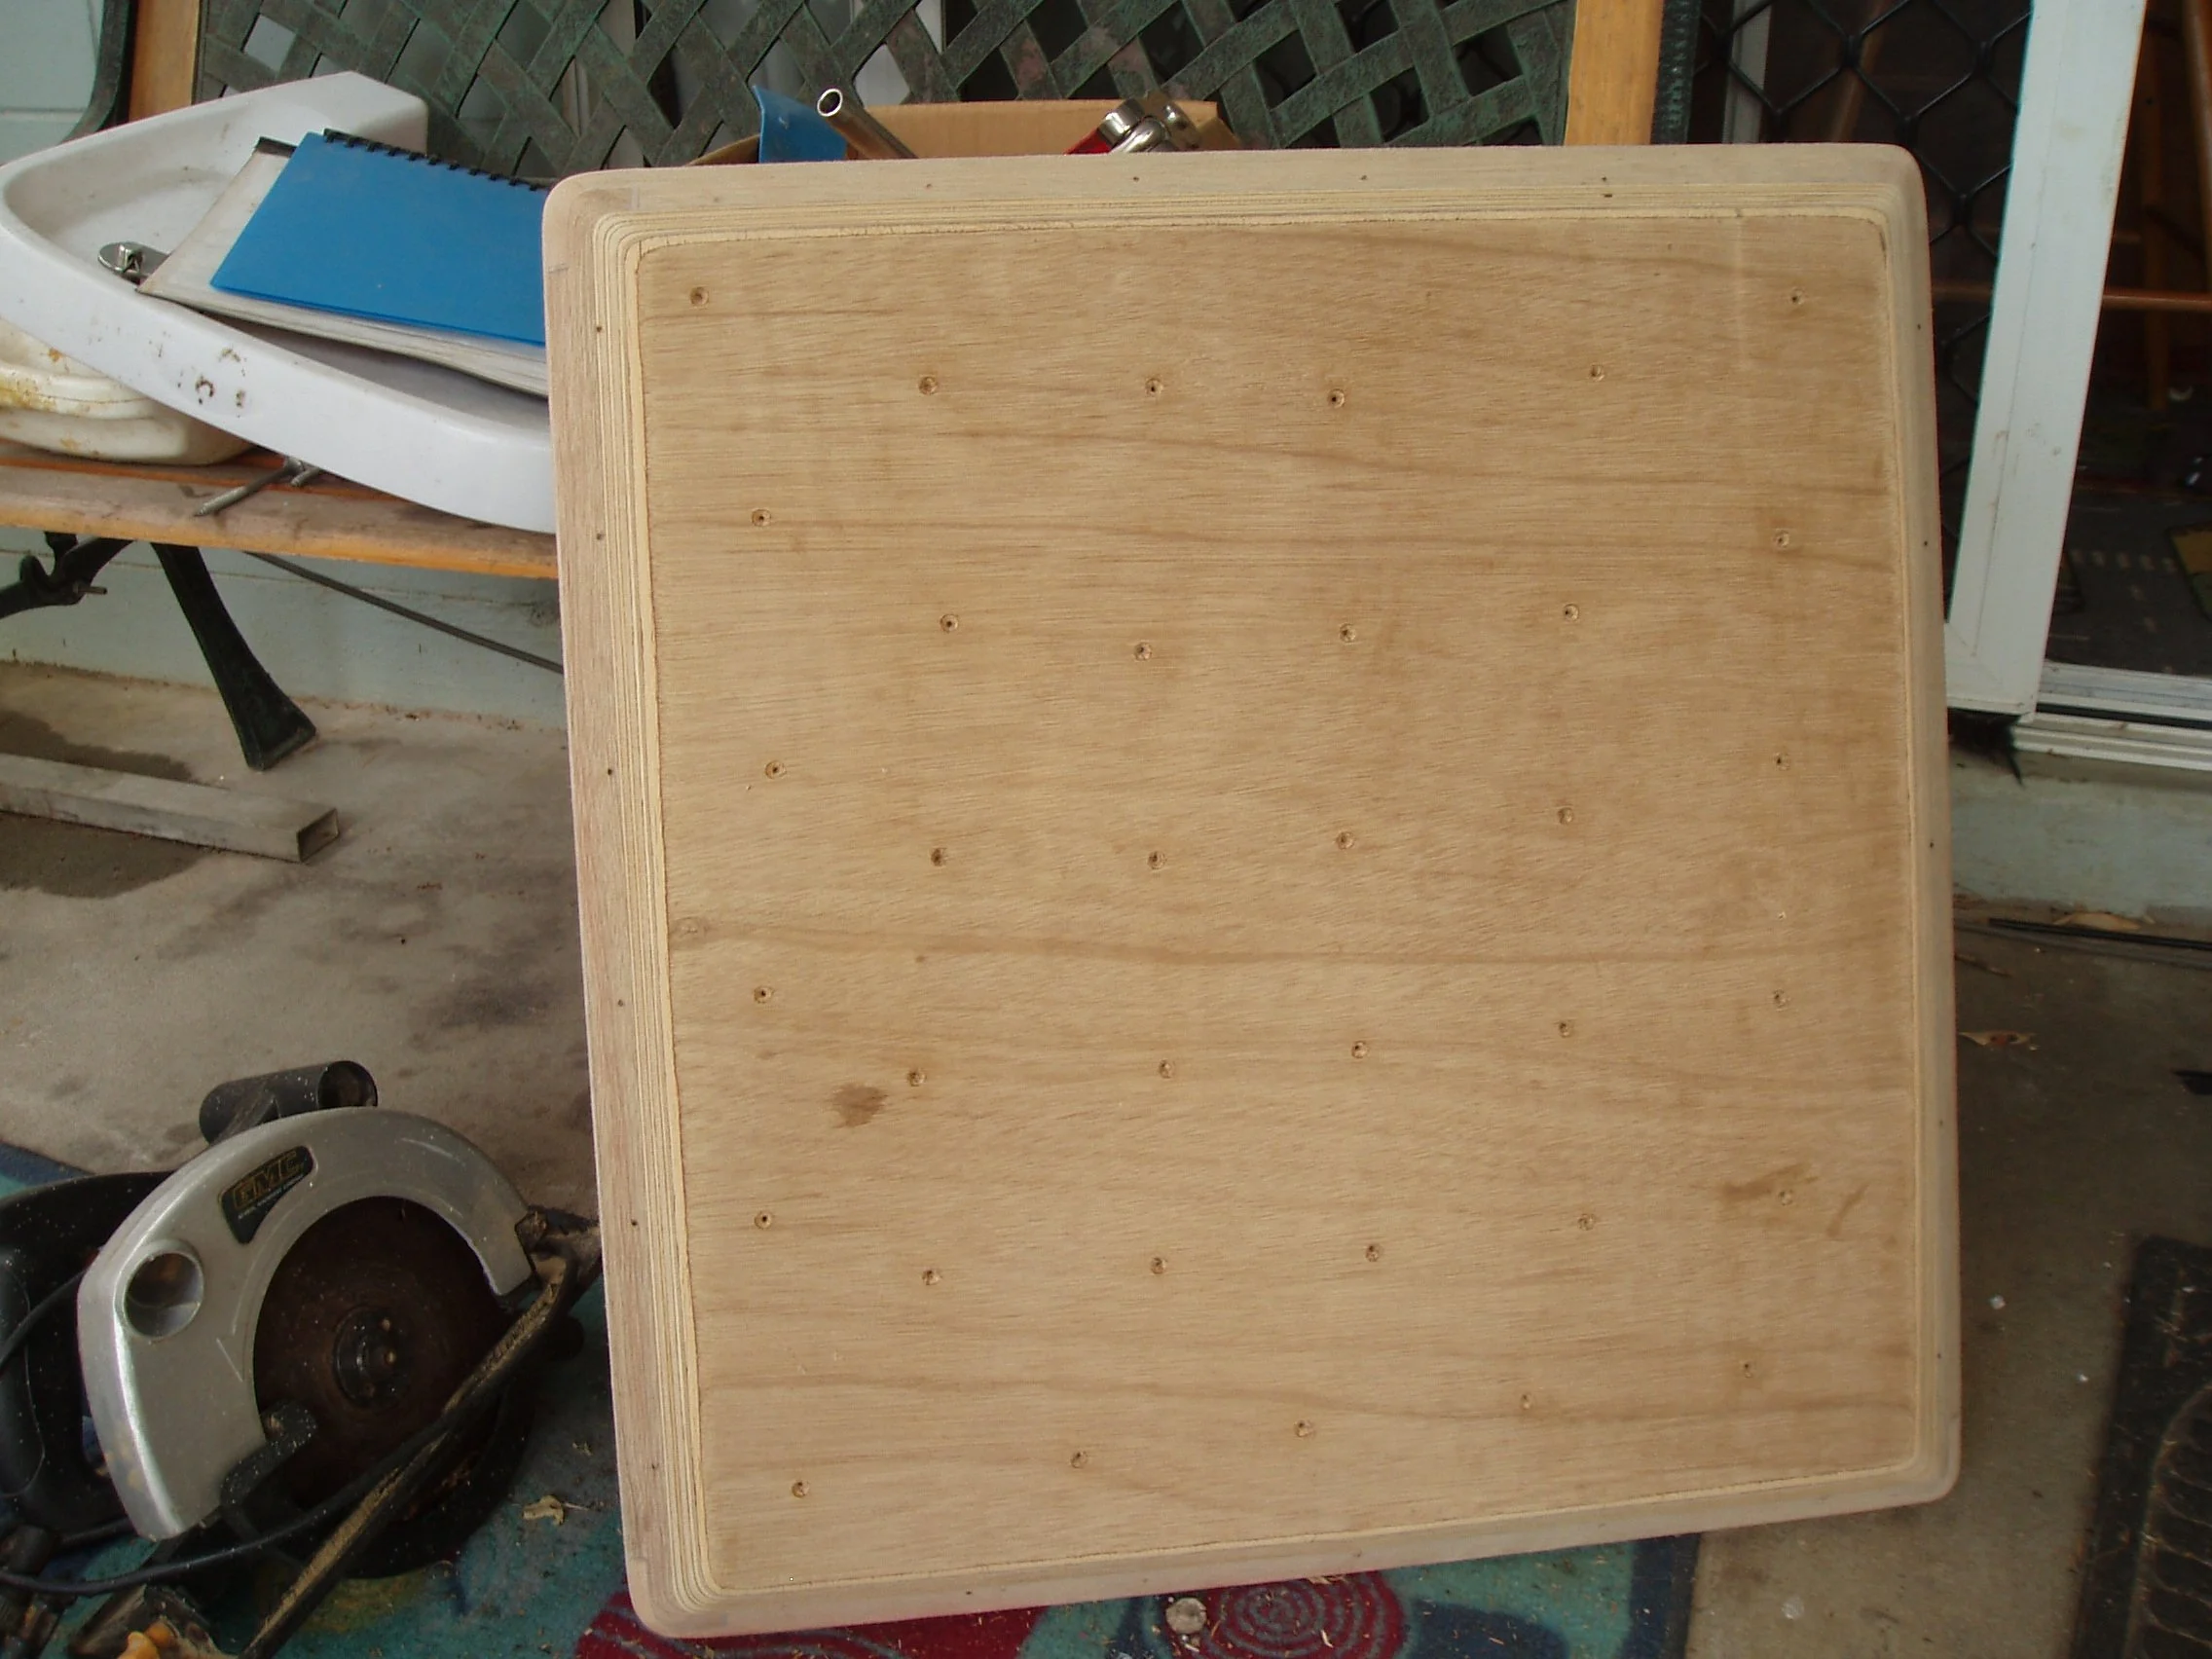
hatches for the boat, in hindsight i should have just purchased a few or made a mold but we were on a tight budget and $500 a hatch was more than the 40 or so these cost

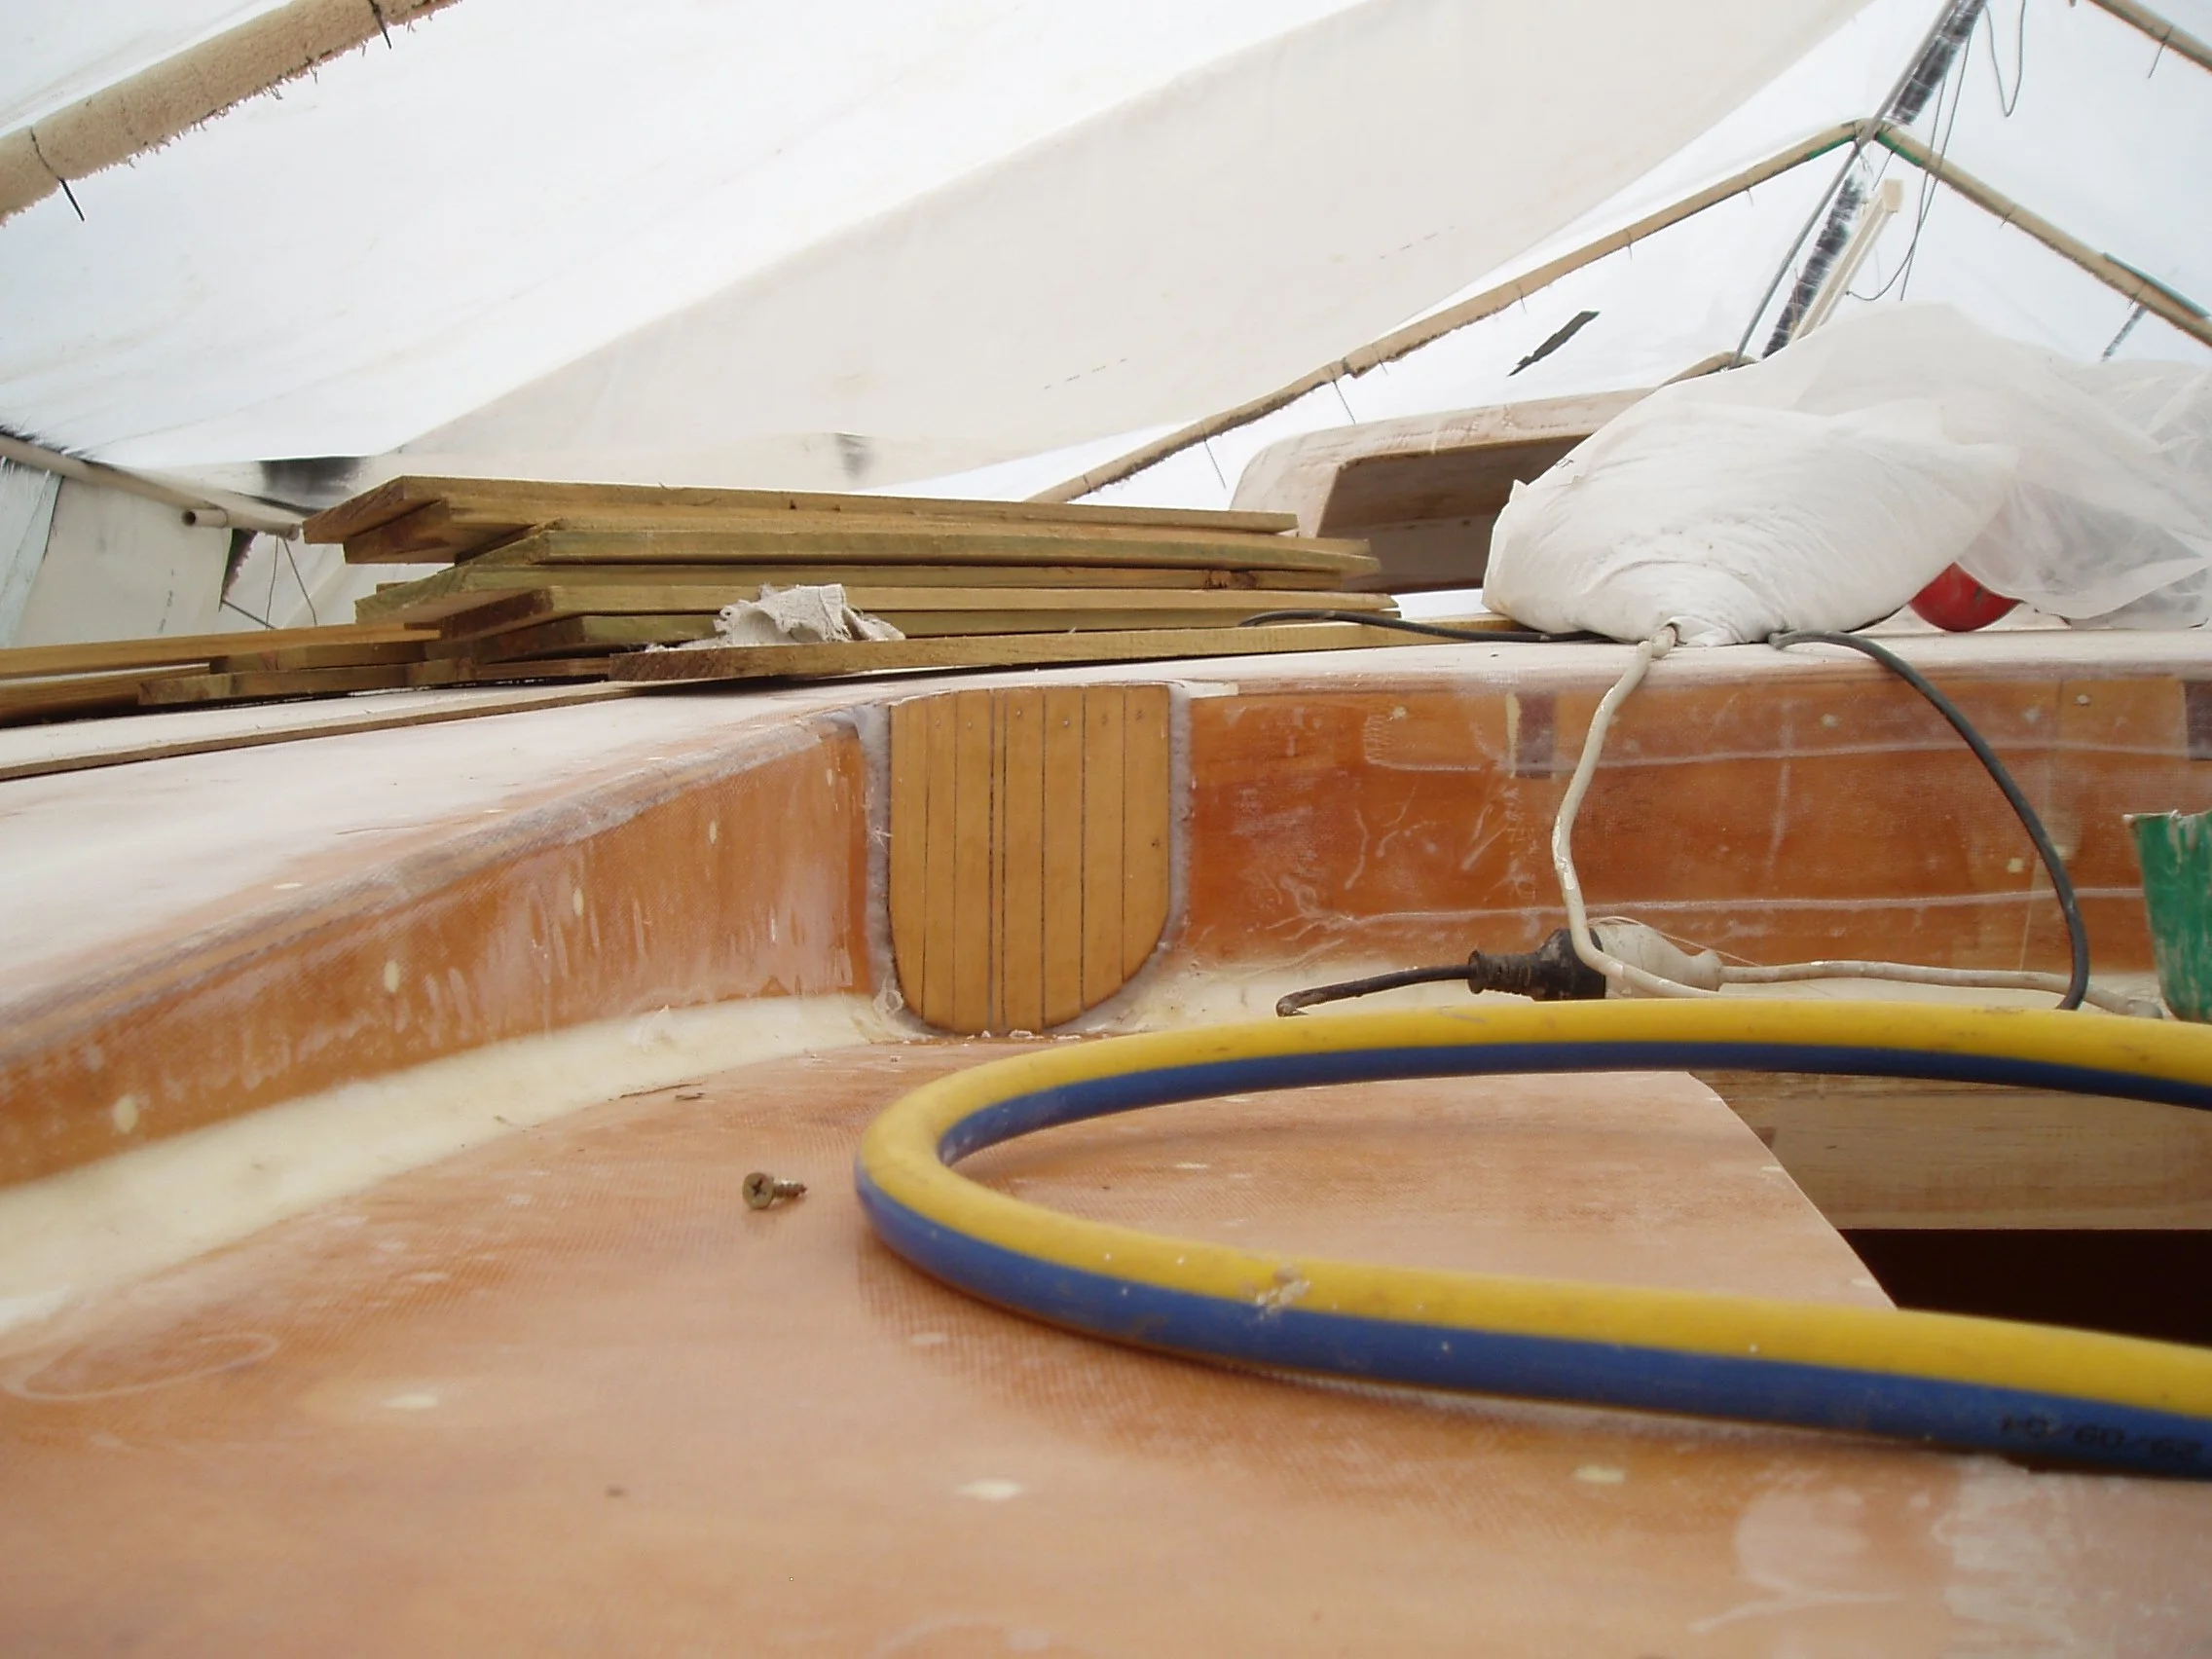
extra curve for the corner