I started this project in September of 05. Building a boat is an enormous amount of fun and I suppose I discovered a small part of myself that felt complete, wrestling with what to do next and how to do it filled some holes in my soul. I believe that being created in the image of God gives all of us some kind of creative aspect for me that found it’s outlet in boatbuilding. There was something cathartic about taking a bunch of raw materials, plywood, timber glue and powders and turning it into a boat that people would go wow that is amazing. my ambition was to build something that other people would think had been built professionally and I managed to hit close to this mark I believe. in the end I built the boat, the mast, the boom, the fridge, the steering wheel, all of the bow rails and stanchions, I did the wiring and designed the kitchen, I painted and faired it and added a number of design elements that I believe enhanced the boat and made it stand out from its peers, this website will not be amazing but it should give an idea of what was involved in my 2 year journey to build a boat to sail around the world on. I Became an active participant on several boatbuilding forums asking and answering questions and learning heaps from other people.
My wife was amazingly understanding as I would get up early to work on the boat for about an hour before heading off to school at 8 to teach, we lived 5 minutes from my school. i would be home at about 3:30 and I would get stuck into any noisy jobs before coming in to for dinner and to play with my kids, I would put my kids to bed and then back out to the boat before coming in around 11-12 pm from gluing and screwing things together, this also worked better with North Queensland’s hot weather as the evenings cooled down a bit. I would head to bed and catch up on the day’s events with my wife before falling asleep before rinse and repeating the next day.
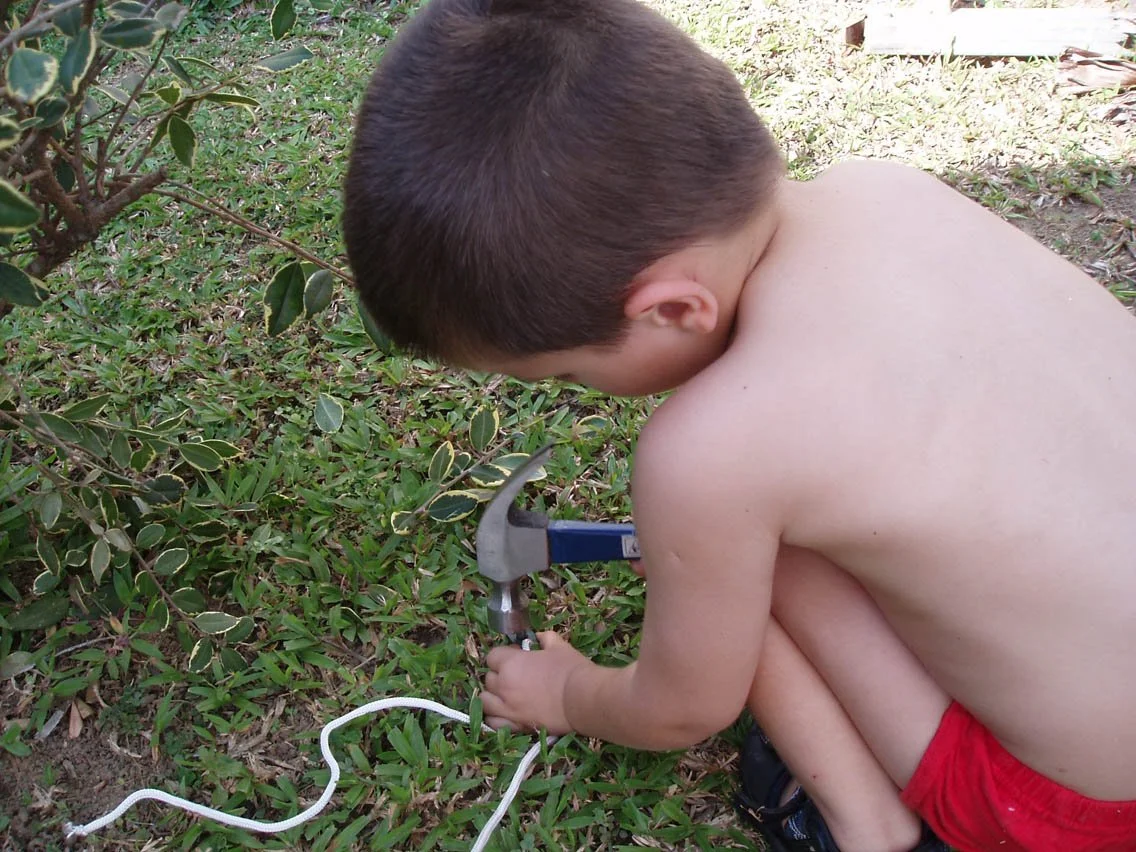
It is always helpful to have helpers

Sarah doing her best to help as well, young kids are avid boat builders, older ones not so much

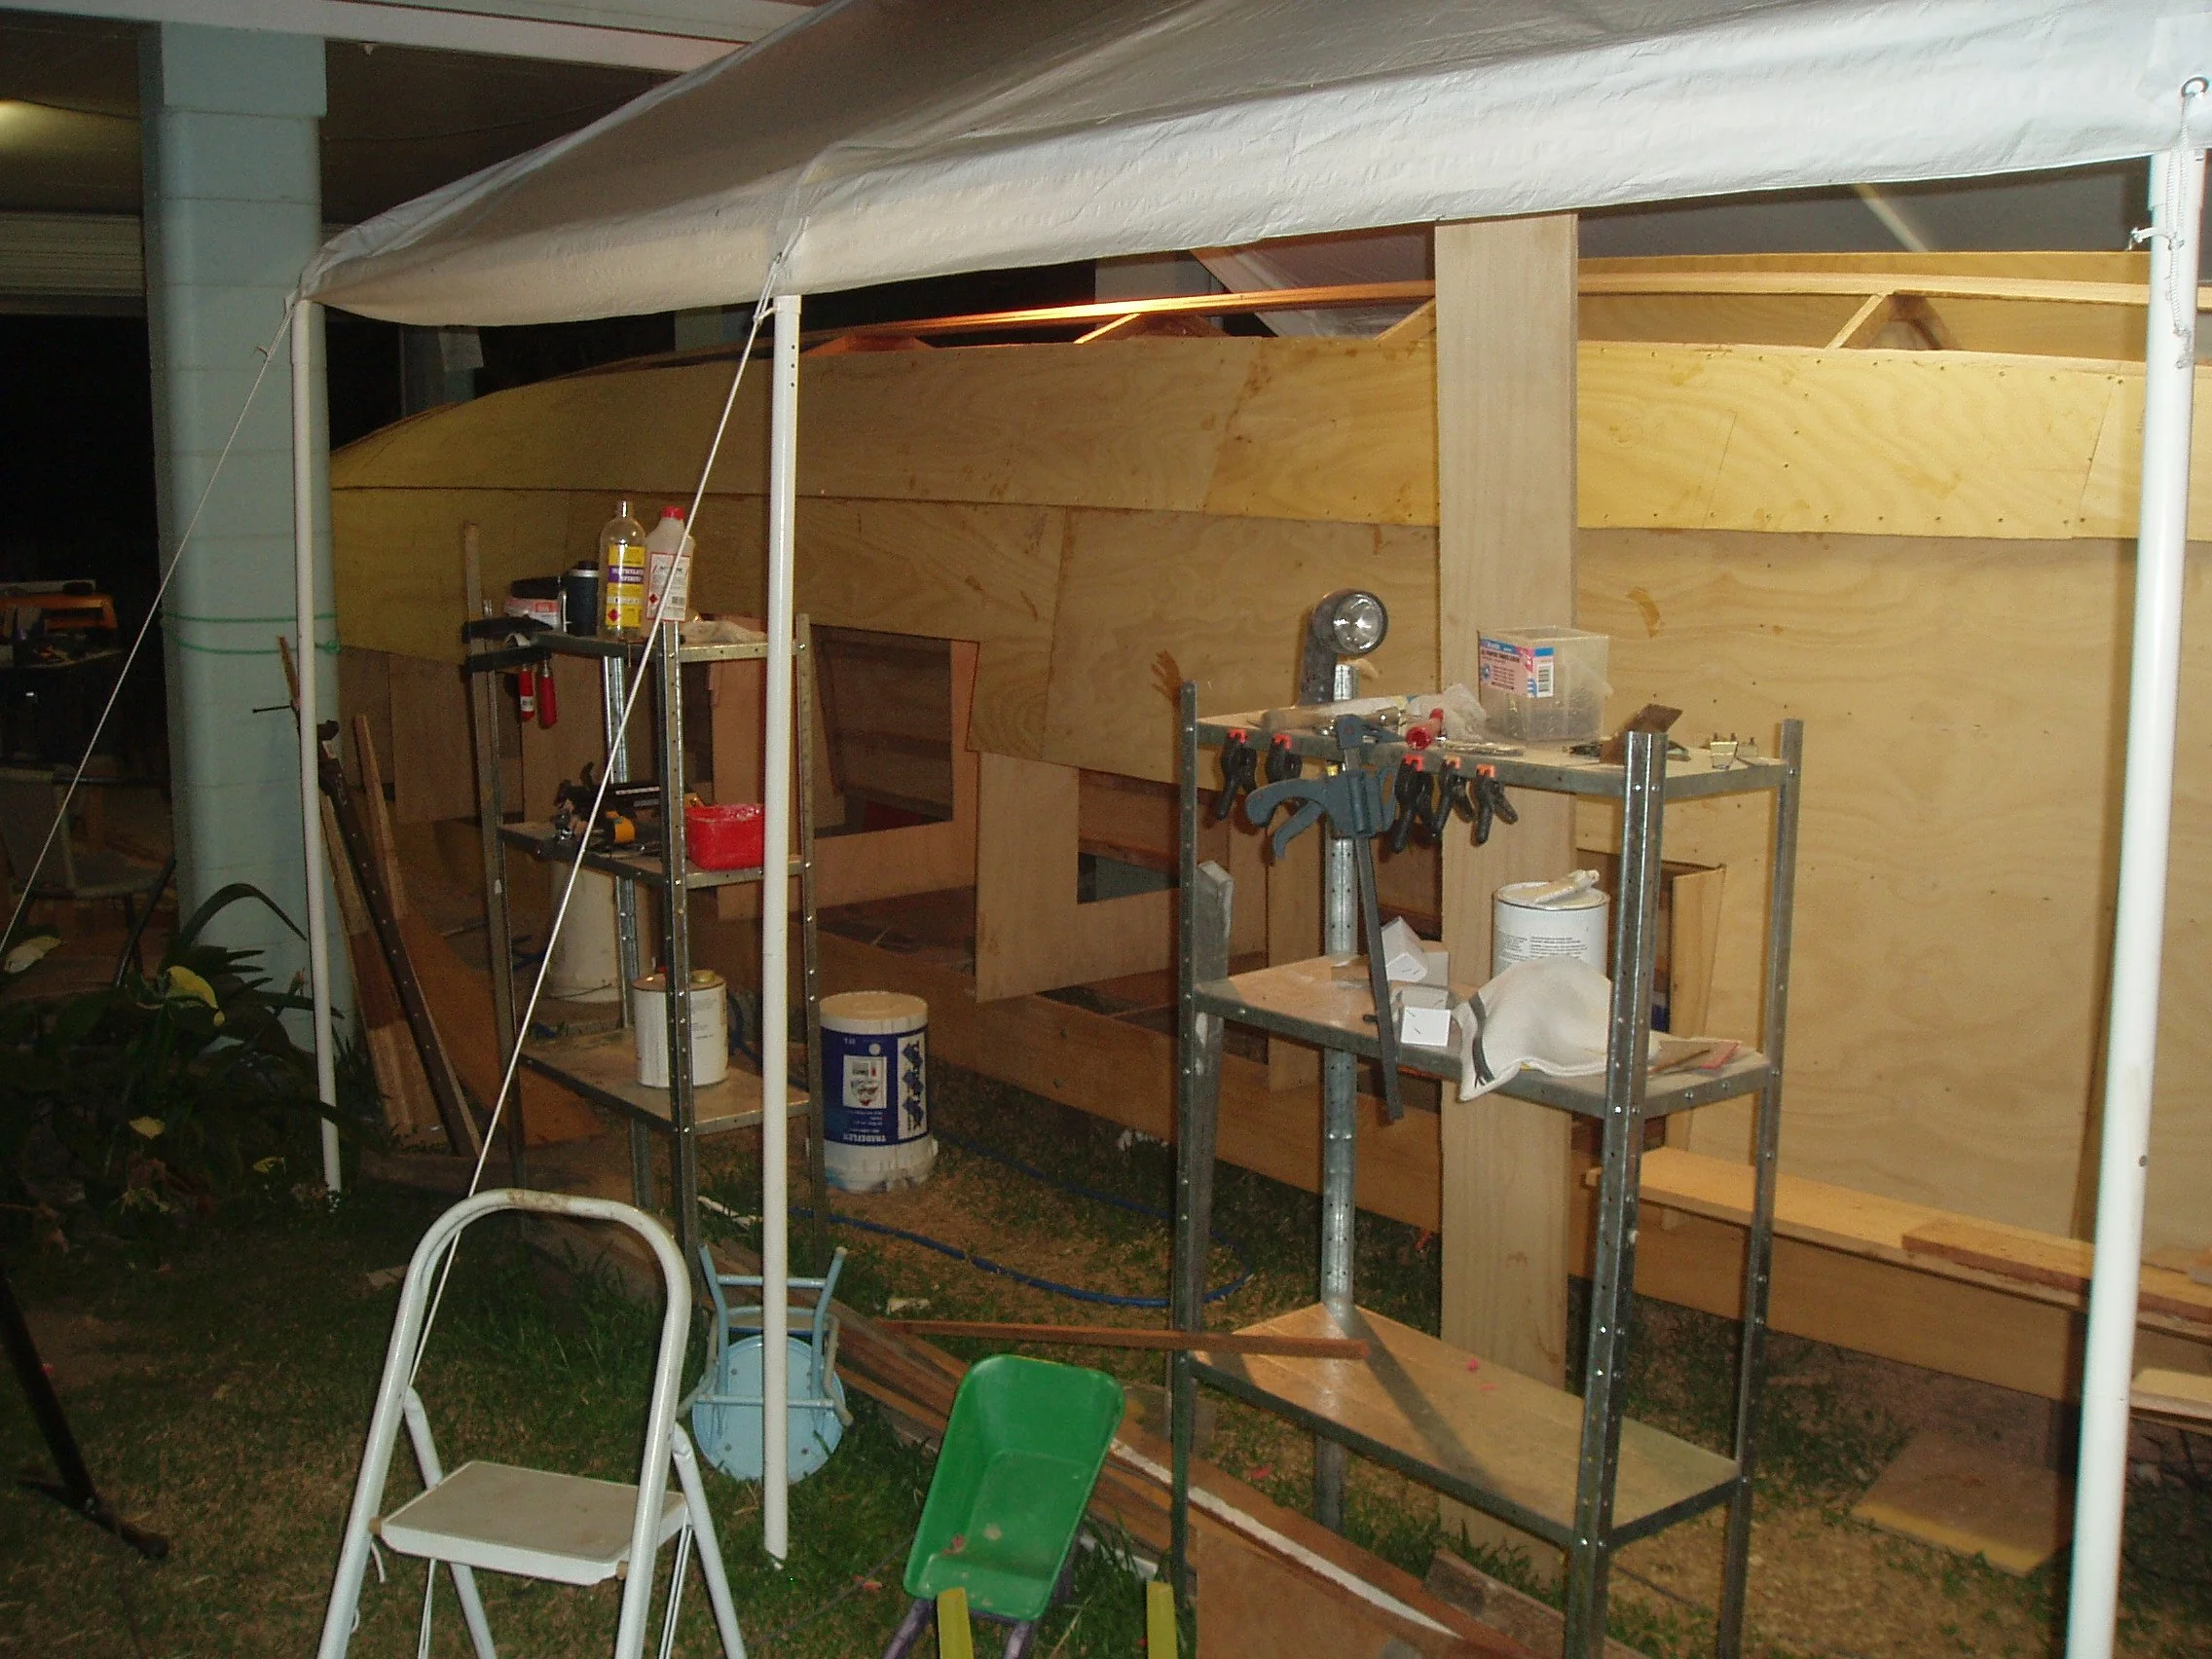
supercheap 6m tent erected

strongback installed and temporary shelter set up to protect from weather, having a concrete floor that was level and flat to work off was a bonus

frames all cut for the boat shape


timber all glued up with scarf joints to make 12 meter sections

frames all standing up waiting for stringers

stringers glued in

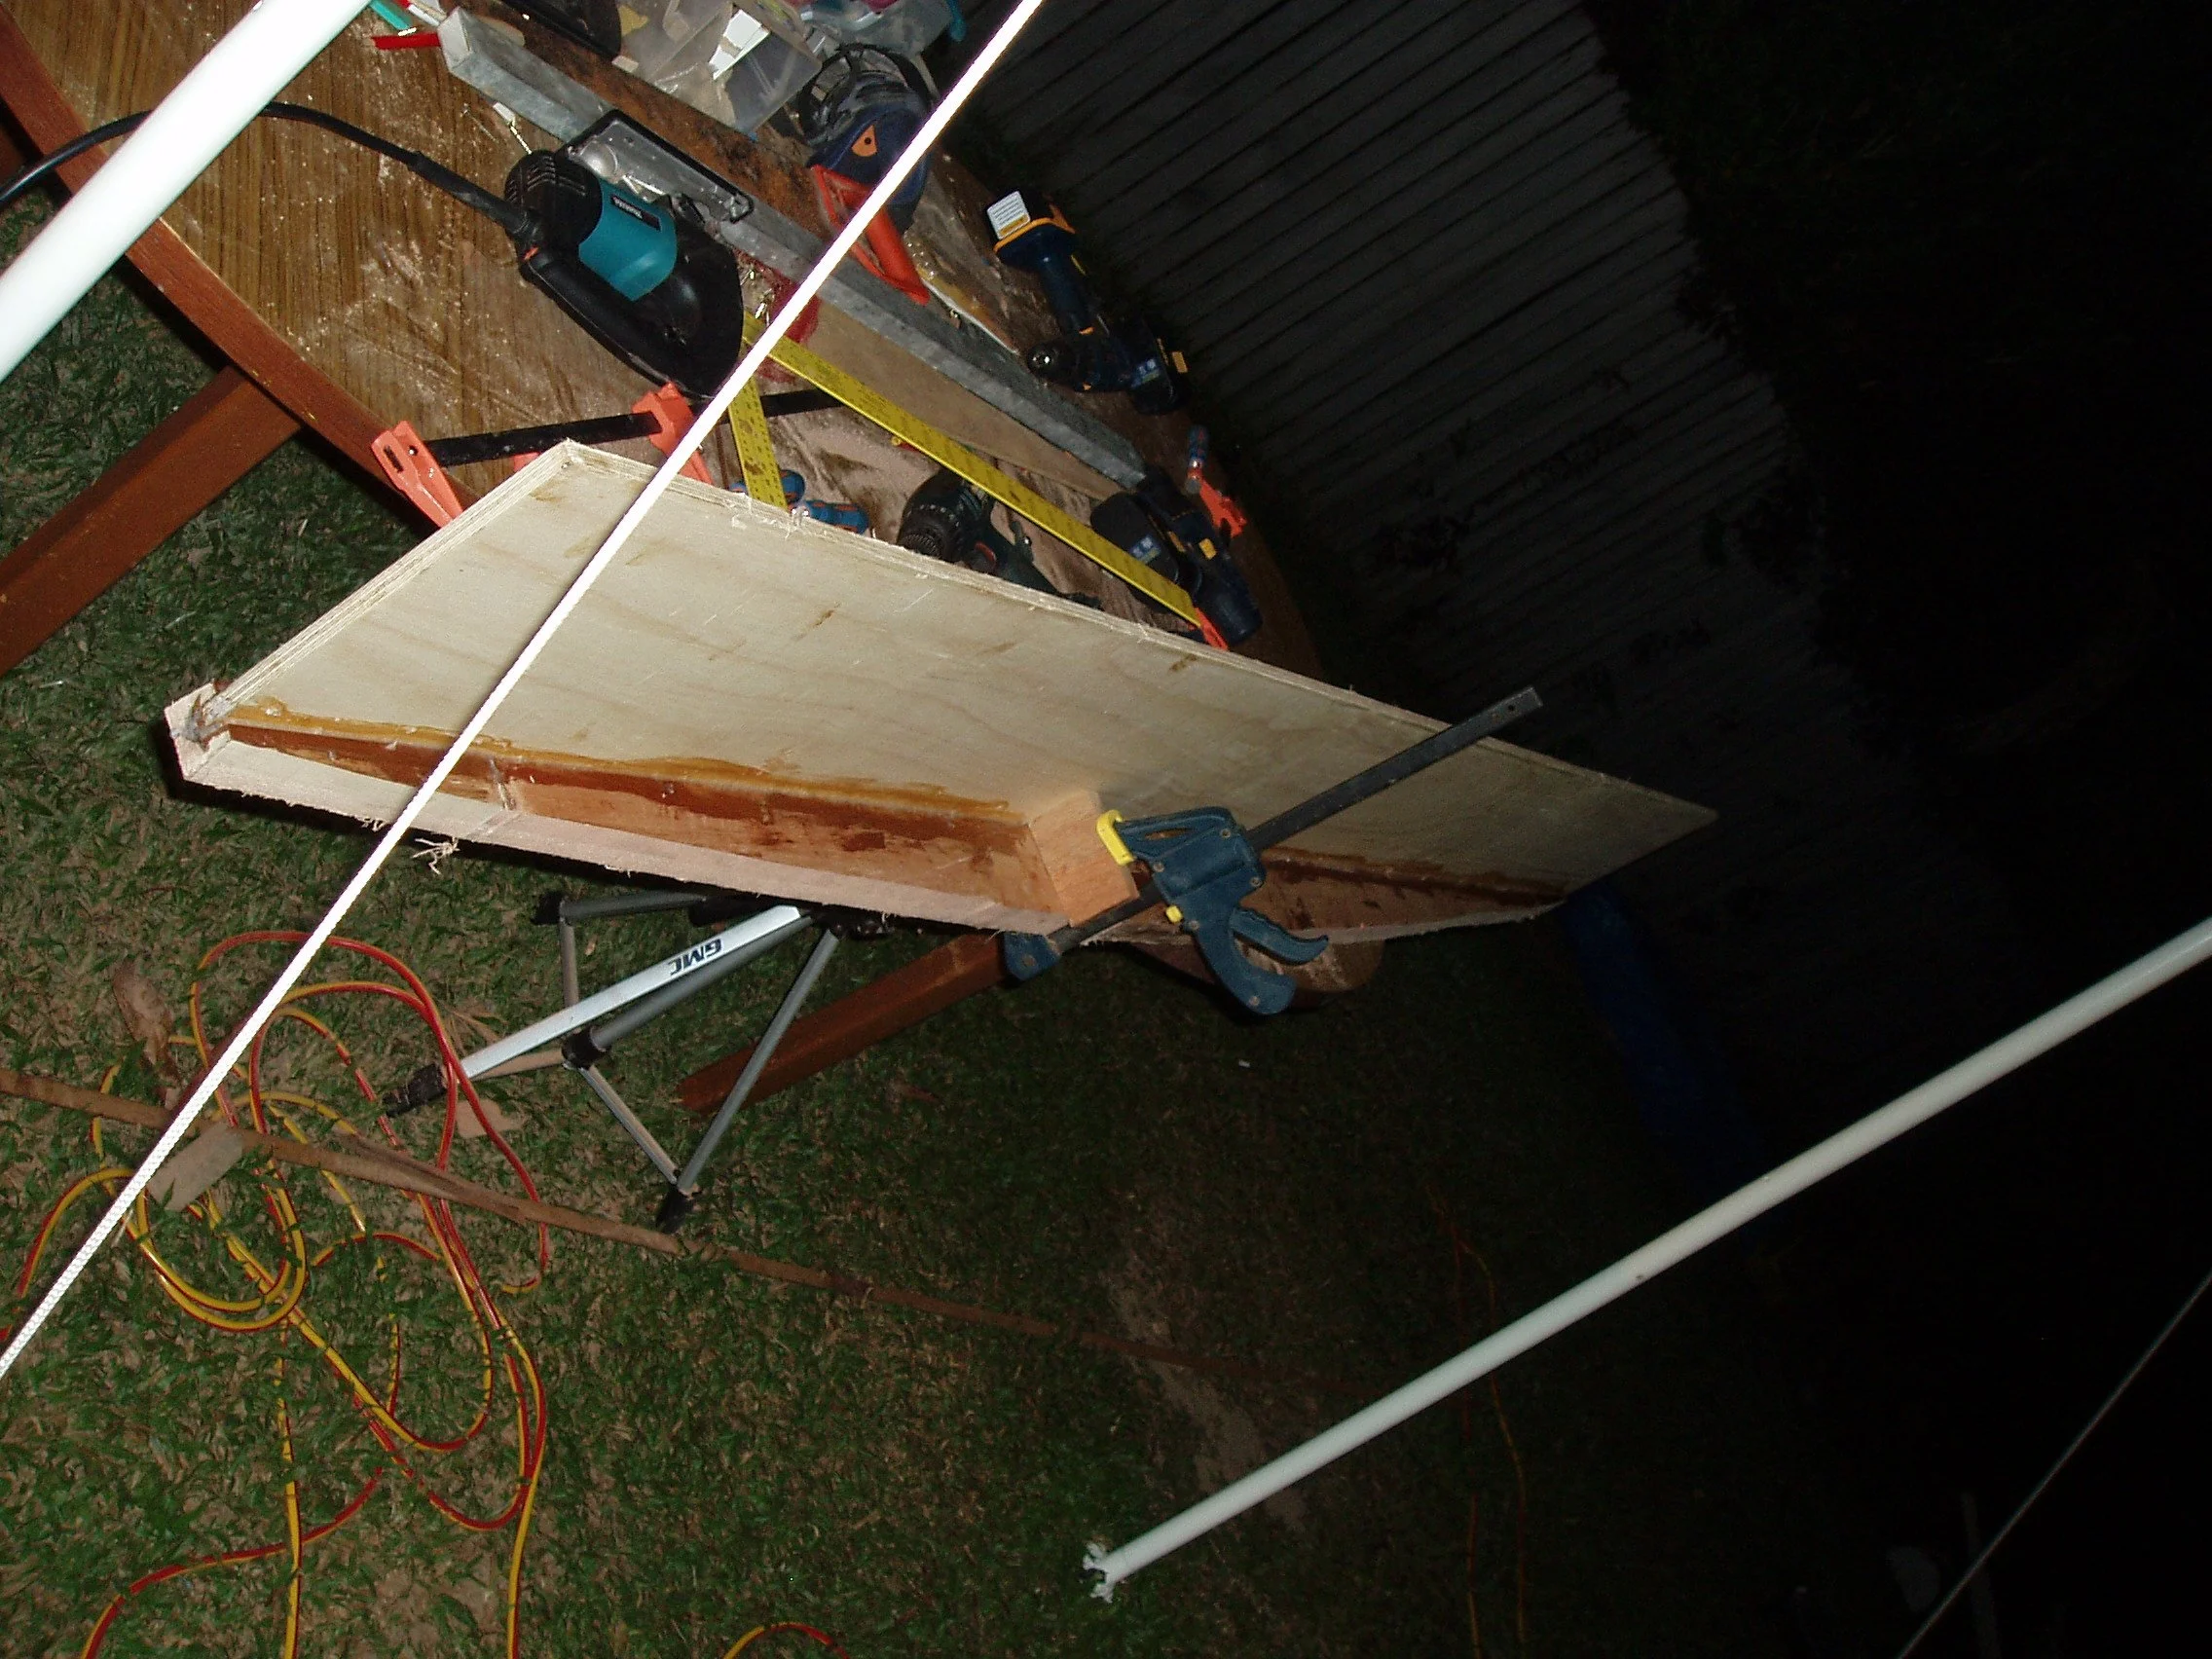
testing the best place to fit each sheet prior to any cutting

first sheet glued and screwed on

sheets pre screwed ready to be glued on

sometimes you have an aargh moment and have to come up with a creative way to repair it

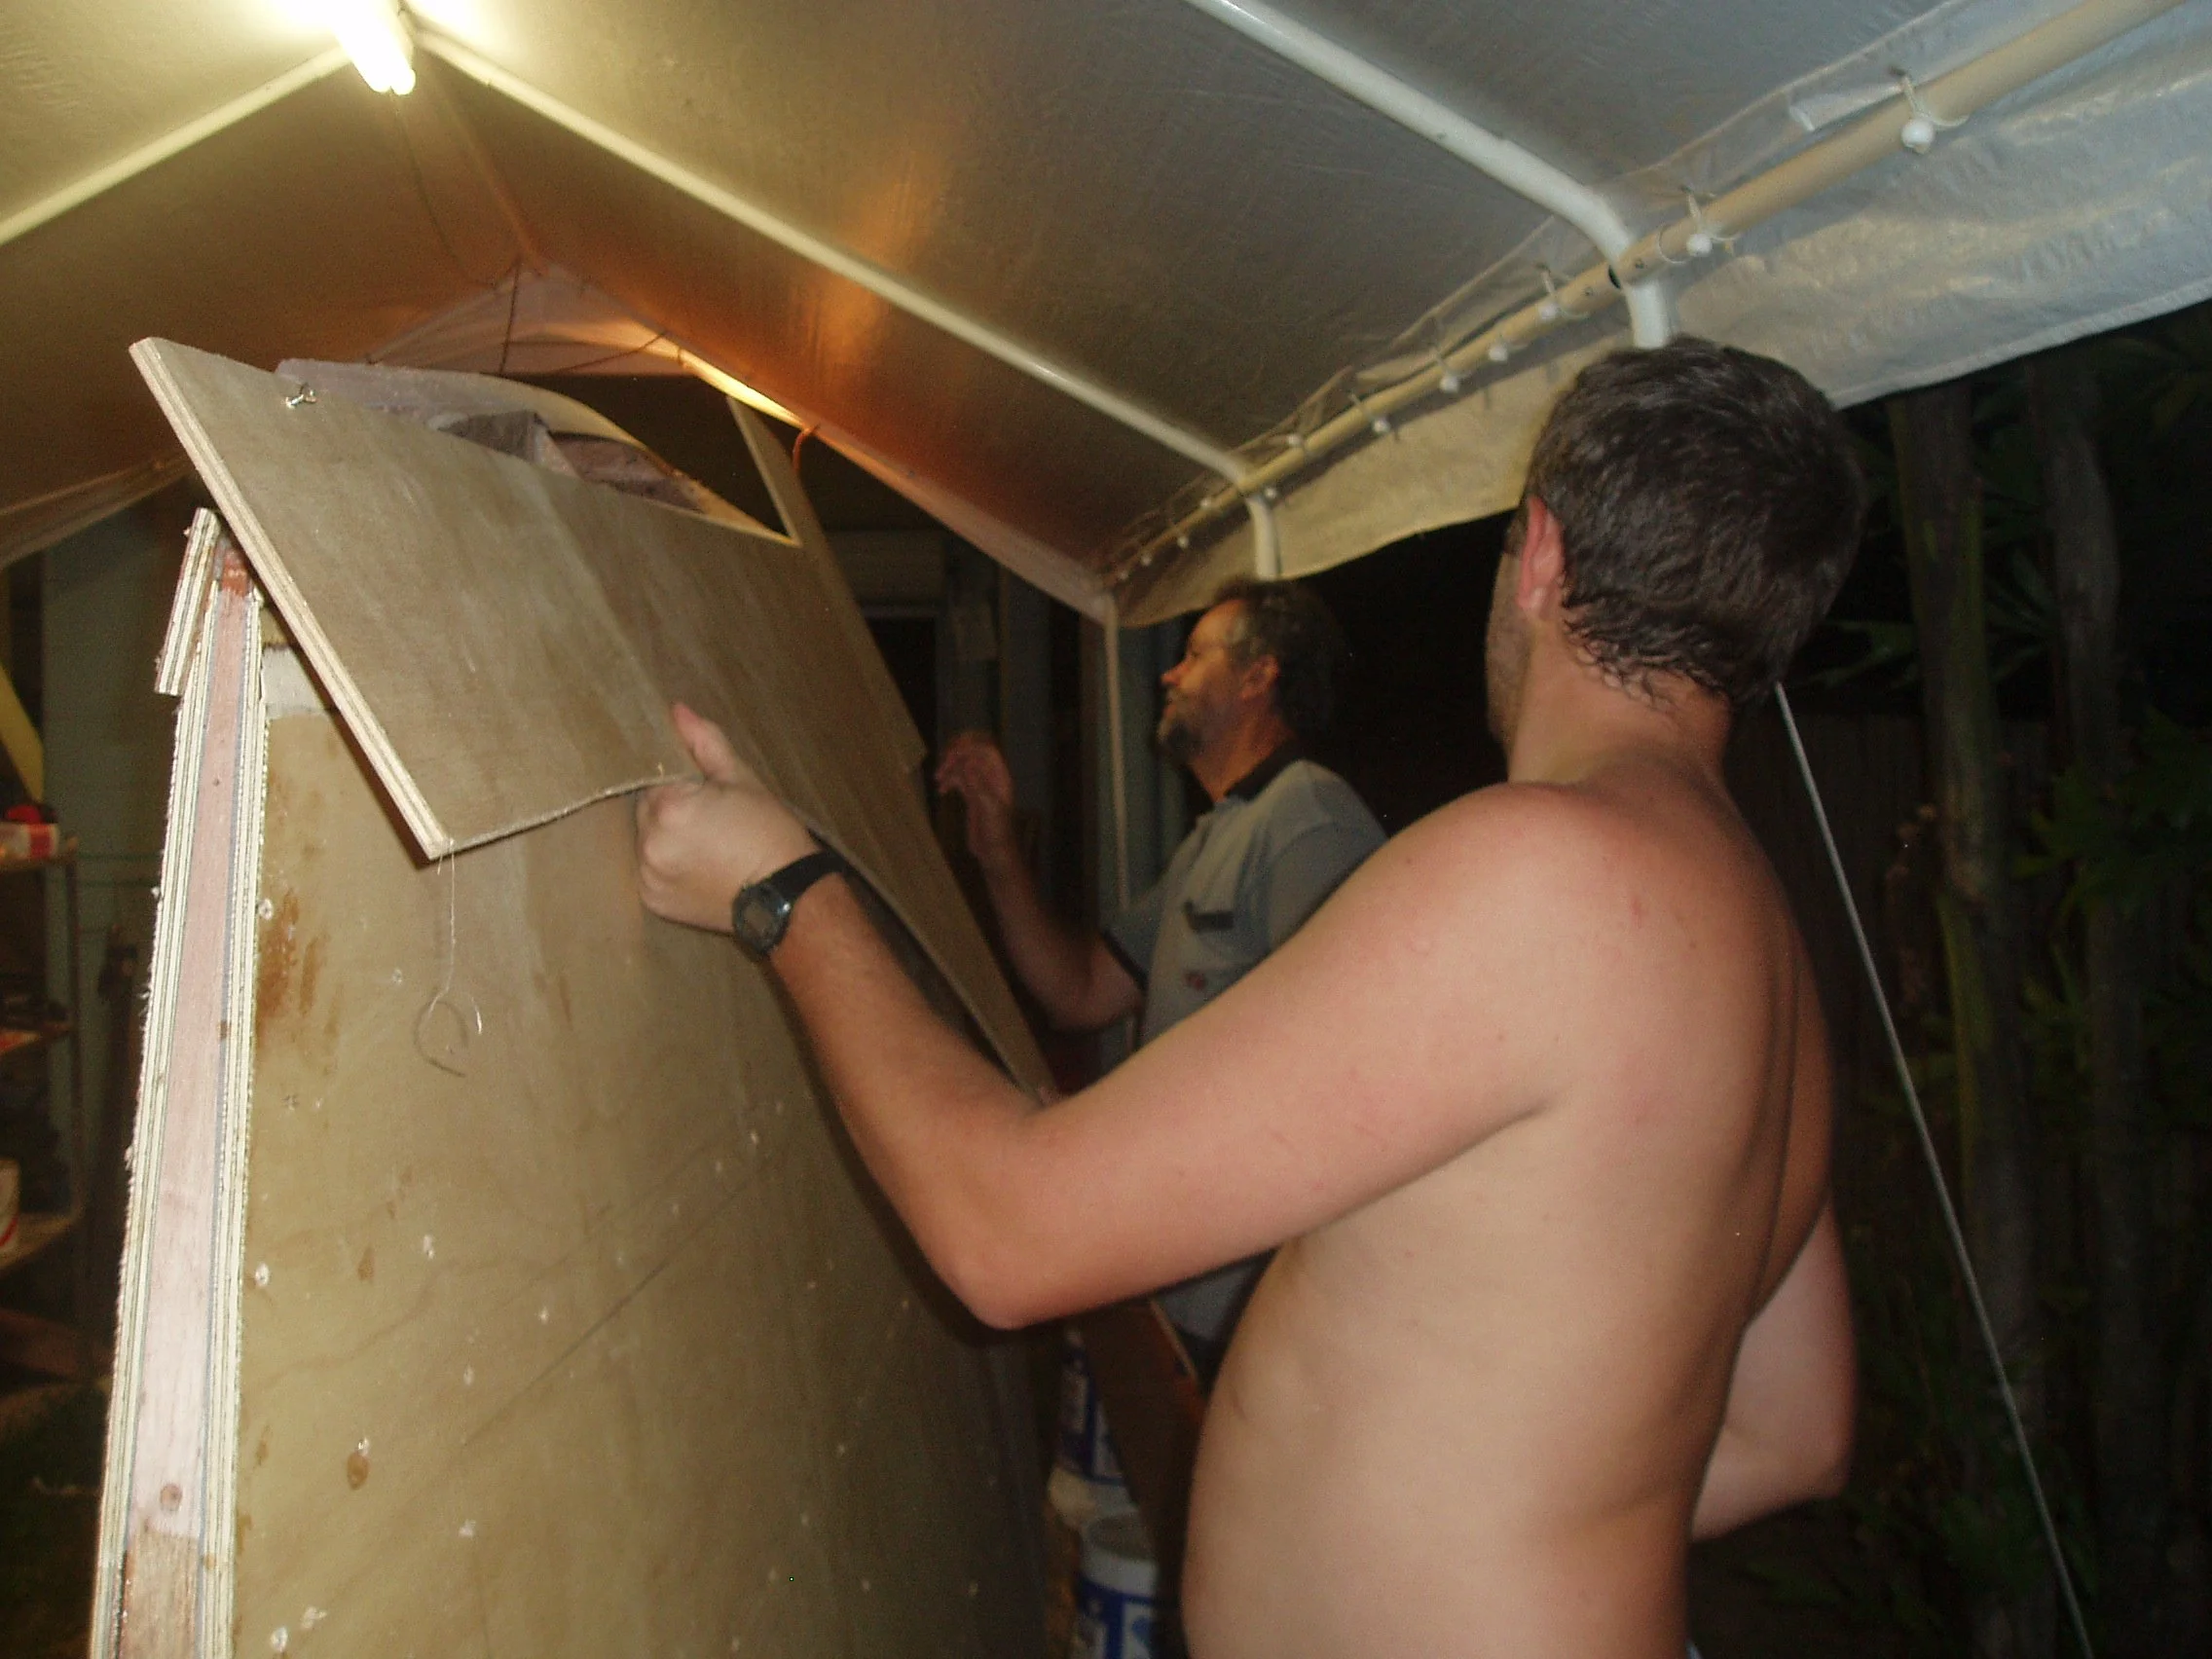
outer hull sheeting beginning

front clamped up

initial rear step shape
beginning the mini keel, i went with a different NACA profile than originally on Peter's plan

frames and stringers in place showing the shape of the hull


hull bottom being added, because i lengthened mine there was a little bit of twist in the back of the hull bottom


continuing the sheeting of the bottom of the hull


as you can see there was only just enough room
planking the front of the boat, i may have been a little skinnier back then
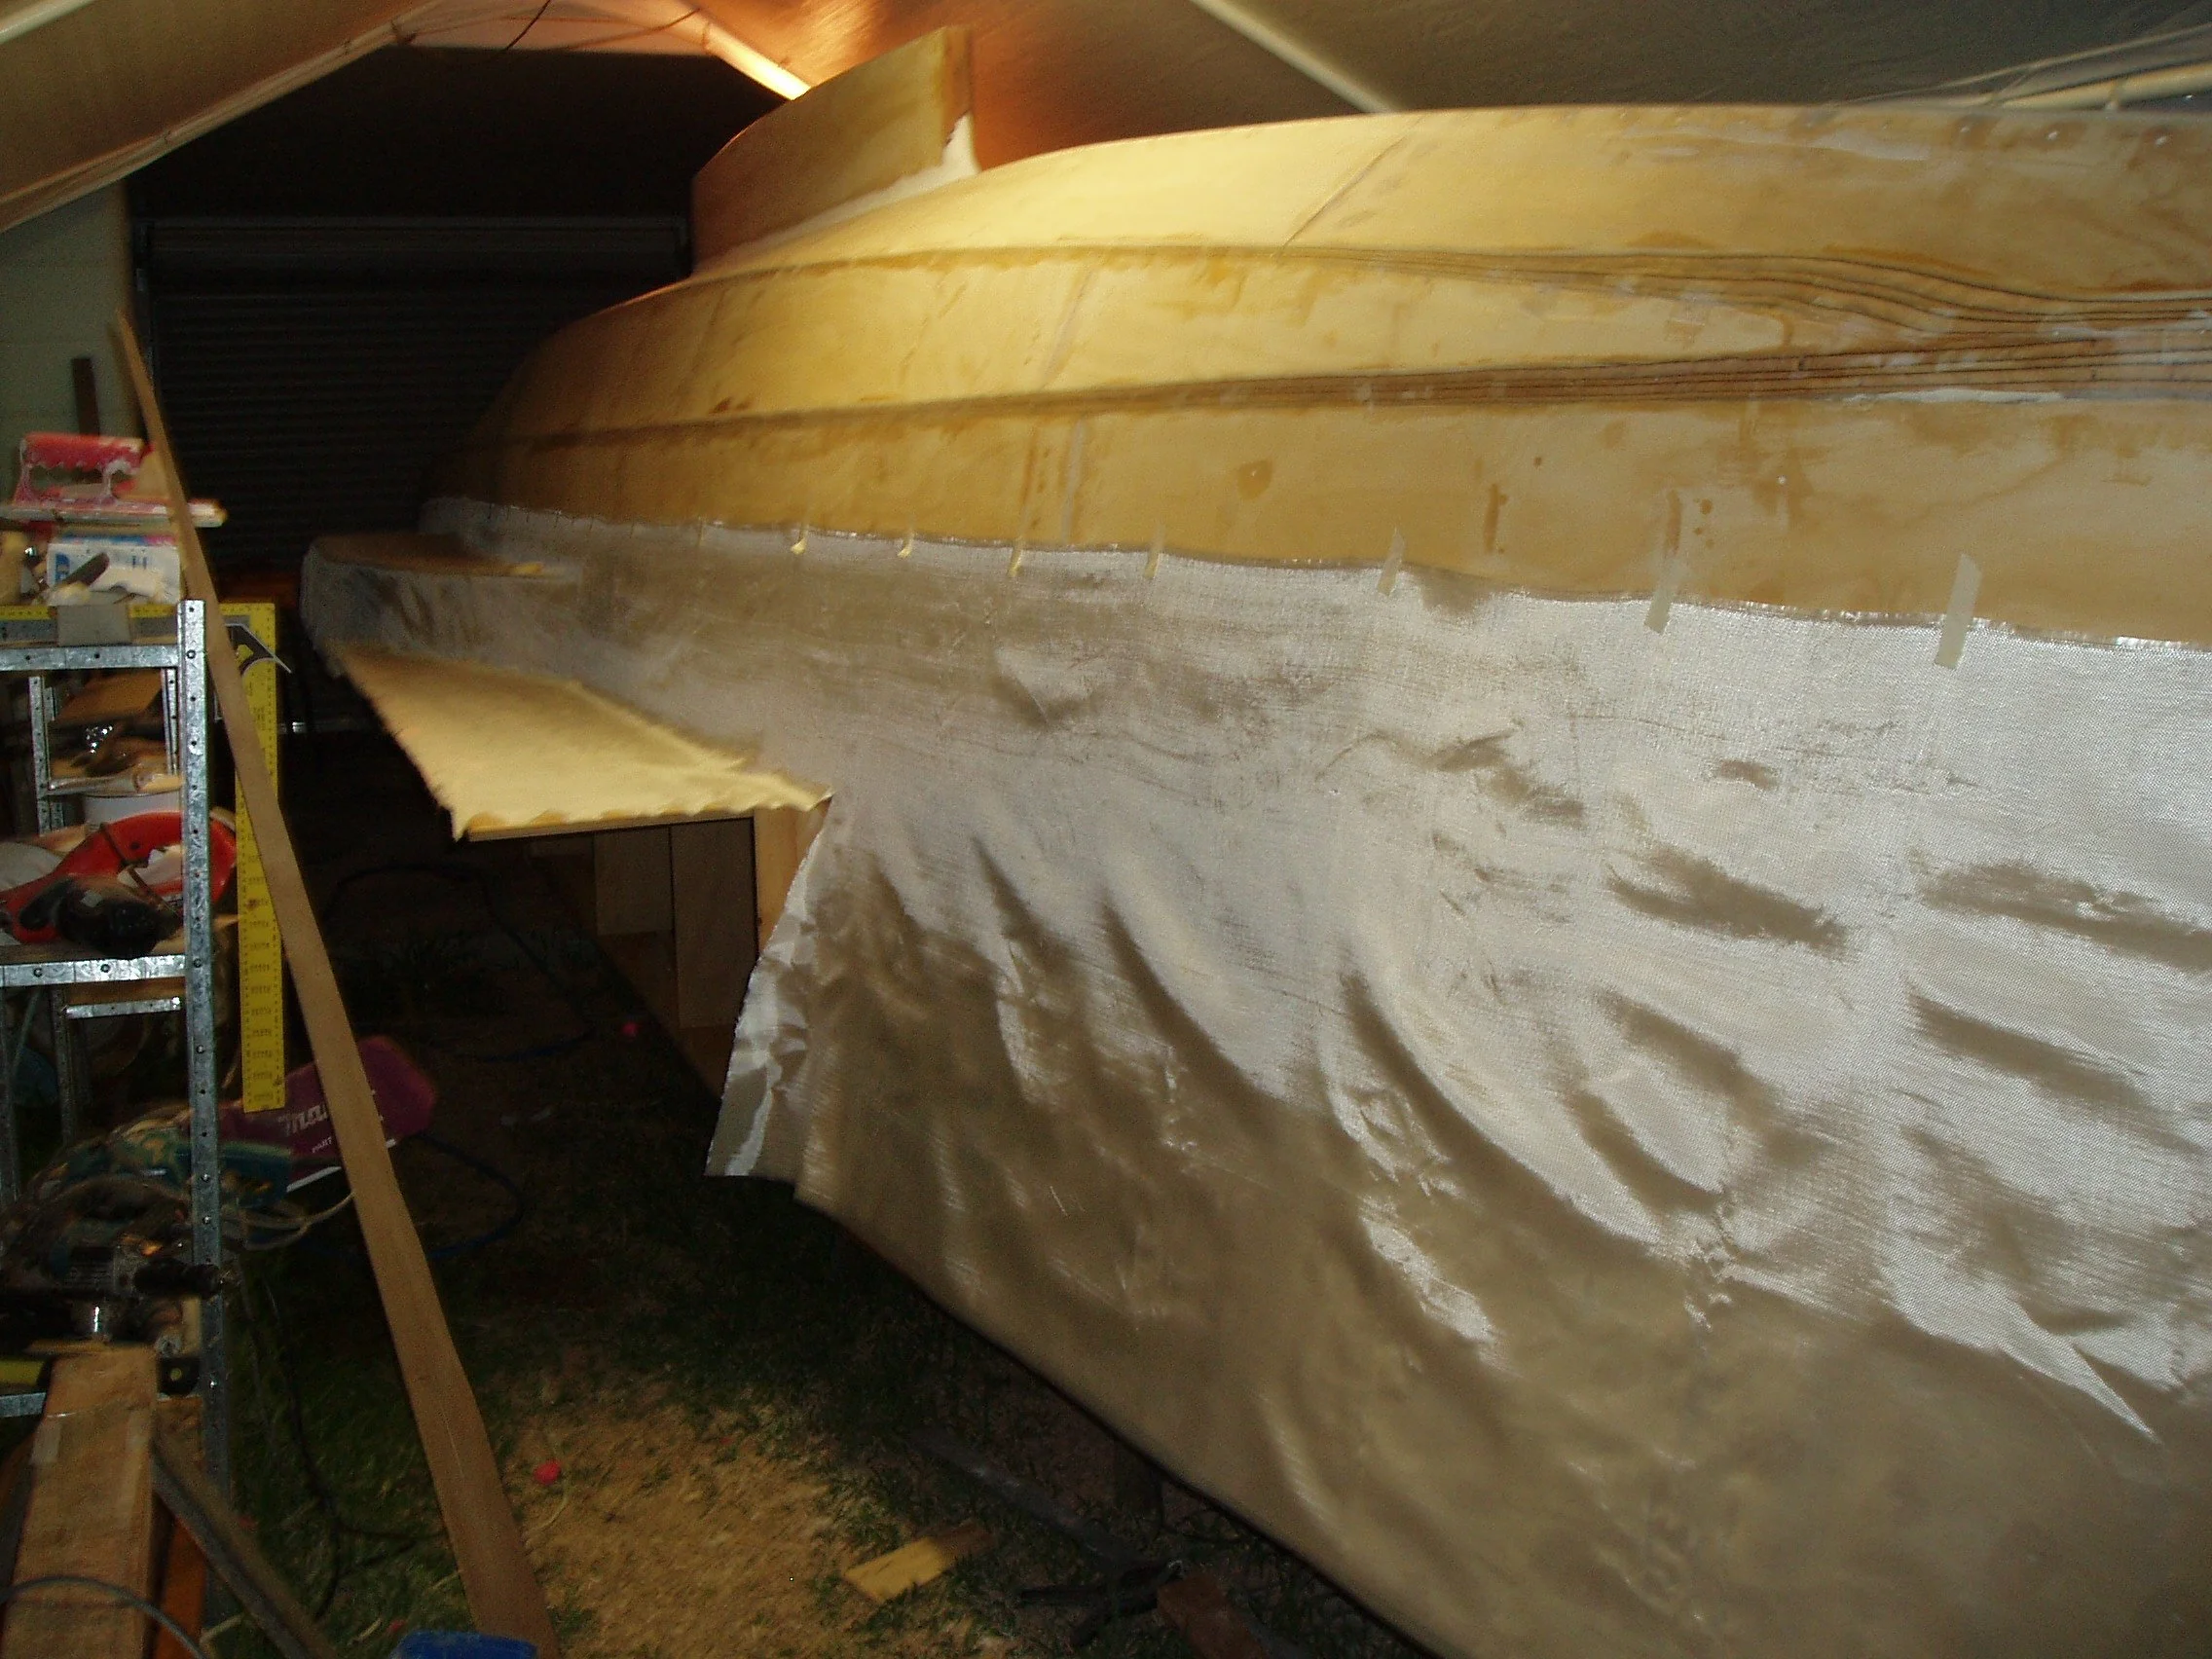
first layer of glass taped on ready for resin

you can also see the start of the pods for the outboards and the first bit of bridgedeck

resin mixed up and rolling it on, i had preset amounts of resin to go and just needed to add the hardener as i was going, each hull took about 4-6 weeks to build from go to woe